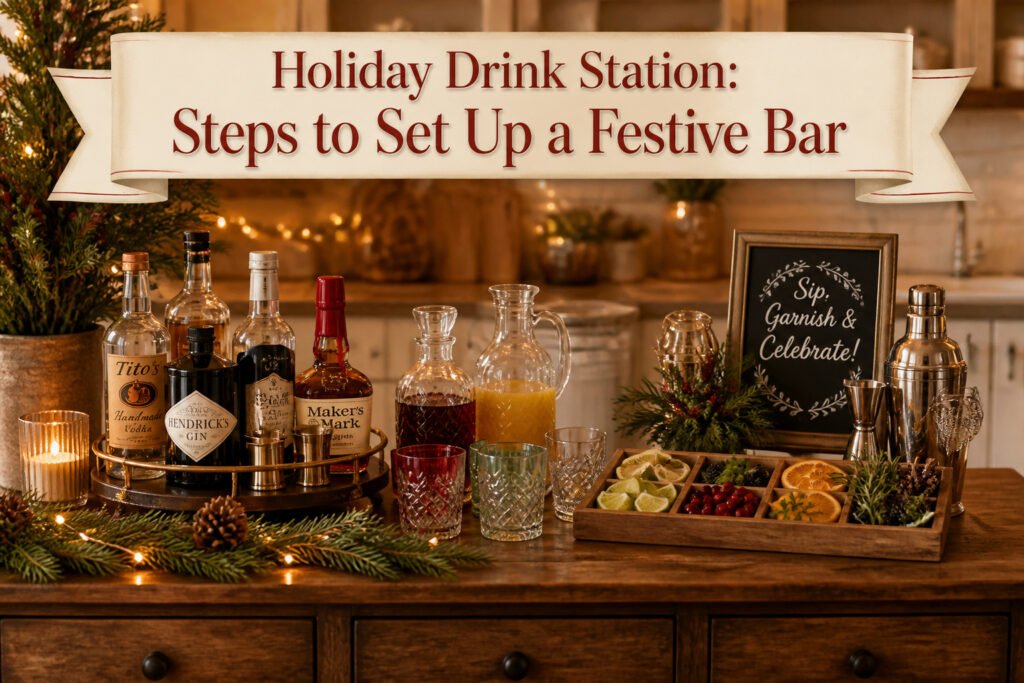
A holiday drink station is a self-serve bar where guests build their own cocktails and mocktails from a laid-out spread of spirits, mixers, and garnishes. The catch is traffic flow. A 20-inch console behind the sofa looks compact until three people bottleneck at every refill, while a kitchen island lets guests split naturally around both sides. I learned the difference between those two setups the hard way across two Decembers.
1. Choose a Location
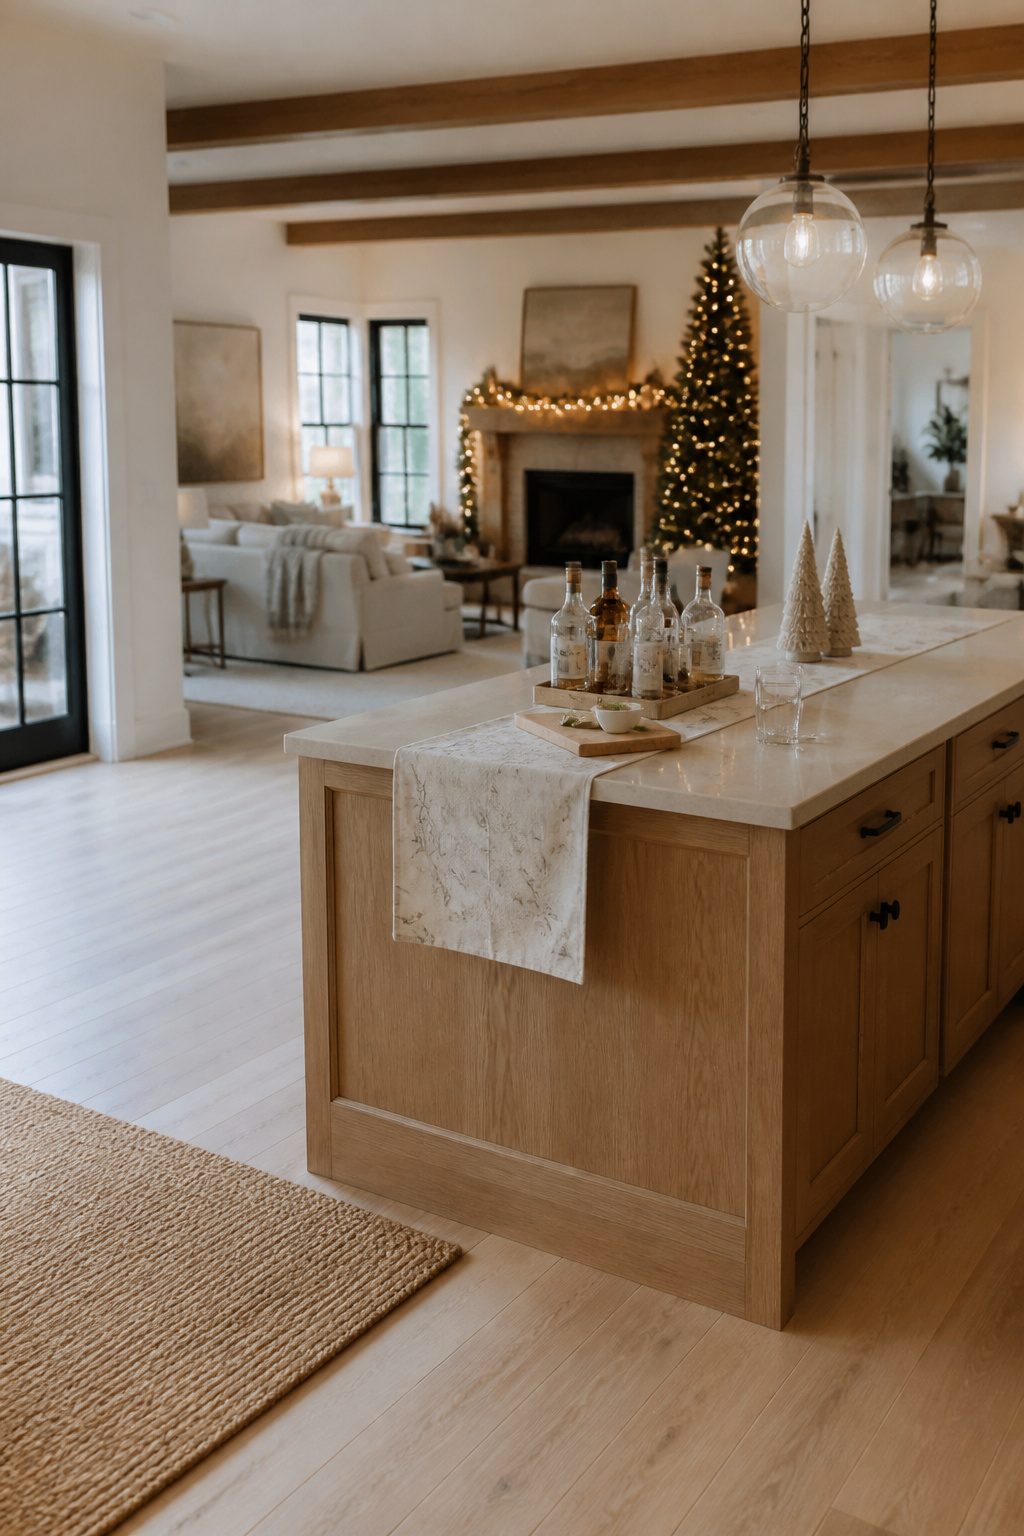
A bar cart looks festive on Pinterest, but most apartments do not have the floor space to spare. The kitchen island or dining table is usually the smarter bet because guests already gather there, and you need only clear a two-foot stretch for bottles and glassware. A console table against a wall works when the dining surface is crowded with food; the tradeoff is that guests line up single-file instead of mingling around both sides.
Last December I set mine on a 20-inch console behind the sofa, thinking the wall saved room. Three people created a bottleneck every time someone needed a refill. The year before, when I used the kitchen island, traffic split naturally around both sides and nobody waited.
The test that matters is walking the route with a full glass. Fill a tumbler with water, walk from the station to where people actually stand, and note where you have to pivot or squeeze past a chair. Spill even a splash, and the location fails. A dining table leaves more buffer than it appears; a cart in a hallway looks charming until two people stop to talk and block the whole corridor.
2. Prepare Ingredients
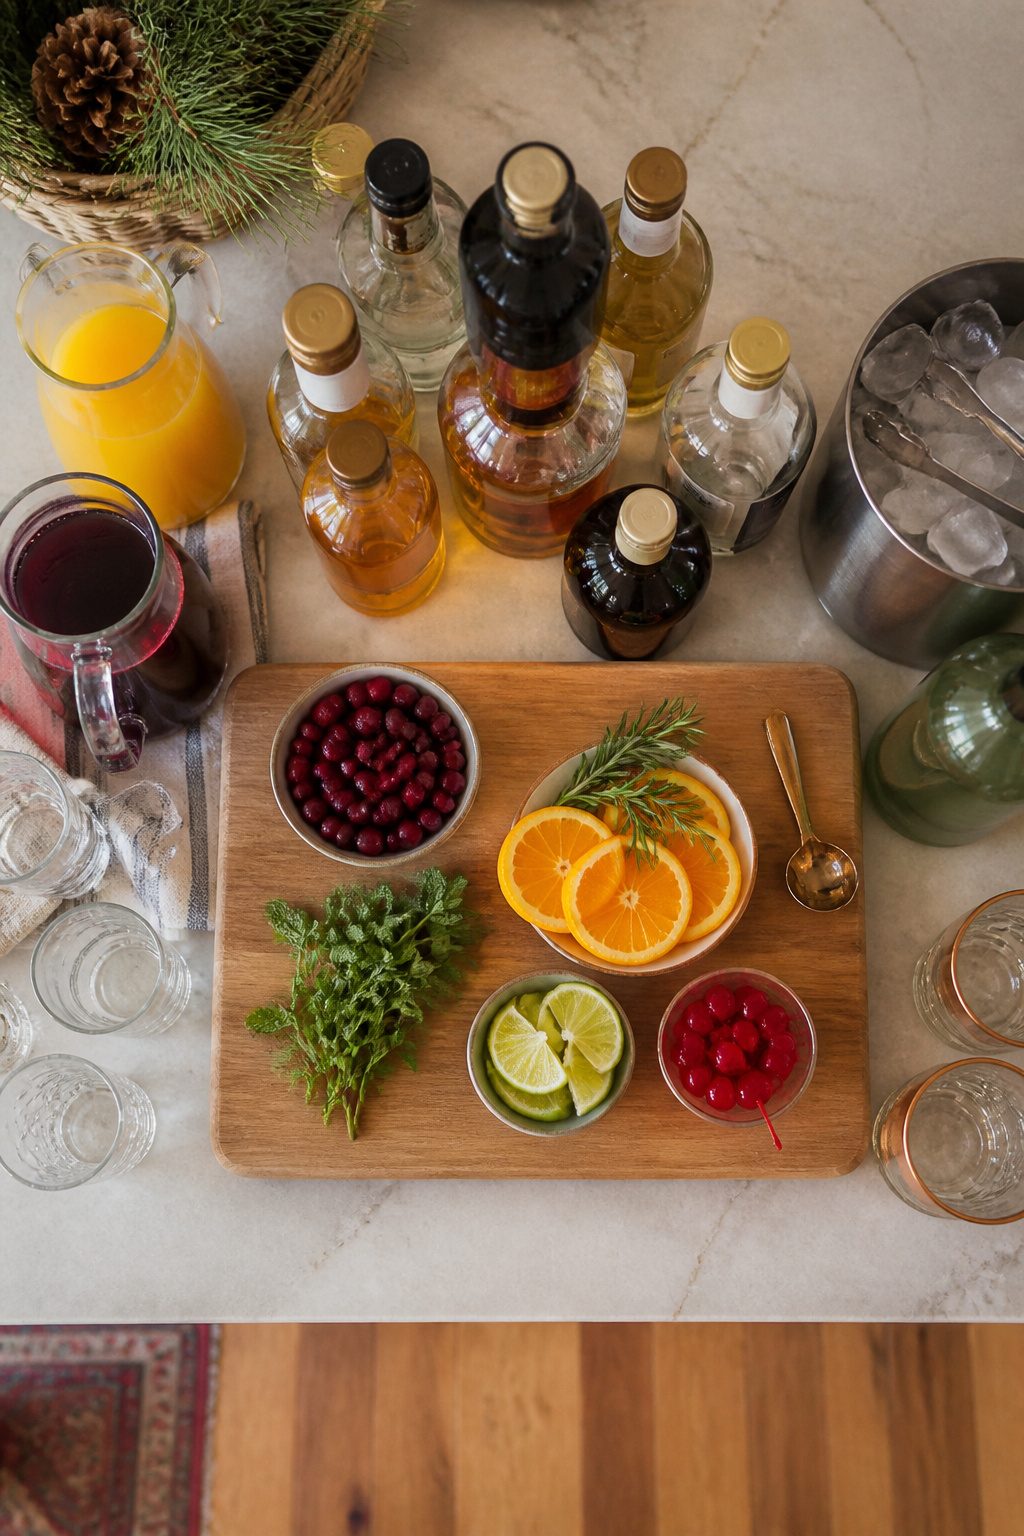
A holiday drink station lives or dies in the prep, and spirits are where I start. I keep a mid-shelf vodka, gin, rum, and whiskey on hand; anything pricier gets lost once the mixer goes in. Club soda and tonic water I buy two days out and chill flat in the back of the fridge, where the temperature stays even. Orange juice and cranberry juice I leave room temperature, which sounds wrong until you pour them over ice that actually chills the drink instead of fighting warm liquid. I learned that the hard way at a New Year’s gathering where everything went tepid in ten minutes.
Fresh herbs, citrus slices, and cherries I prep the morning of, no earlier. Herbs go into damp paper towels inside zip bags; citrus gets sliced and sealed so it doesn’t dry at the edges. Syrups are my shortcut to a drink that tastes intentional, and vanilla and peppermint cover most holiday requests without a full bar of liqueurs. I make the syrups a week ahead so the flavors settle; fresh vanilla tastes hollow, and peppermint needs time to lose its toothpaste edge.
3. Set Up the Bar
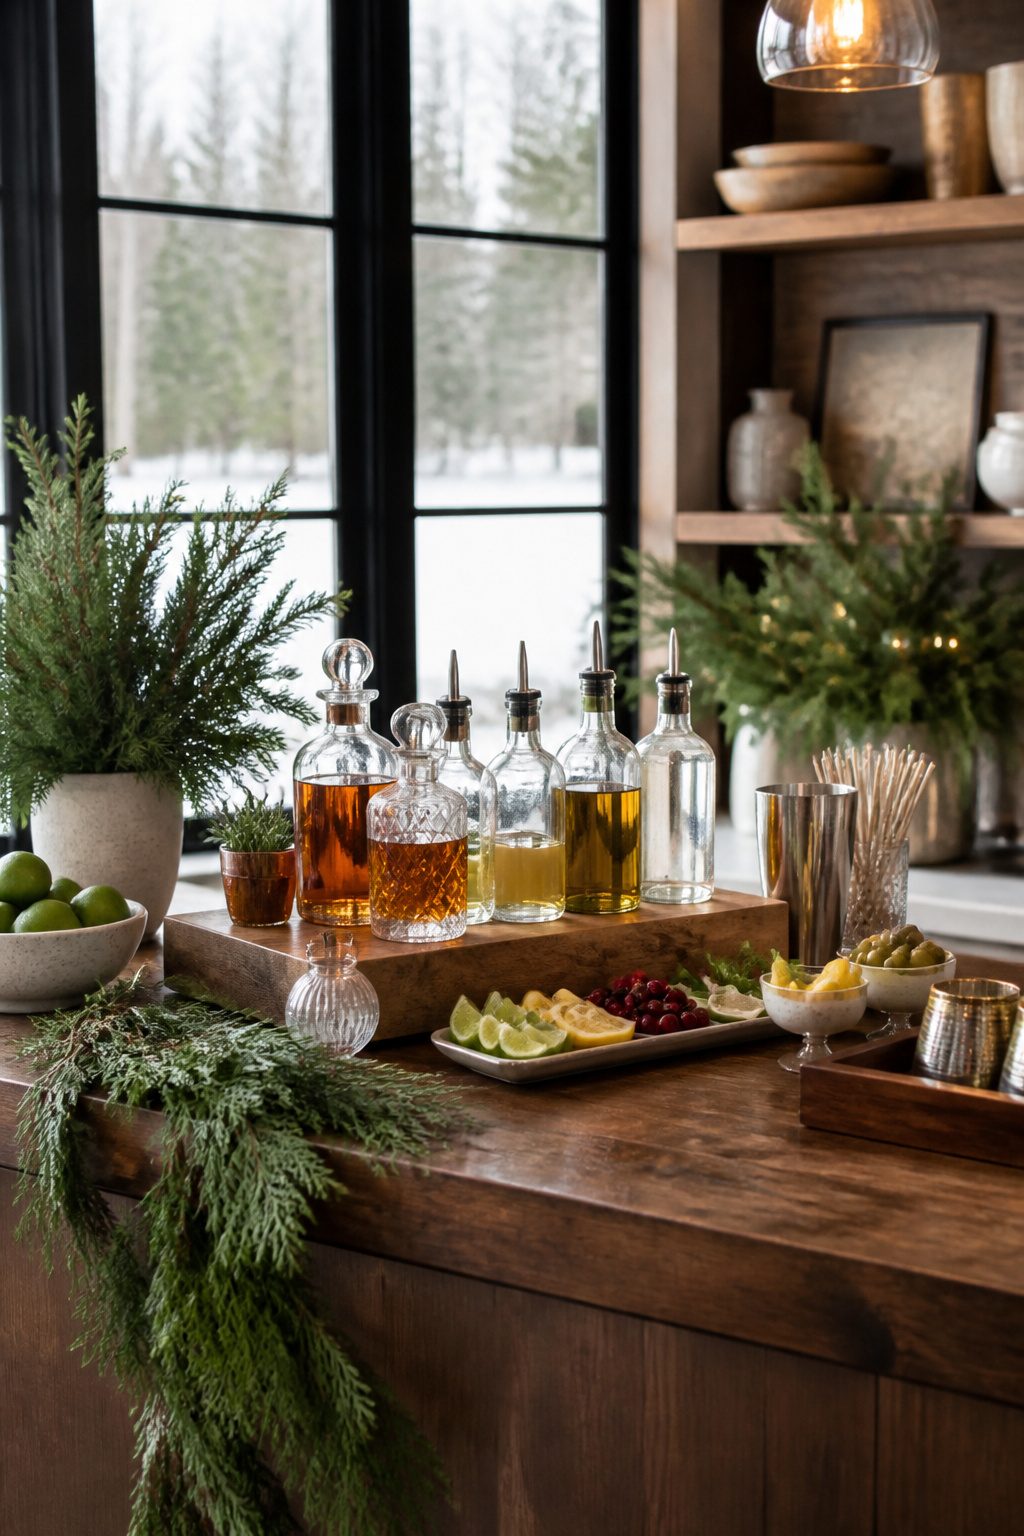
Wood cutting boards do the heavy lifting on my station, the same ones I pull out for cheese nights. A long board against the wall holds the bottles in a loose line: spirits, then syrups, then mixers left to right so guests read the build in order. Smaller boards or trays stage the garnishes at the front, which keeps limes from rolling into the ice bucket and lets me lift the whole setup to the sink when the party ends.
The tools sit out where hands find them without asking. A cocktail shaker, jigger, and ice scoop are the three I never skip. The scoop matters more than people think: it keeps fingers out of the ice, and it catches what the jigger drips between pours. I set a folded bar towel under the tools, dark enough that wet spots don’t shout, and swap it once during the night. The shaker goes back to the same spot every time, handle facing out, so guests who don’t mix drinks still know which end to grab.
4. Add Ice and Garnishes
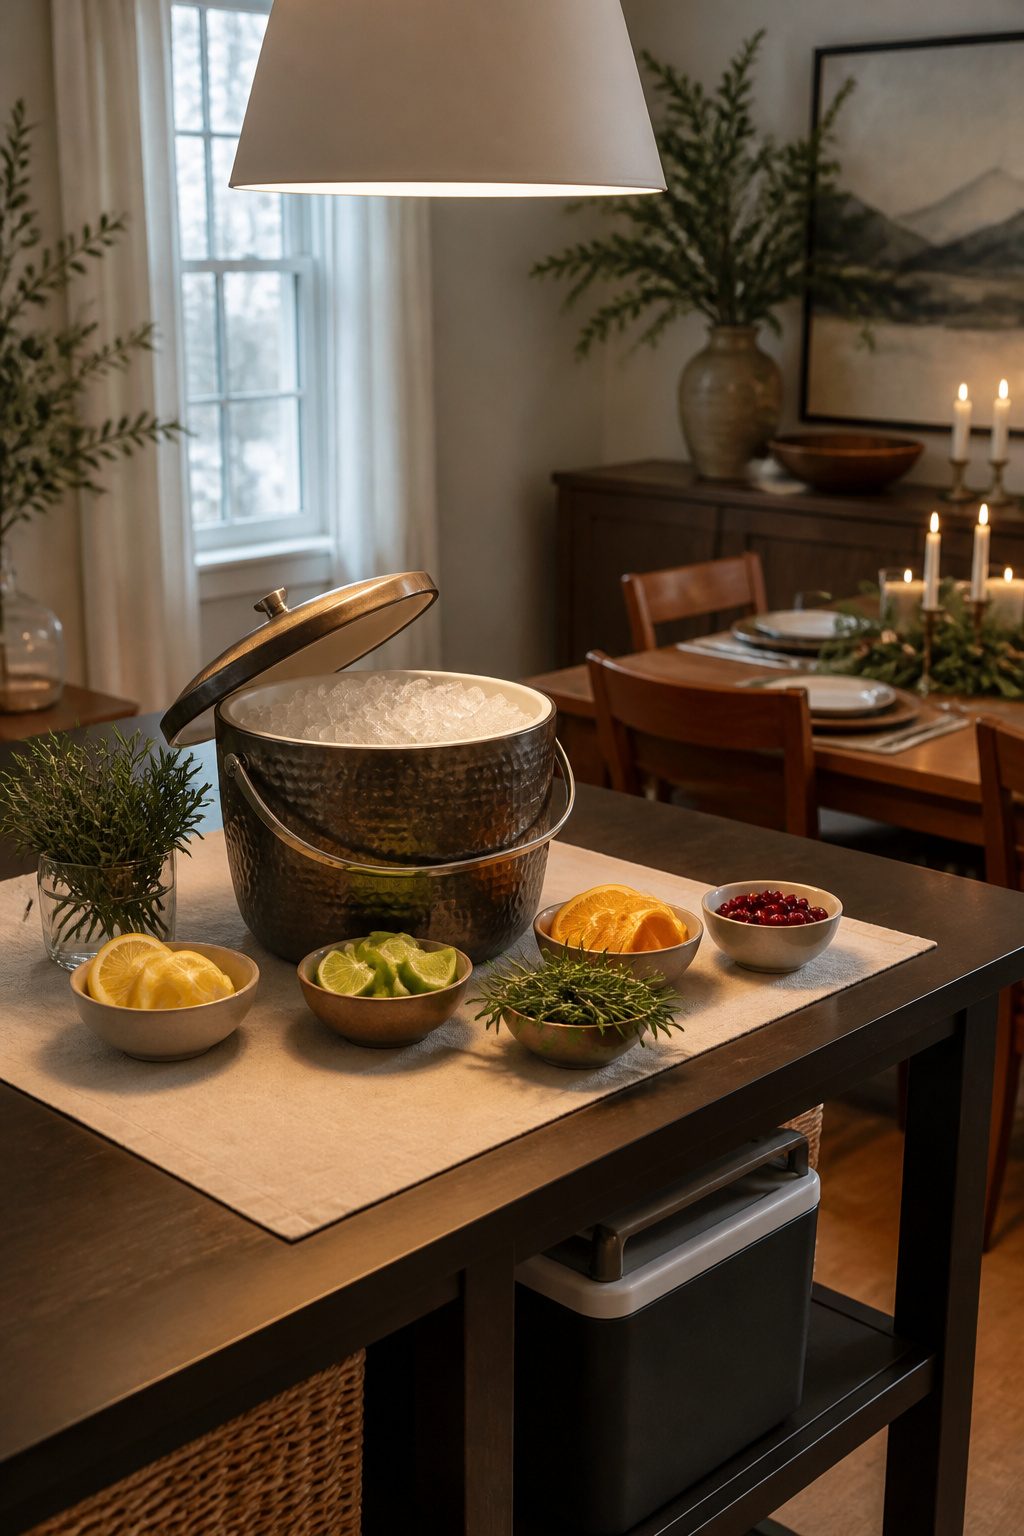
Ice melts faster than you think when the radiator kicks on or the kitchen gets crowded. One year I set out a galvanized bucket that looked great for about forty minutes, then spent the party fishing fruit out of lukewarm water. An insulated bucket or a small cooler tucked underneath the table solves this without killing the look. I lift the lid, refill, and the surface stays clean.
Pre-sliced citrus is non-negotiable if you want guests to build their own drinks without a line forming at your cutting board. I slice lemons, limes, and oranges the morning of, lay them on a sheet pan lined with parchment, and cover tightly with plastic wrap. They keep in the refrigerator until go time. For herbs, a damp paper towel wrapped around the stems and stored in a zip bag keeps mint and rosemary crisp for two days. I set out small bowls of each garnish within arm’s reach of the ice, not clustered at one end where three people block the station.
5. Decorate
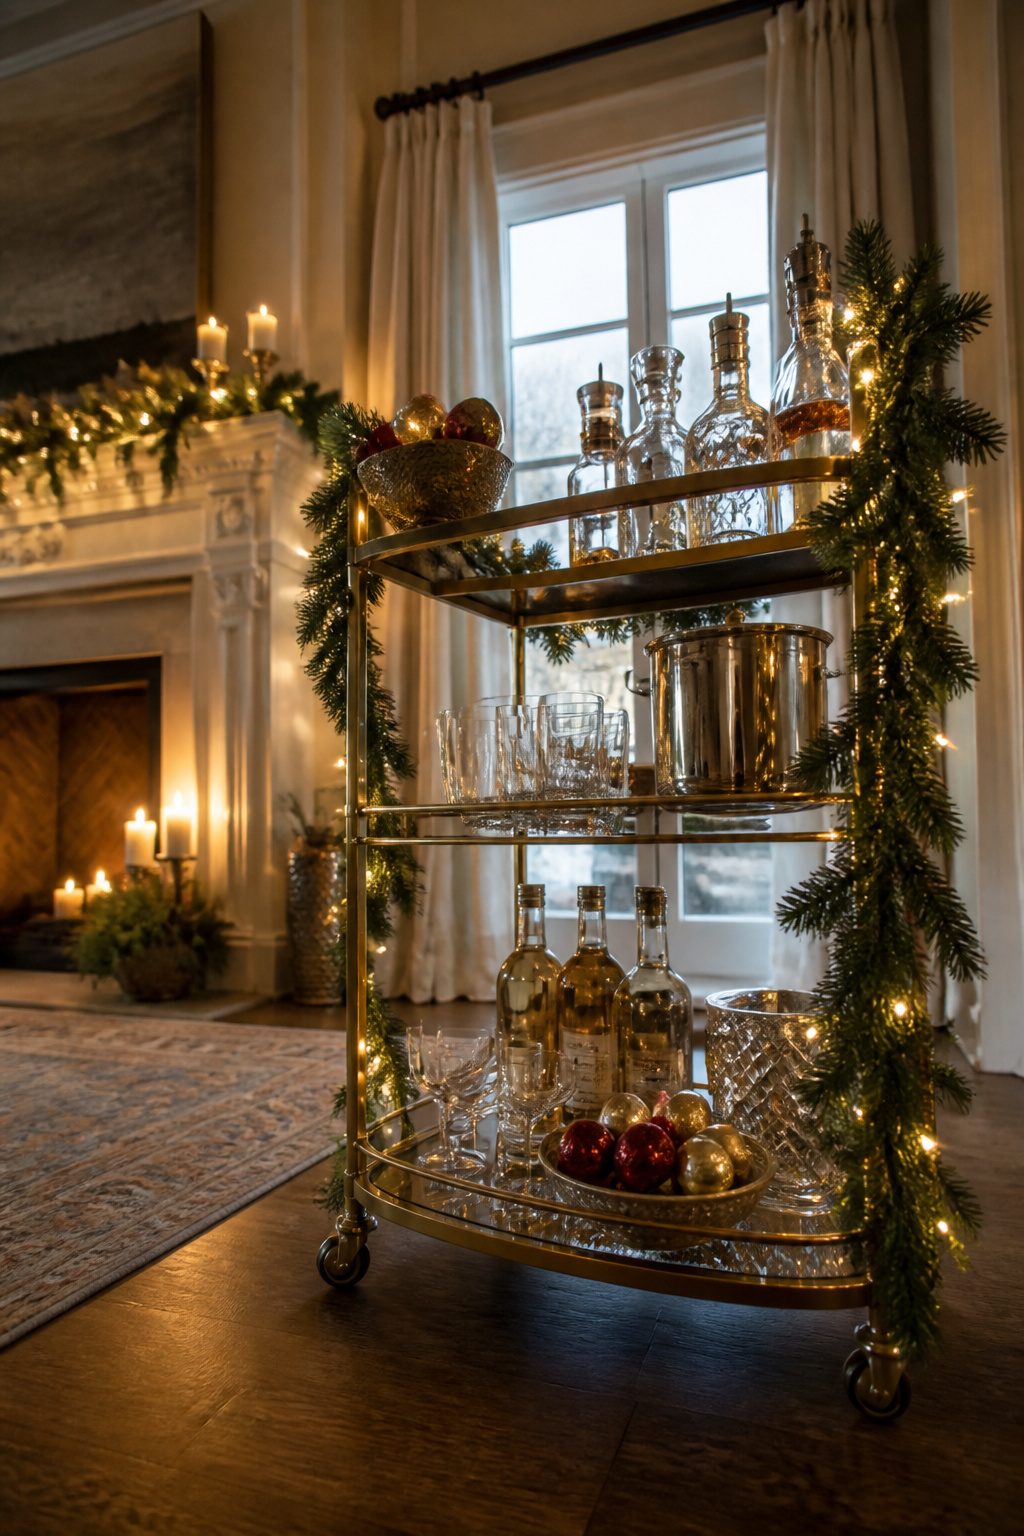
Holiday garlands drape nicely across the back of a bar cart or along a mantel behind the station, but the detail that actually matters is weight. A garland with a weighted base or a strand of battery-operated fairy lights laid flat stays where you put it; a plug-in strand strung overhead turns into a trip wire by hour two. Battery lights also let you set up away from the one outlet in a rental living room, which is where most of us end up working.
I skip the vintage crystal and silver displays. They look beautiful in photos, but on a station where people are pouring cranberry juice at 9 p.m., crystal collects fingerprints and silver needs polishing the next morning. A few ornaments tucked into a bowl or clipped to garland give the same color hit without the babysitting. Battery lights and weighted bases are the only decorations I trust to survive the party itself.
Low light from the fairy strings does more for mood than any overhead fixture. Keep the brightness down, the sparkle scattered, and the walking paths clear.
6. Provide Instructions
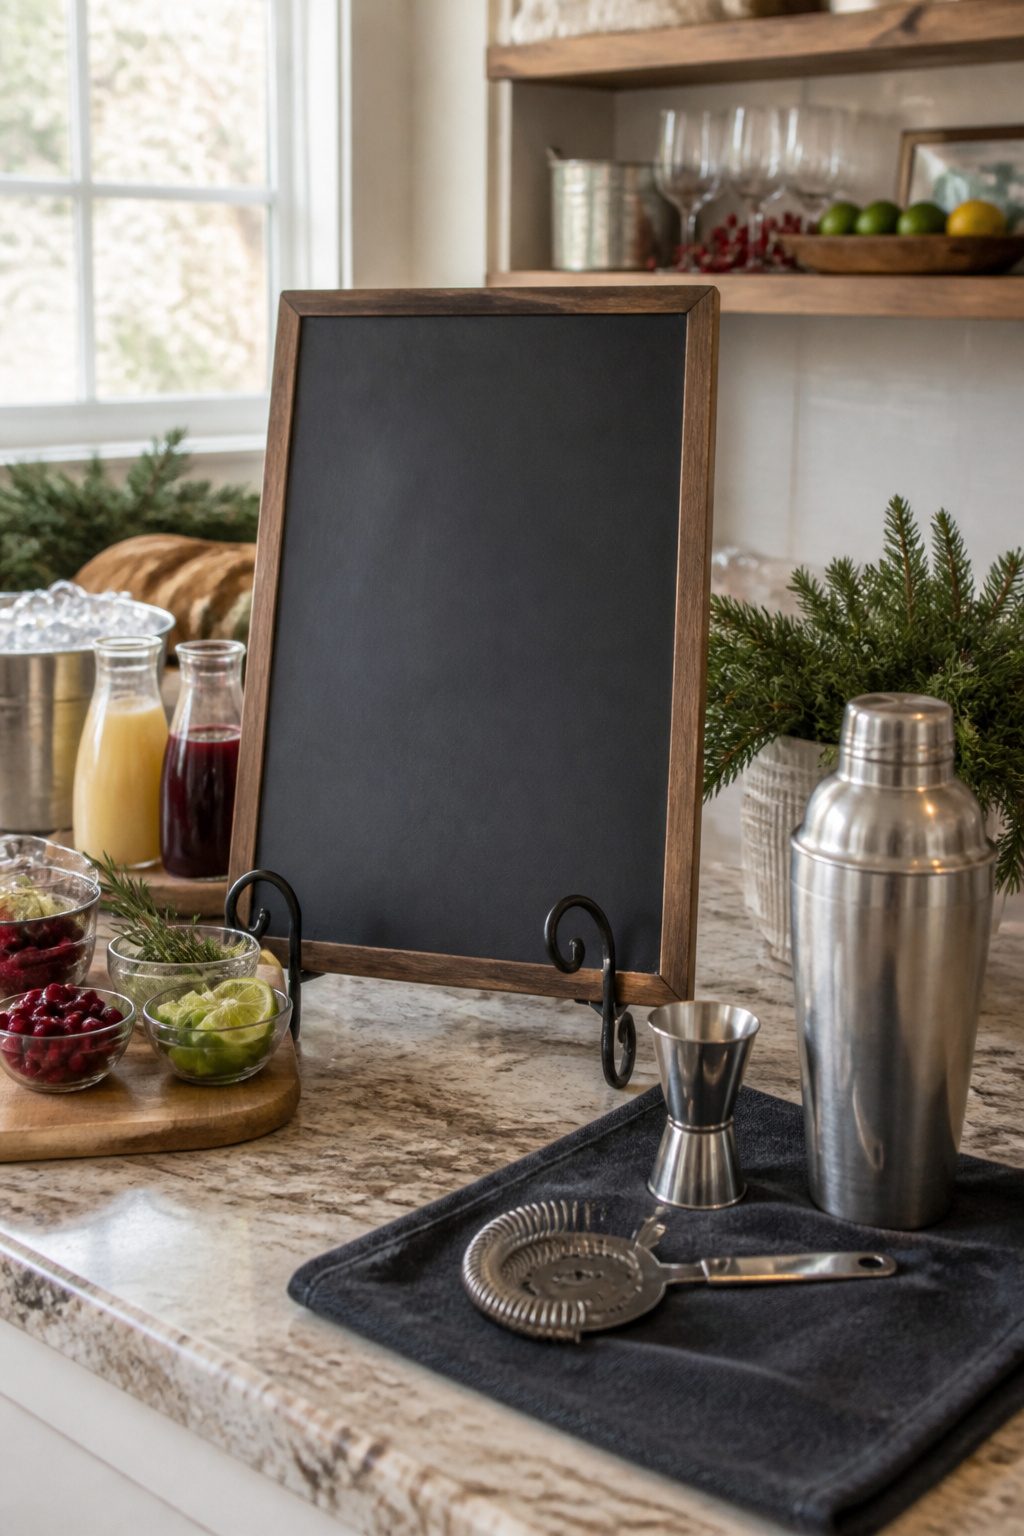
Recipe cards look charming until someone knocks a cranberry spritz across them. I learned that the hard way two years ago, when my neat row of printed cards absorbed an entire drink and the ink ran into the bar towel. Now I use a small slate board and a chalk pen, wiped clean between parties and rewritten for whatever I am serving. The format matters more than the material: list ingredients in the order they are added, like an assembly line, so a guest building a drink never has to backtrack.
The same board handles both cocktails and mocktails if you split it down the middle or just write small. I keep the mocktail instructions on the left, cocktail on the right, using the same base sodas and garnishes for both so the station does not sprawl. Guests who do not drink still get the ritual of building something, and the host does not double the inventory. A 9-ounce cup works for either: small enough to encourage sampling, low enough that it is harder to tip over than something tall.
Cocktail Recipes That Work
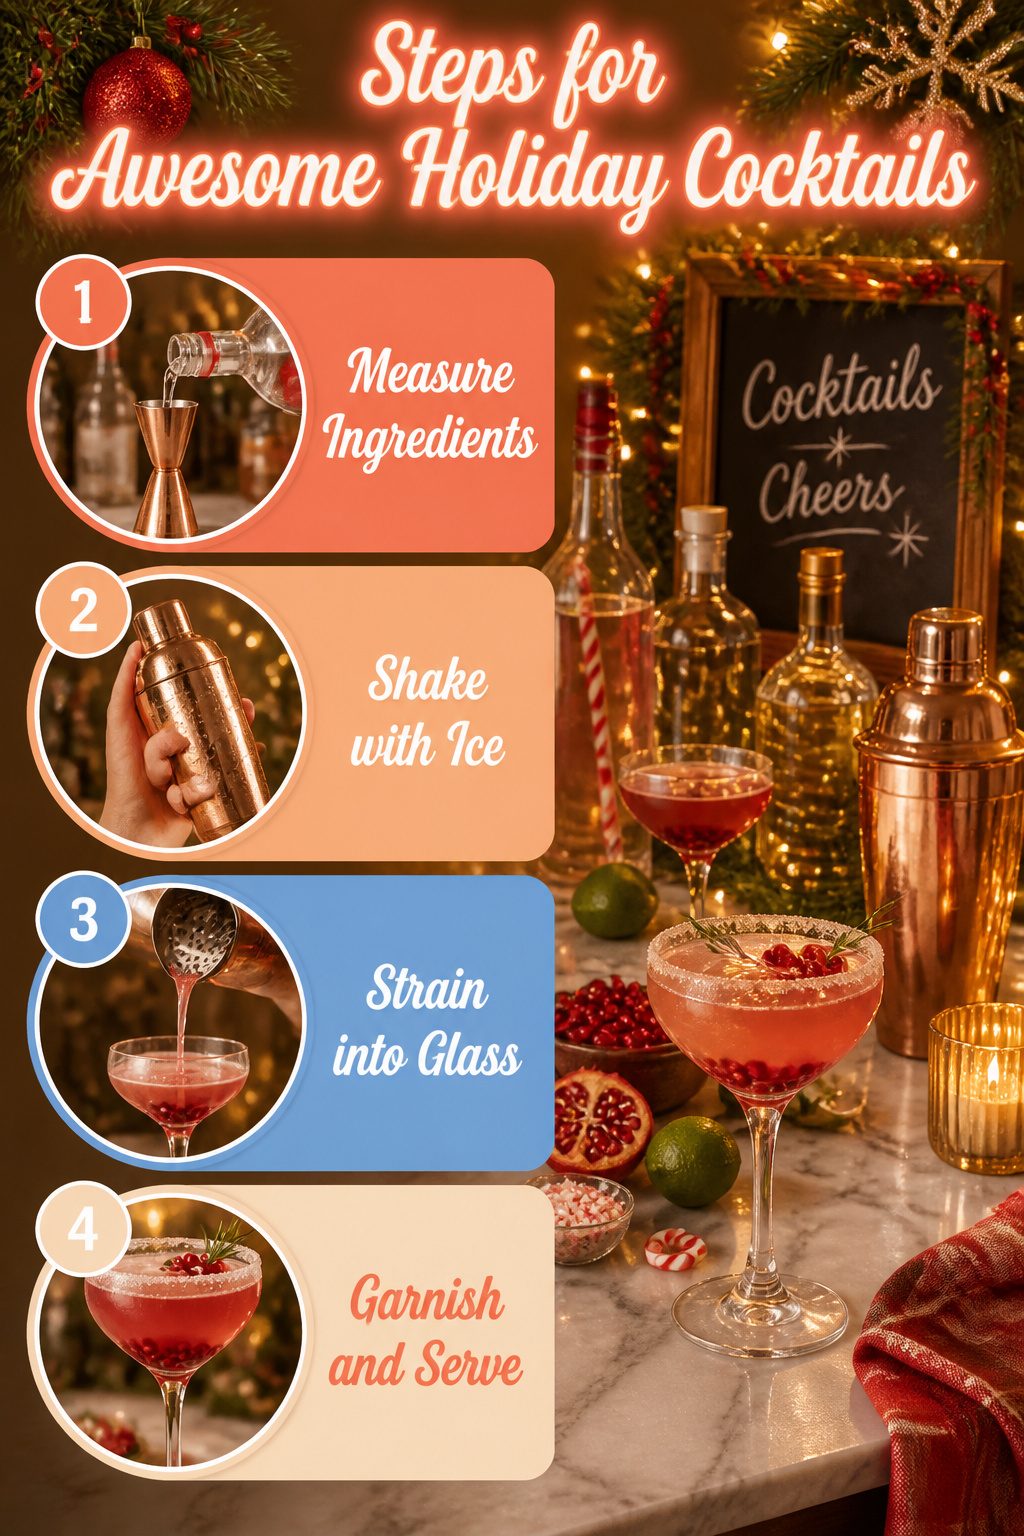
A 2-1-1 ratio, two parts base spirit to one part sour to one part sweet, keeps sours honest and fast to batch. For a pomegranate champagne cocktail I served last December, that meant 3 ounces of vodka, 1.5 ounces of tart cranberry-pomegranate juice, and 1.5 ounces of simple syrup over ice, topped with cold champagne and a teaspoon of pomegranate seeds settled at the bottom of the glass. The sanding sugar rim is worth the small saucer of juice and the dip: it buys you twenty minutes of sparkle before the humidity wins.
Highballs are even simpler at 3-1, spirit to mixer. A peppermint vodka cocktail follows this straight, 3 ounces peppermint vodka to 1 ounce half-and-half, shaken hard with crushed candy canes that strain out and leave faint speckles. The candy dissolves more than you expect; start with less than you think.
For guests skipping alcohol, the same ratios hold. A sour lime "Grinch" mocktail builds on ginger ale with fresh lime and simple syrup in 3-1-1 proportions. The ginger ale does the lifting that sparkling wine or vodka would do in its alcoholic cousins. One base, multiple directions. That is how you keep a drink station from becoming a barback shift.
Mocktail Options
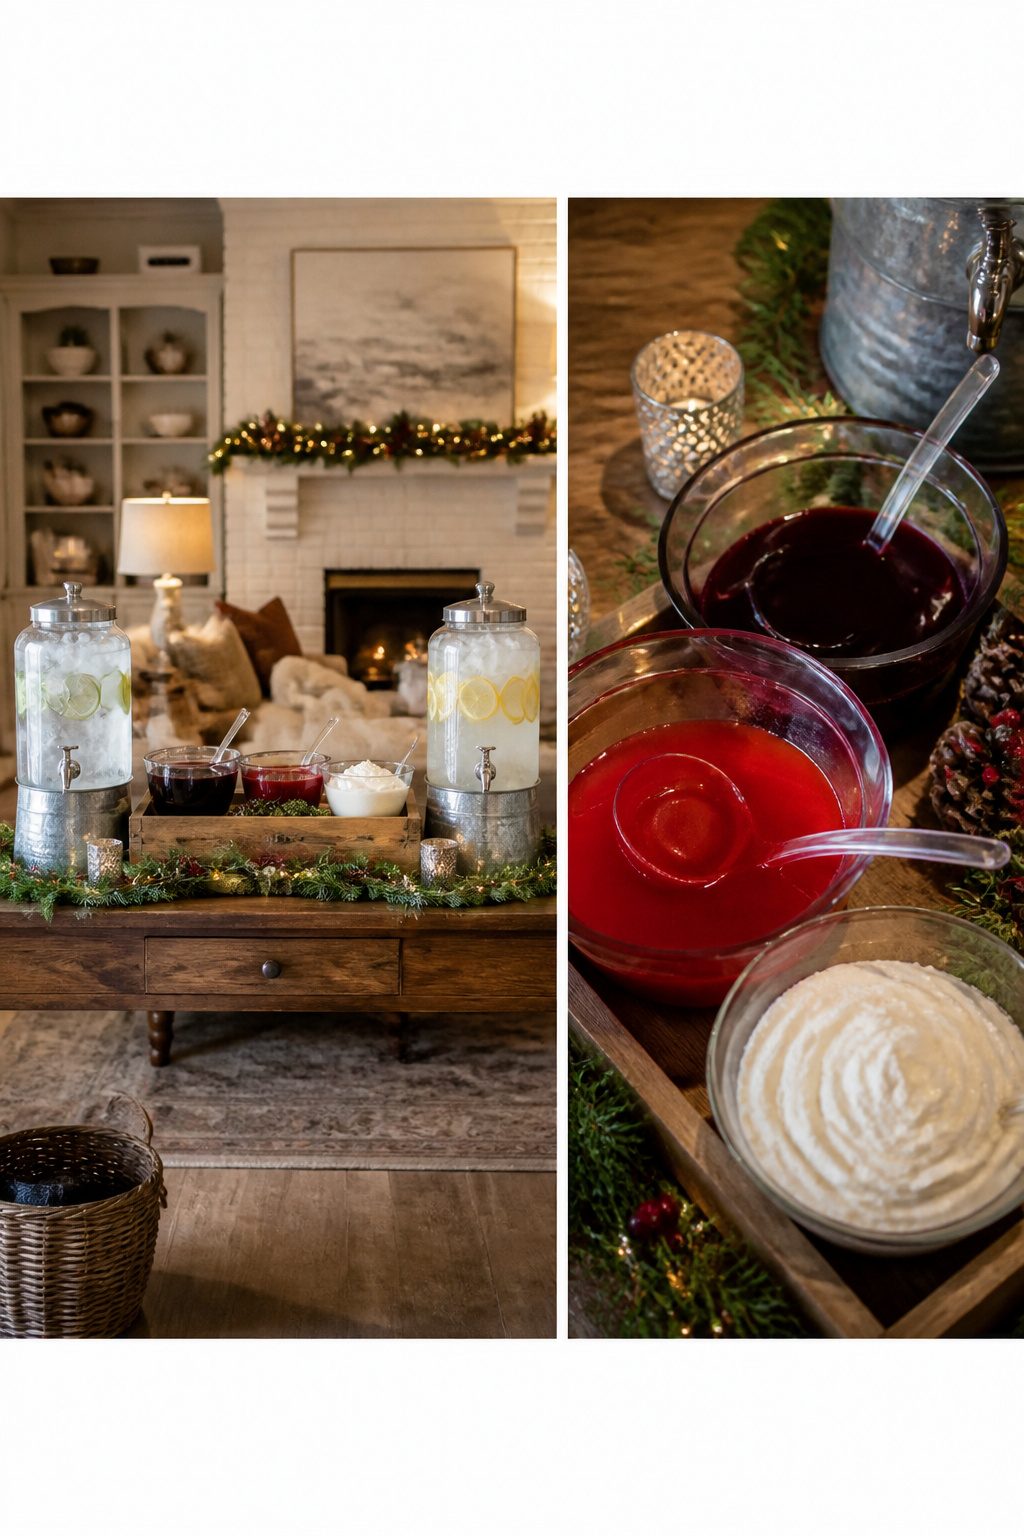
Kids at a holiday party need something to do with their hands, not just another cup of juice handed to them across a counter. The year I set up one drink station instead of two, the flow improved immediately. Everyone gathered in the same spot, and the younger guests stopped feeling like they were at the kids’ table.
I use the same mixers for both crowds. Club soda, tonic, lime wedges, and simple syrup live in the center. Spirits go on the right, labeled for the adults. The left side holds the mocktail fixings: cranberry juice, grenadine, and whipped cream in a can that children can operate themselves.
My go-to recipe is a limeade cooler modeled on the sour lime drinks I’ve seen work at other gatherings. Mix one can of frozen limeade concentrate with two cans of water, not the four the package calls for. Pour over ice, top with a squeeze of fresh lime and a swirl of whipped cream. The tart base keeps it from reading as candy, but the cream makes it feel like a treat. A maraschino cherry on top rounds it out.
Adults often steal a glass too, especially late in the evening when they’ve had enough of the harder stuff. One station means less replenishing, less furniture, and less of that subtle segregation that turns a party into two parties running parallel.
Glassware and Disposables
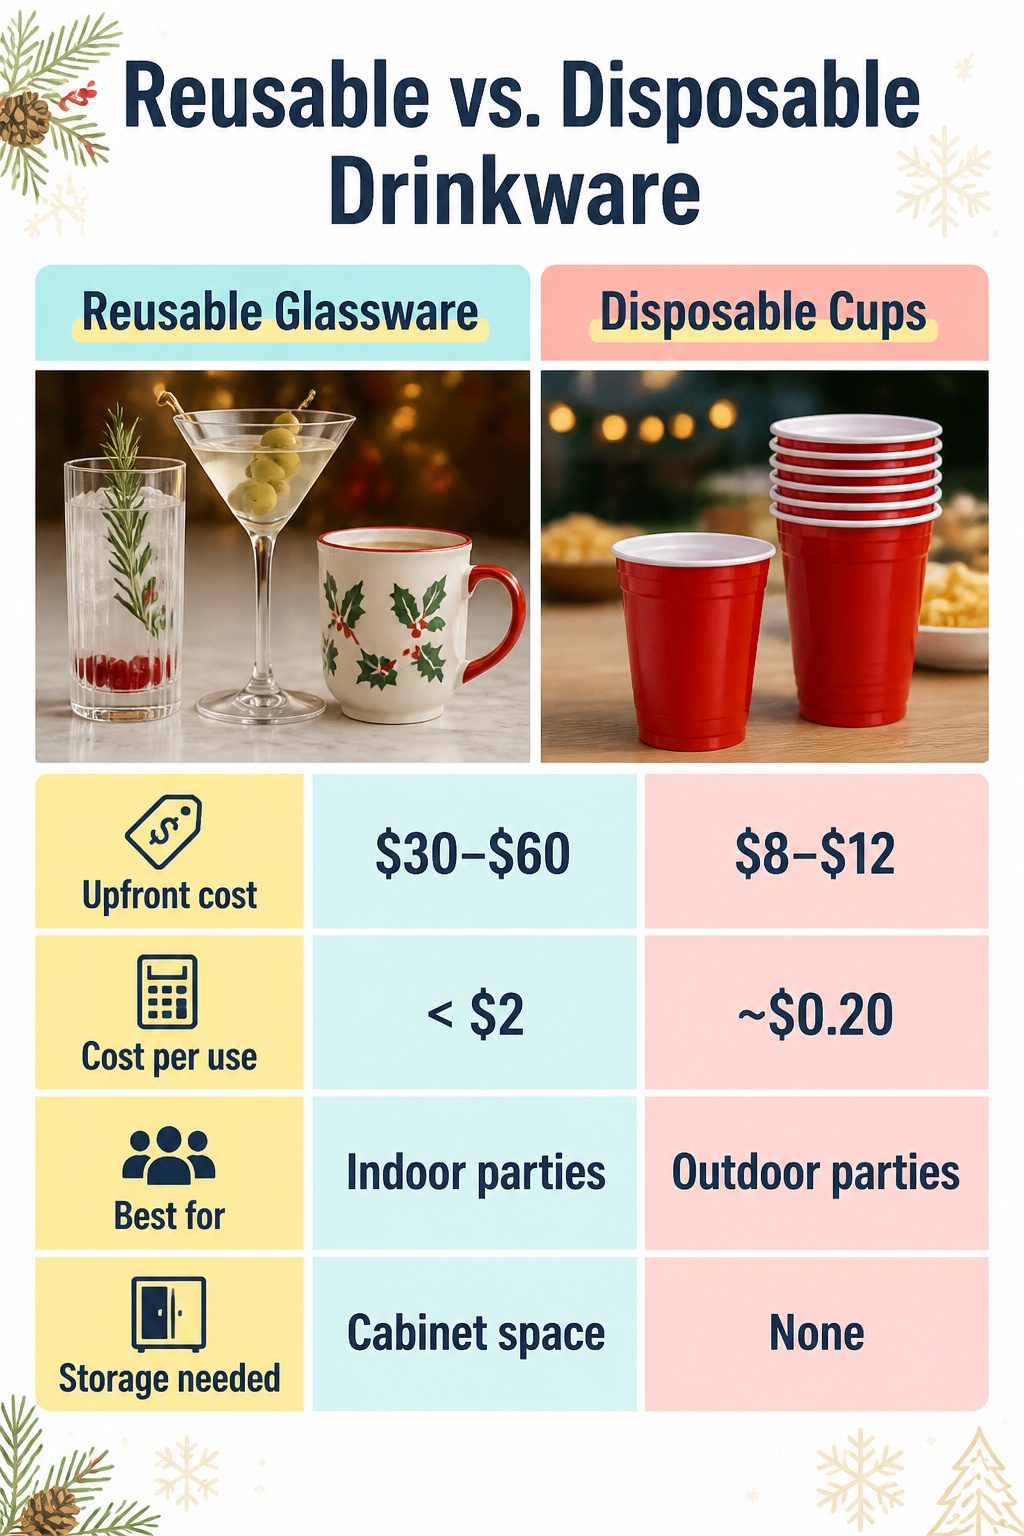
Highball glasses and festive mugs look better in photos, but the cost-per-use math only works if you actually use them again. I keep a set of twelve highballs and six martini glasses that come out for groups under fifteen. At roughly two dollars per use after three holiday seasons, they have paid for themselves against the disposable route. The mugs, mostly gifts, cost me nothing and earn their shelf space two mornings each December.
| Reusable glassware | Disposable cups | |
|---|---|---|
| Upfront cost | $30–$60 for a basic set | $8–$12 per 50-pack |
| Cost per use (est.) | Drops below $2 after year two | Fixed at ~$0.20 |
| Best for | Indoor parties, repeating guests | Outdoor parties, 15+ people, first apartments |
| Storage needed | Cabinet space | None |
I break out disposables for outdoor parties, crowds over fifteen, or anyone still in their first apartment. Wind tips stems, sinks back up, and no one starting out needs more stuff to move. The rest of the time, real glassware wins on cleanup, since one rinse beats a trash run.
DIY Labels and Cards
Paper labels taped to glassware look crisp for about twenty minutes before the condensation wins. I learned that the hard way at a New Year’s gathering where every tag curled into a tiny scroll by the second round of drinks. That failure sent me hunting for something that could survive an actual party.
Wax pencil on slate coasters worked better and cost almost nothing. A four-pack of thin slate squares ran about eight dollars, and a white china marker wrote clearly and wiped off with a damp cloth. The catch was the dust. Slate sheds a fine gray powder that ended up on fingertips and then on glass rims. For a white-wine crowd, that gets old fast.
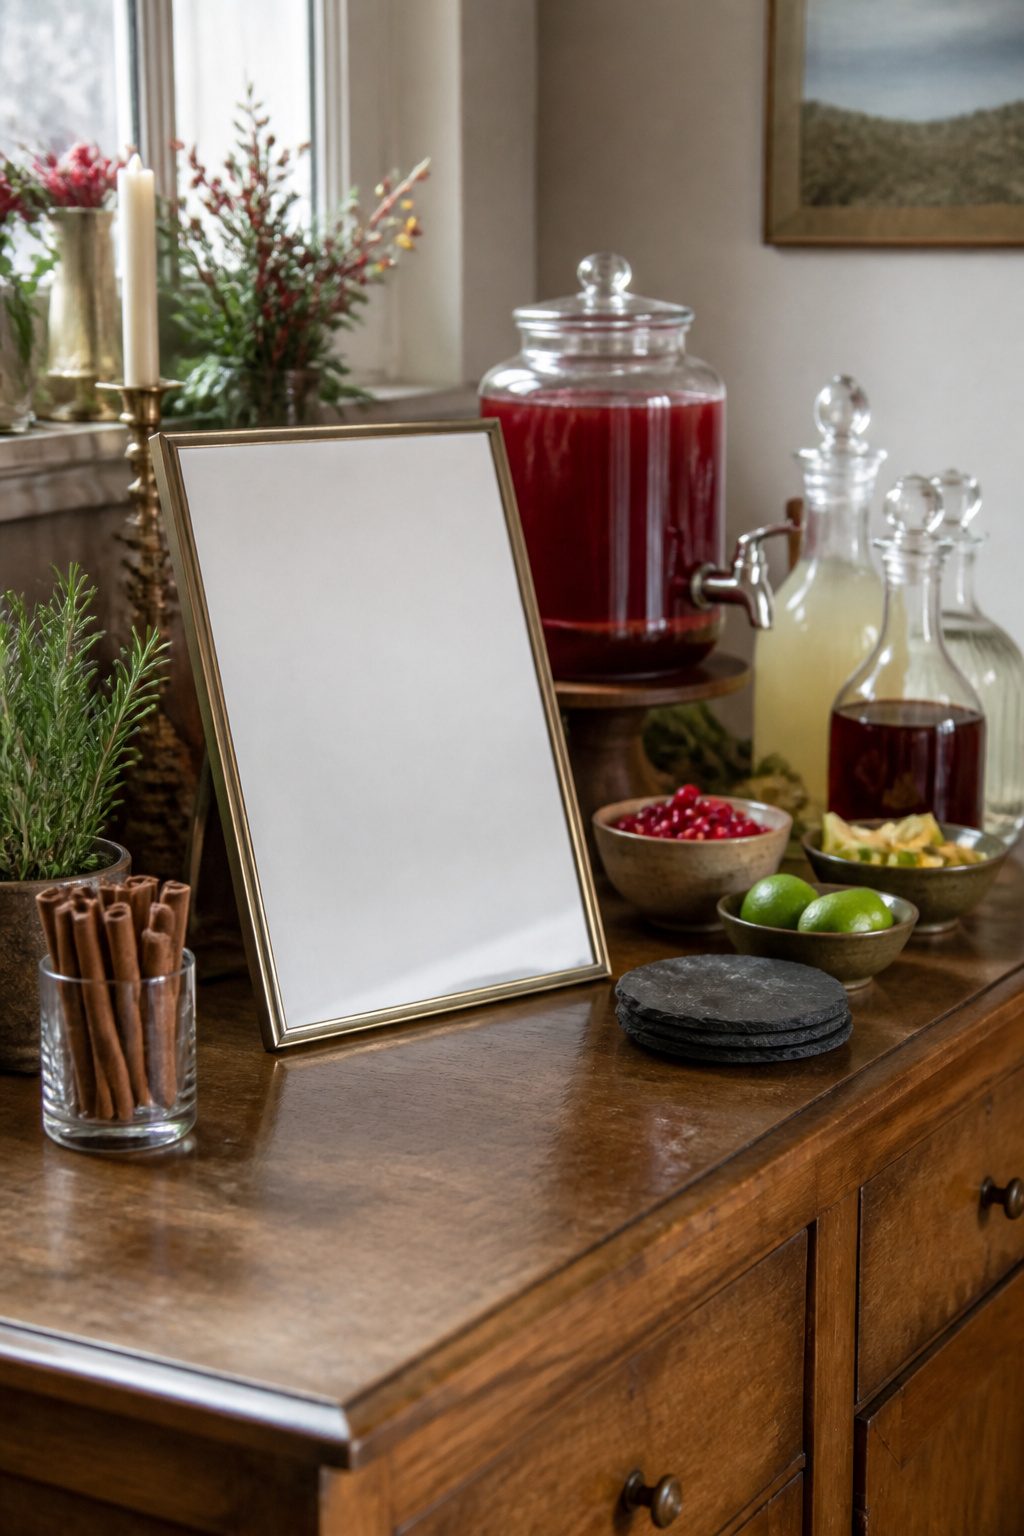
The setup I still use is a 4×6-inch standing frame with a dry-erase insert. The frame was three dollars at a discount store, and I cut a piece of glossy cardstock to fit inside. Dry-erase markers wipe clean with a paper towel, so one frame cycles through "Spiced Cider," "Bourbon Punch," and "Water" in a single evening. It takes under a minute to rewrite, and the frame sits high enough that spills miss it entirely. Total investment: about five dollars and ten minutes of assembly.
What Guests Actually Do
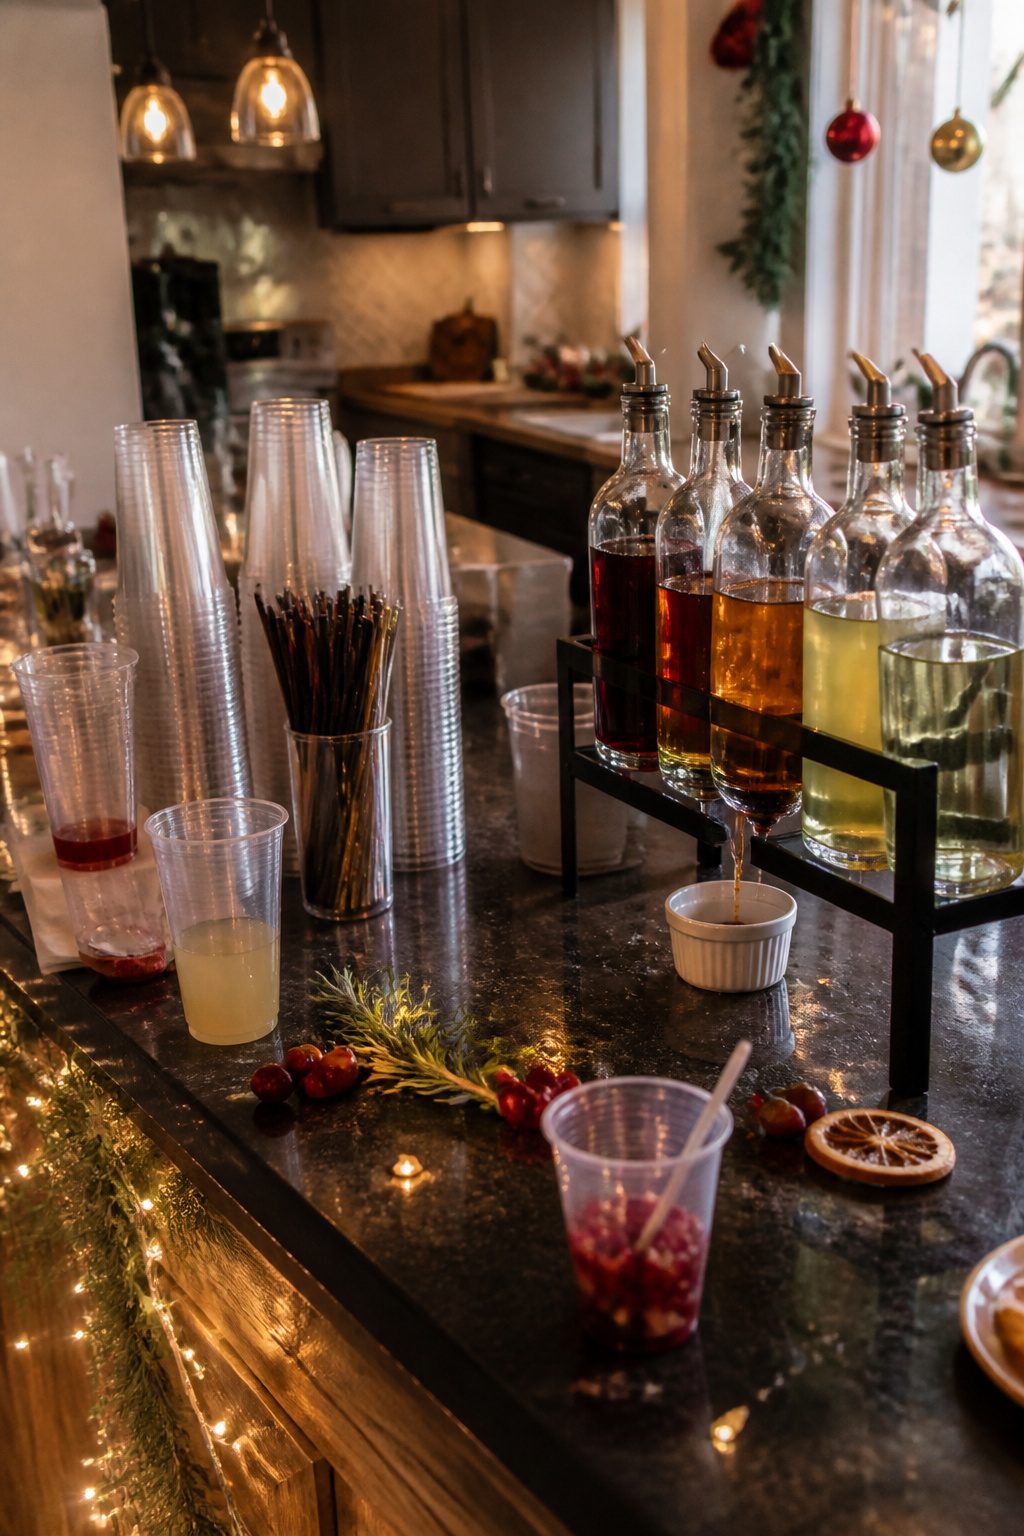
A drink station is not a bar you tend; it is a permission slip for guests to stop being polite and start being hands-on. The shy ones hover at the edges until they see someone else build something terrible and drink it anyway. That is the signal they needed. I have watched a guest who barely spoke all evening suddenly name her creation the "Reindeer Sunset" and spend twenty minutes explaining the layers to anyone who would listen. The station turns consumption into conversation.
The cleanup is real, and it is worth planning for. Smaller cups mean less waste per failed experiment, and a spare cup under any dispenser spigot catches the drips guests never quite stop in time. Beverage napkins within arm’s reach get grabbed faster than the ones across the table. Younger mixologists especially produce the sticky rings and abandoned garnishes you will find the next morning. I do not mind the trade. The host who mixes every drink misses the party; the host who sets out the pieces gets to watch guests entertain themselves.
Frequently Asked Questions
How do you set up a holiday drink station?
Choose a location where guests already gather, like a kitchen island or dining table, and clear about two feet for bottles and glassware. Test the spot by walking with a full glass; if you spill, pick somewhere else. Prep ingredients the morning of, arrange spirits left to right with mixers and garnishes in front, and set out a shaker, jigger, and ice scoop where hands find them without asking.
What drinks should I include at my holiday drink station?
Keep mid-shelf vodka, gin, rum, and whiskey on hand, plus club soda, tonic, orange juice, and cranberry juice. Add vanilla and peppermint syrups for holiday flavor without buying a full bar of liqueurs. For mocktails, stock ginger ale, lime wedges, simple syrup, and grenadine so both adults and kids can build drinks from the same base.
How can I make a mocktail station for kids?
Set up one shared station instead of segregating kids to a separate table, with spirits on the right for adults and mocktail fixings on the left. Stock cranberry juice, grenadine, whipped cream in a can, and a tart limeade base made from frozen concentrate mixed with two cans of water, not four. Children get the ritual of building their own drink, and adults often steal a glass too.