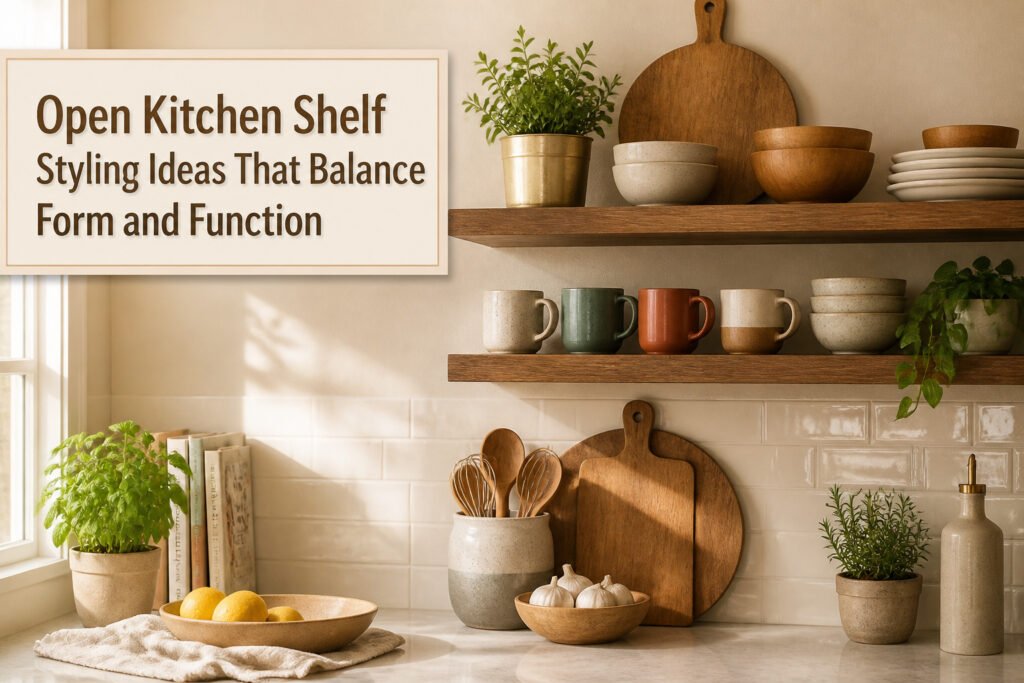
The trick to making open kitchen shelves look intentional rather than cluttered is not buying more things, but choosing which everyday items earn the display. Most attempts fail because the shelves hold a separate "pretty" set you never touch, while the plates you actually use stay hidden in cabinets. Start with the mugs you reach for each morning and the bowls that hold Tuesday’s roasted vegetables; the daily use keeps the arrangement honest. A single walnut cutting board leaned against the tile, or a brass planter you already own, gives white ceramic the contrast it needs to stop disappearing into the wall.
1. Mixing Textures
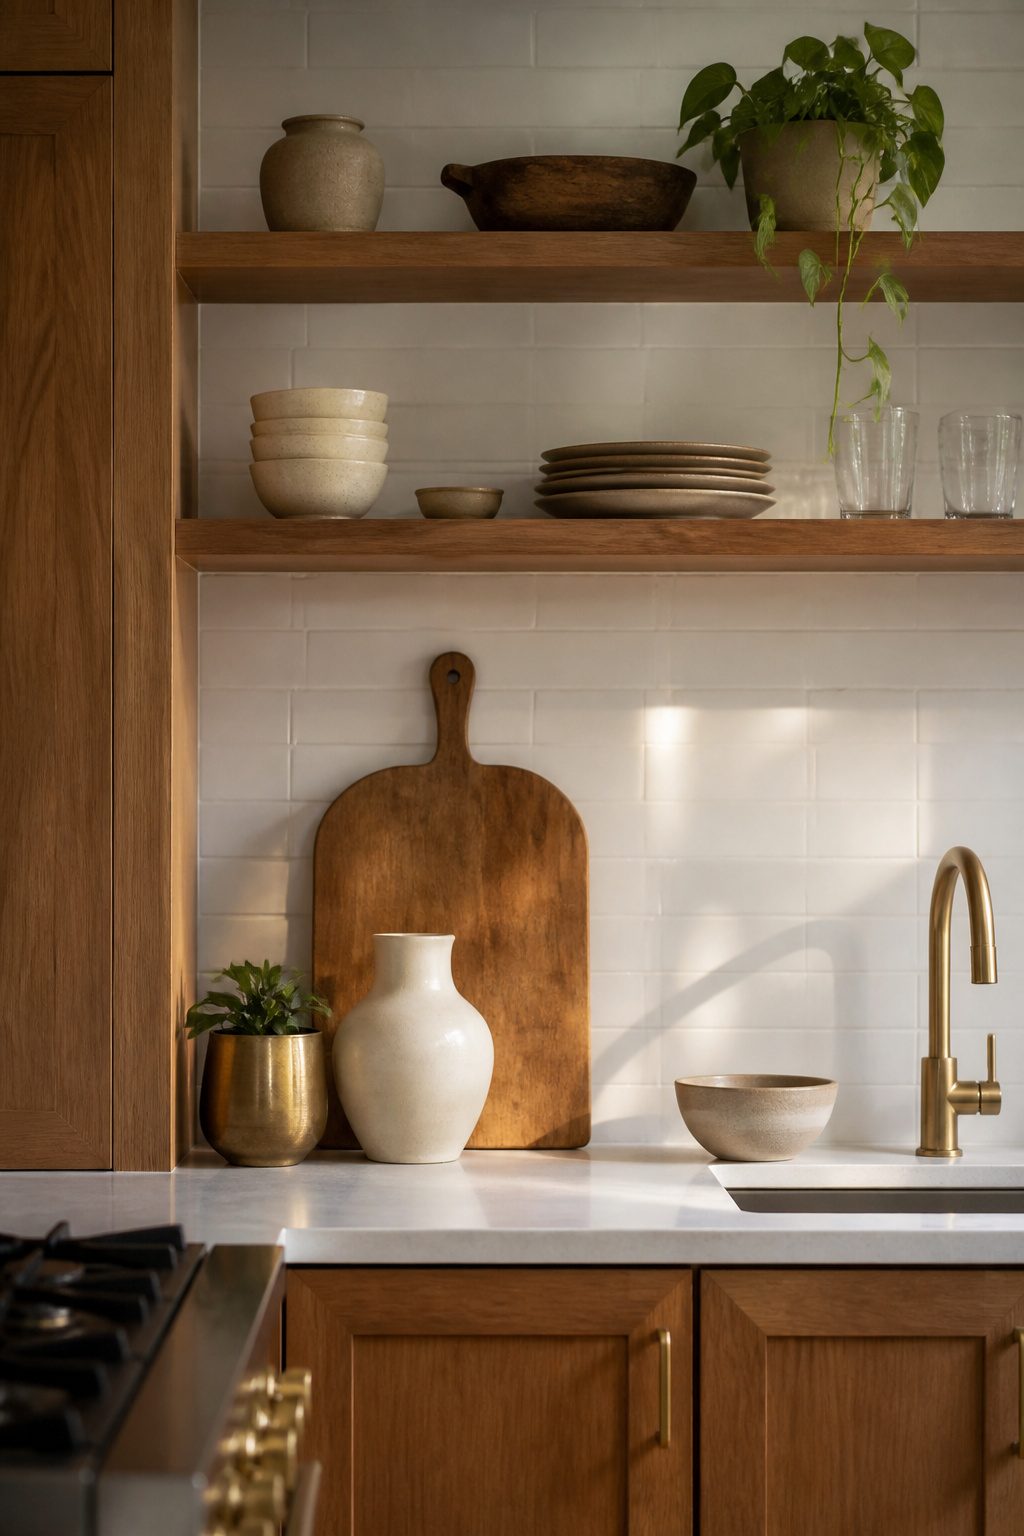
Wood, ceramic, and metal each read as a single temperature on their own. Put them together and the shelf starts to feel like a room rather than a display.
My own shelves went flat the first time I styled them because I treated white ceramic as the whole story. Everything matched, and everything disappeared. The fix was adding a walnut cutting board leaned against the tile backsplash and a small brass planter I already owned. The wood grain and the warm metal gave the ceramic something to push against.
Natural fibers and stone do the same work if you have them, but the core trio of wood, ceramic, and metal is enough to keep a display from looking staged. One textured bowl or a single ceramic vase against a metal rack creates the overlap without clutter. The contrast is the point, not the count of objects.
2. Color Palette
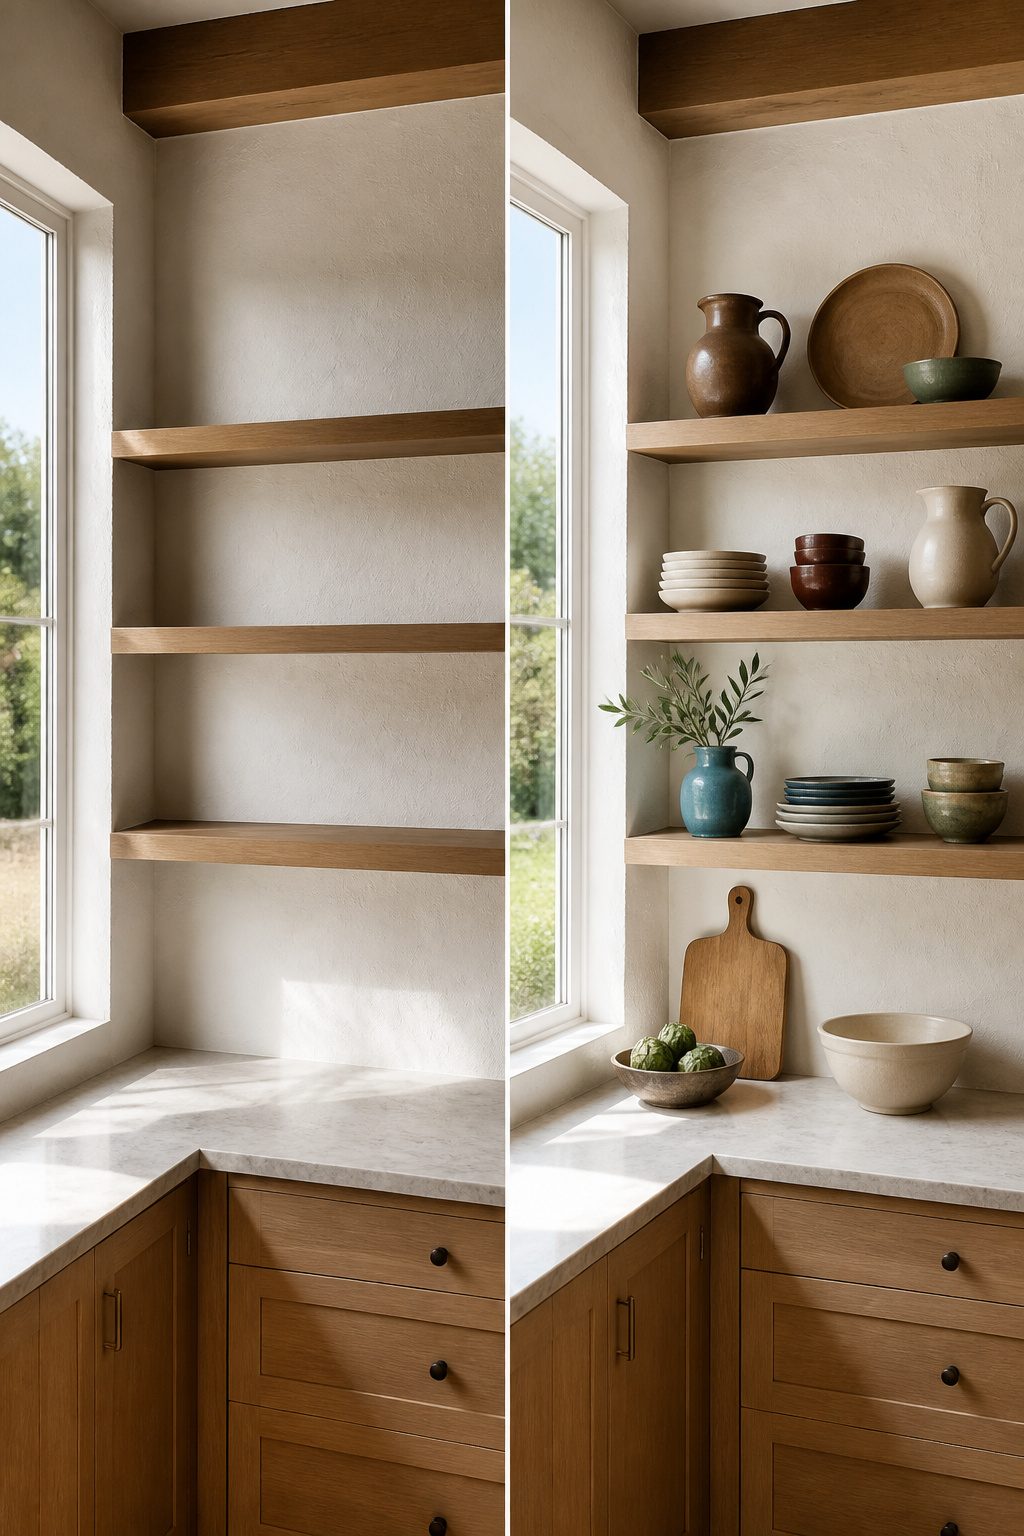
A unified color story keeps open shelves from reading as visual noise. Stick to brown, burgundy, beige, earthy green, blue and every shade of white/ivory and the whole wall calms down into something that feels intentional rather than cluttered. These tones all turn up outdoors, which is partly why they play well together; nothing jars because nothing is fighting to be the loudest piece in the room.
Keep every hue subdued and you can mix shapes, eras, and finishes without the shelf looking busy. One approach that works is anchoring the arrangement around a single neutral, adding one accent color, then letting white or ivory do most of the visual heavy lifting. If you own a landscape painting or a framed photograph with muted greens and blues, pull from it directly: the dishes, the small accessories, even the spine colors of any cookbooks you keep in rotation. The result reads as one continuous story rather than a collection of separate purchases.
3. Layering and Stacking
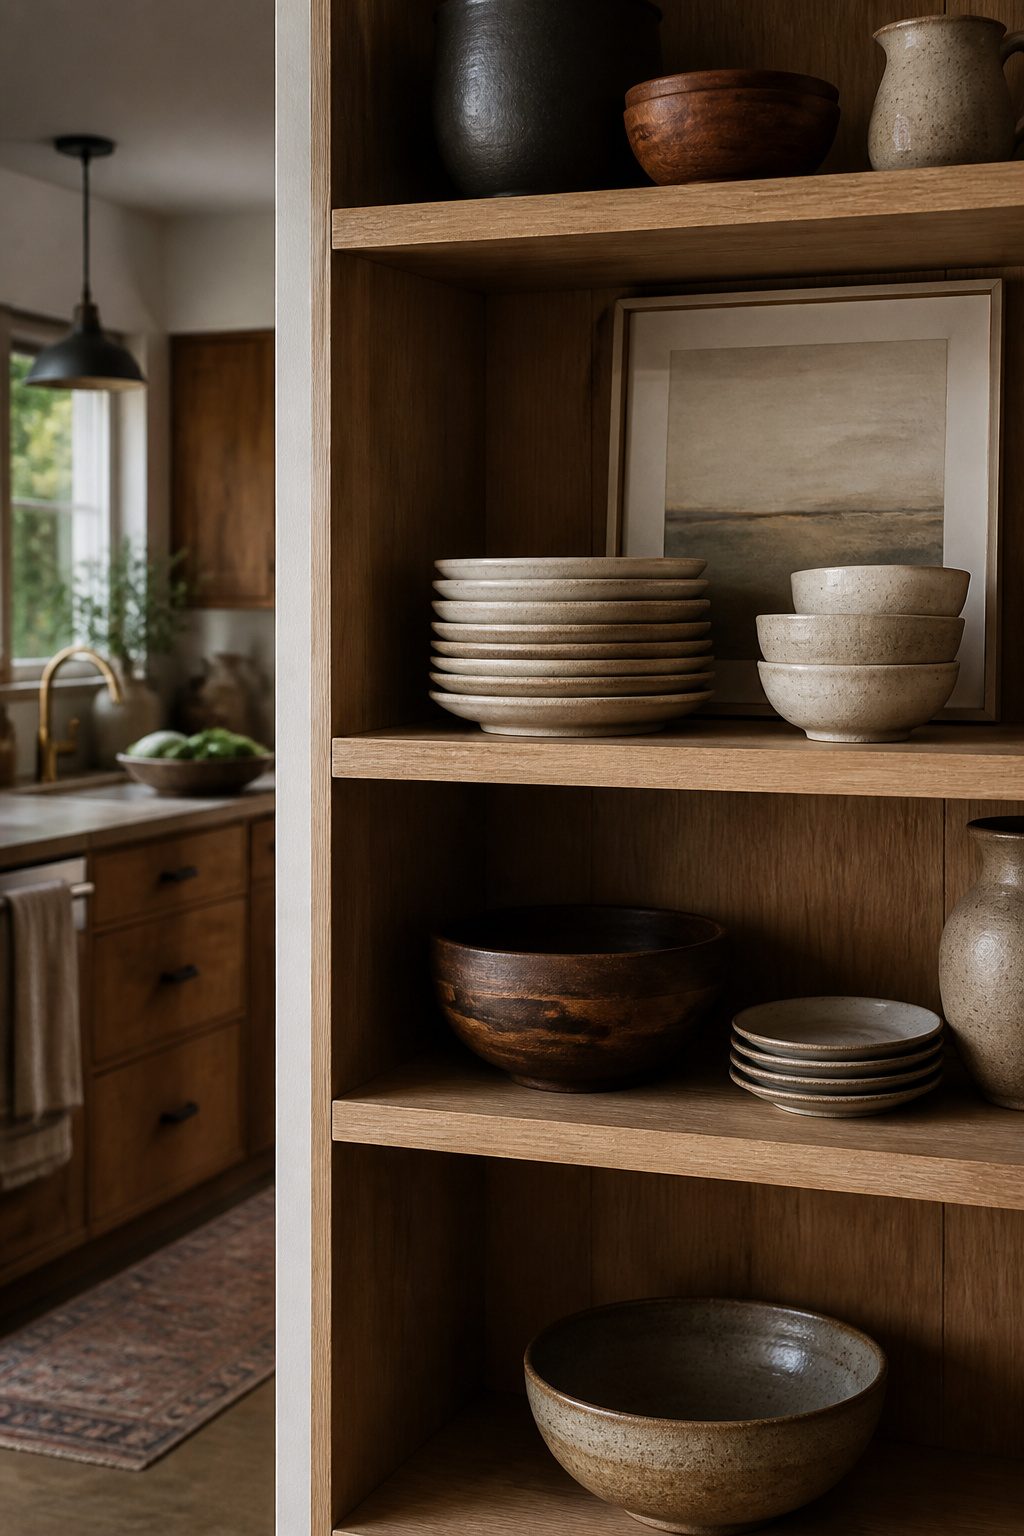
Stacks of plates and bowls do more than save space. They turn vertical storage into the thing your eye notices first. A tall pile of dinner plates beside a shorter one of side plates or bowls keeps a shelf from looking lifeless, like a row of identical binders. The different heights create rhythm without clutter.
What I see too often is everything lined up in a single row, each plate standing on edge like soldiers at inspection. That reads as tidy for about a day, then goes flat. Stacking lets dishes function as sculptural elements, but the trick is grouping like shapes and sizes so the order still looks deliberate. A wobble or an uneven heap undoes the whole effect fast.
I also pay attention to alignment. Centering a stack on the shelf, or lining it up with the bracket below, gives that clean architectural look that makes everyday dishes feel designed rather than merely stored. Plates with textured edges or shaped rims earn their spot here; the detail shows at the rim of each stack and rewards the closer look open shelving invites.
4. Incorporating Greenery
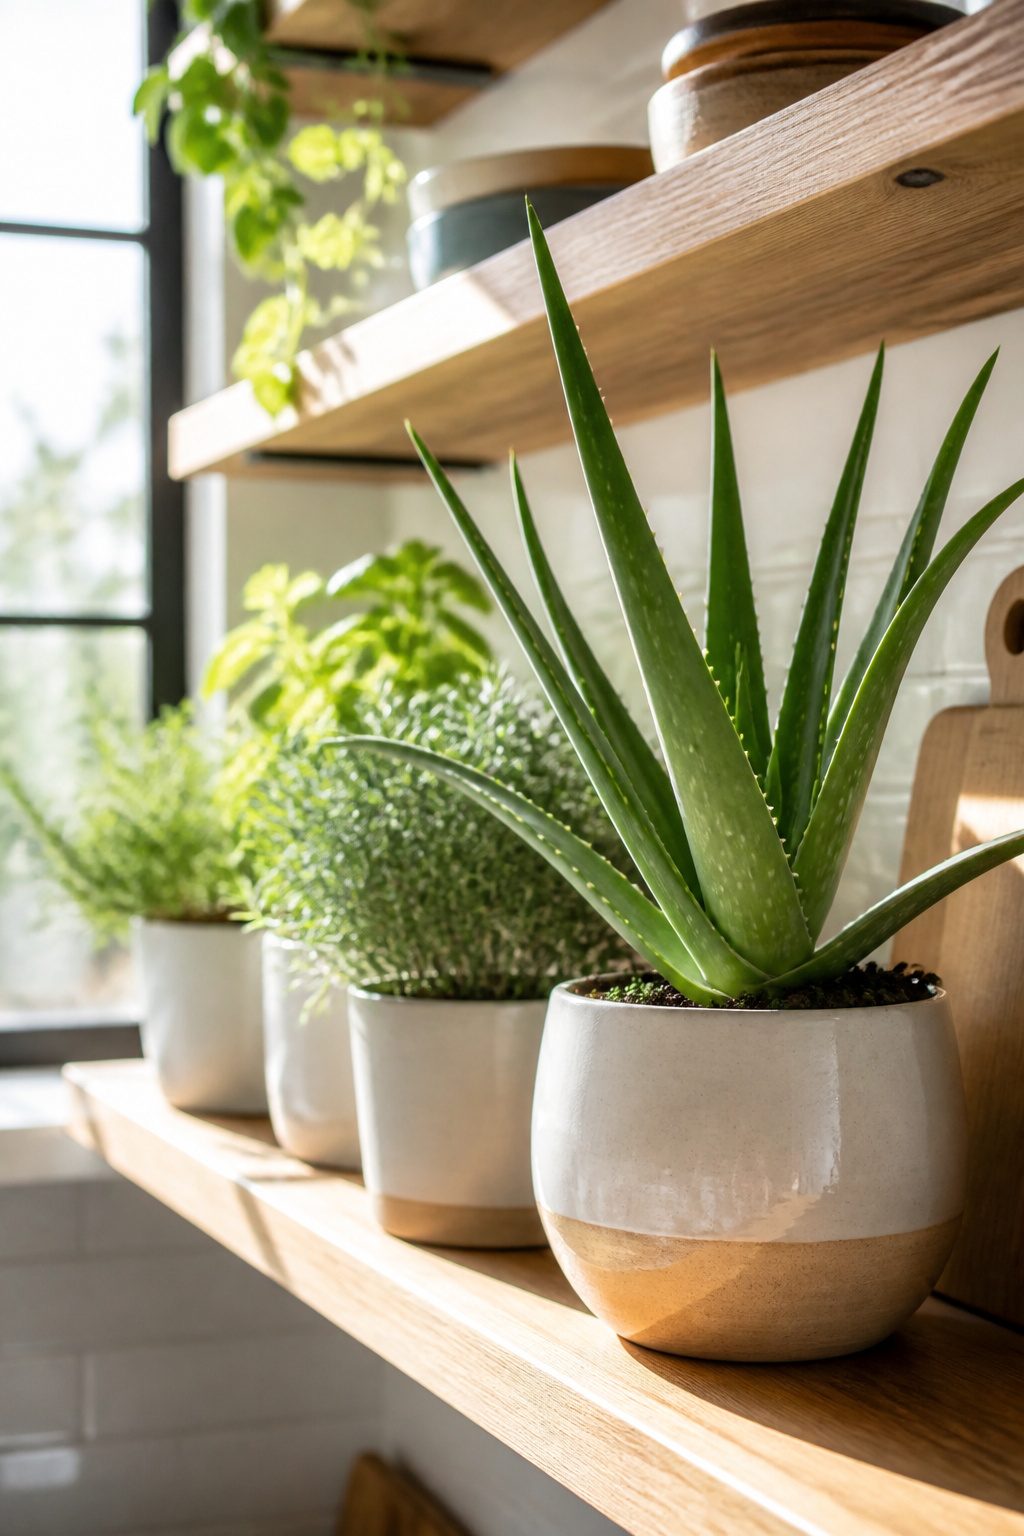
A potted plant or fresh herbs on kitchen open shelves is a must, but only if the shelf actually sees daylight. I killed three basil starts on a north-facing wall before I checked the angle; now an aloe sits there instead, and the herbs live on the sill over the sink.
Open shelving puts greenery where it gets noticed, which also means where it gets used. A snip of rosemary you walk past is one you cook with. The trick is spacing: one plant every two feet keeps the rhythm without turning dishes into a jungle understory.
Aloe or a trailing pothos handles the dim spots; herbs need the prime real estate. Ceramic pots with saucers beat cachepots for drainage, and a matching set of three reads as intentional even when the basil is half-eaten.
5. Functional Items
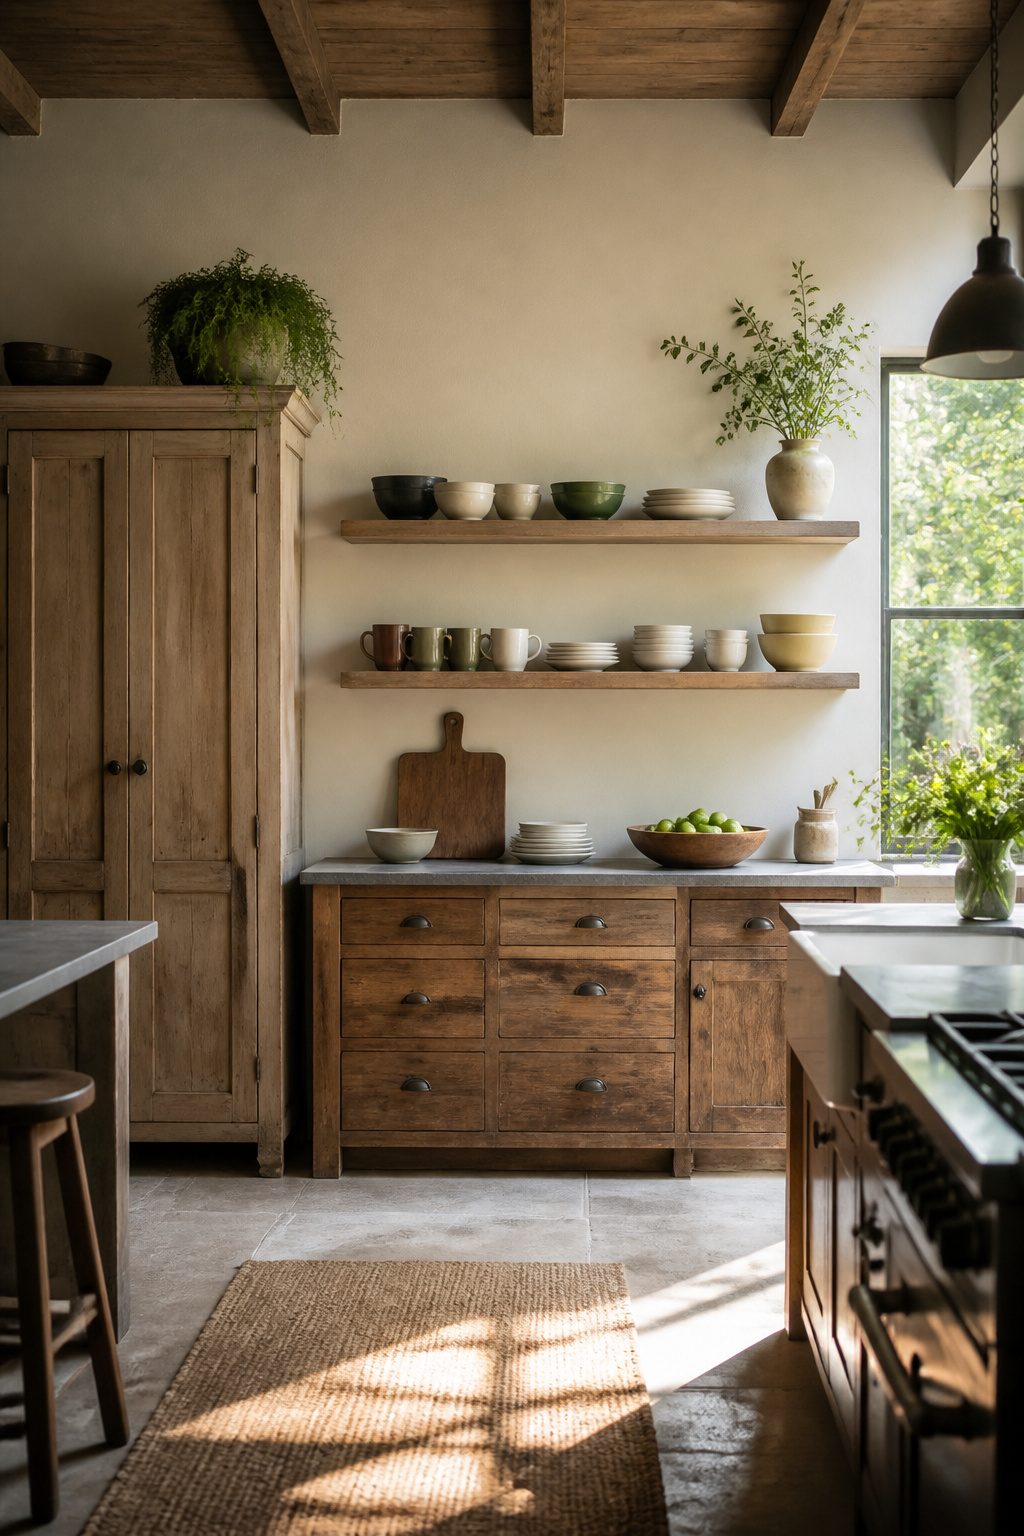
The plates and bowls you actually eat from belong on open shelves, not the wedding china that comes out twice a year. Keep shelves to practical necessities: the mugs you reach for every morning, the serving bowls that hold Tuesday’s roasted vegetables, the plates that stack with the same rhythm your hands already know. Daily use keeps the arrangement honest; you notice immediately when something sits wrong because your body moves through this space on autopilot.
Crowding kills the look faster than mismatched colors. The bottom shelf, easiest to grab, is where your everyday dishes live if you’re working with multiple heights. What sits higher should earn its spot by frequency of use or by being light enough that you won’t hesitate to pull it down. Without closed cabinets to hide the overflow, every piece forces a choice between function and beauty. The right choice is both: a plate you like looking at that also holds a sandwich.
6. Art and Decorative Objects
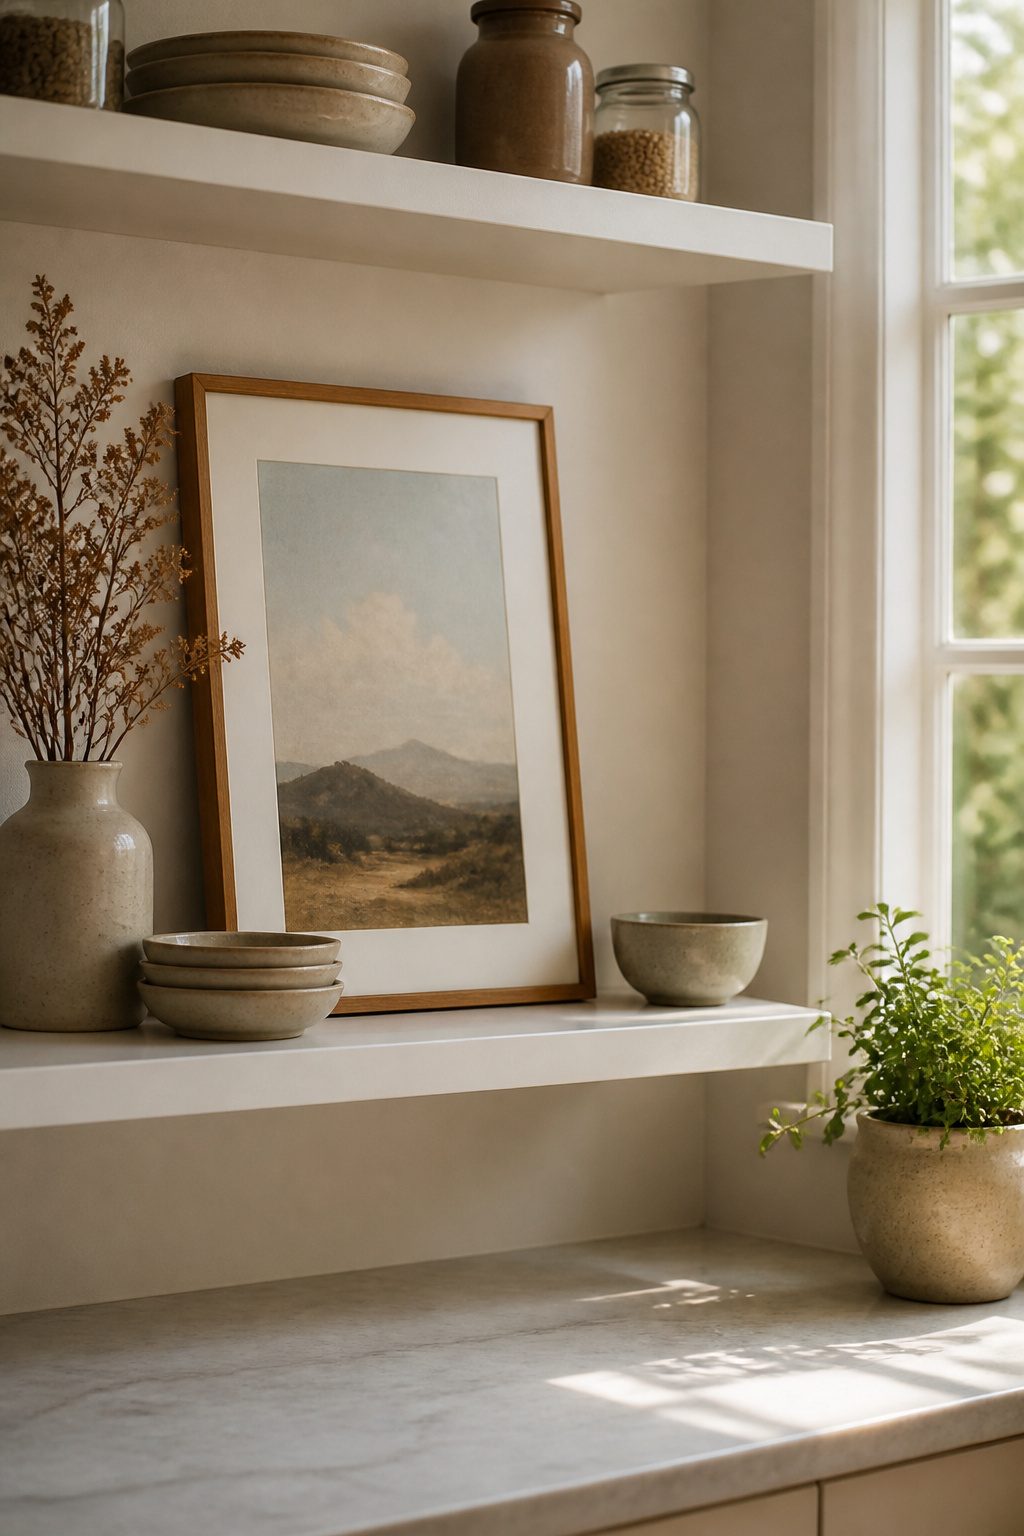
A single framed print can turn open shelving into a gallery wall you live inside. The trick is choosing something you already own rather than shopping for "kitchen art." A painting that never found its wall, a concert poster in a drawer, a postcard from a trip you still mean to frame: these carry the weight that store-bought prints rarely do. Lean it against the wall behind a stack of plates or prop it on a small easel between two canisters. The shelf becomes the frame.
White shelves especially need this kind of intrusion. Without it, they read as storage; with it, they read as yours. Celebrity decorator Kathryn M. Ireland’s own kitchen runs on this principle, plain white boards loaded with personality. Scale matters more than subject. An 11-by-14 print, like the one Lily & Val used to anchor a shelf, fills the horizontal space between two vertical objects and stops the eye from racing past. Leave a gap that feels too large on purpose; that is where the art goes. A shelf packed edge to edge reads as cluttered. One with breathing room around a single piece reads as intentional. Renters especially benefit here: the art moves with you, and the shelves never needed a drill hole to feel finished.
7. Baskets and Containers
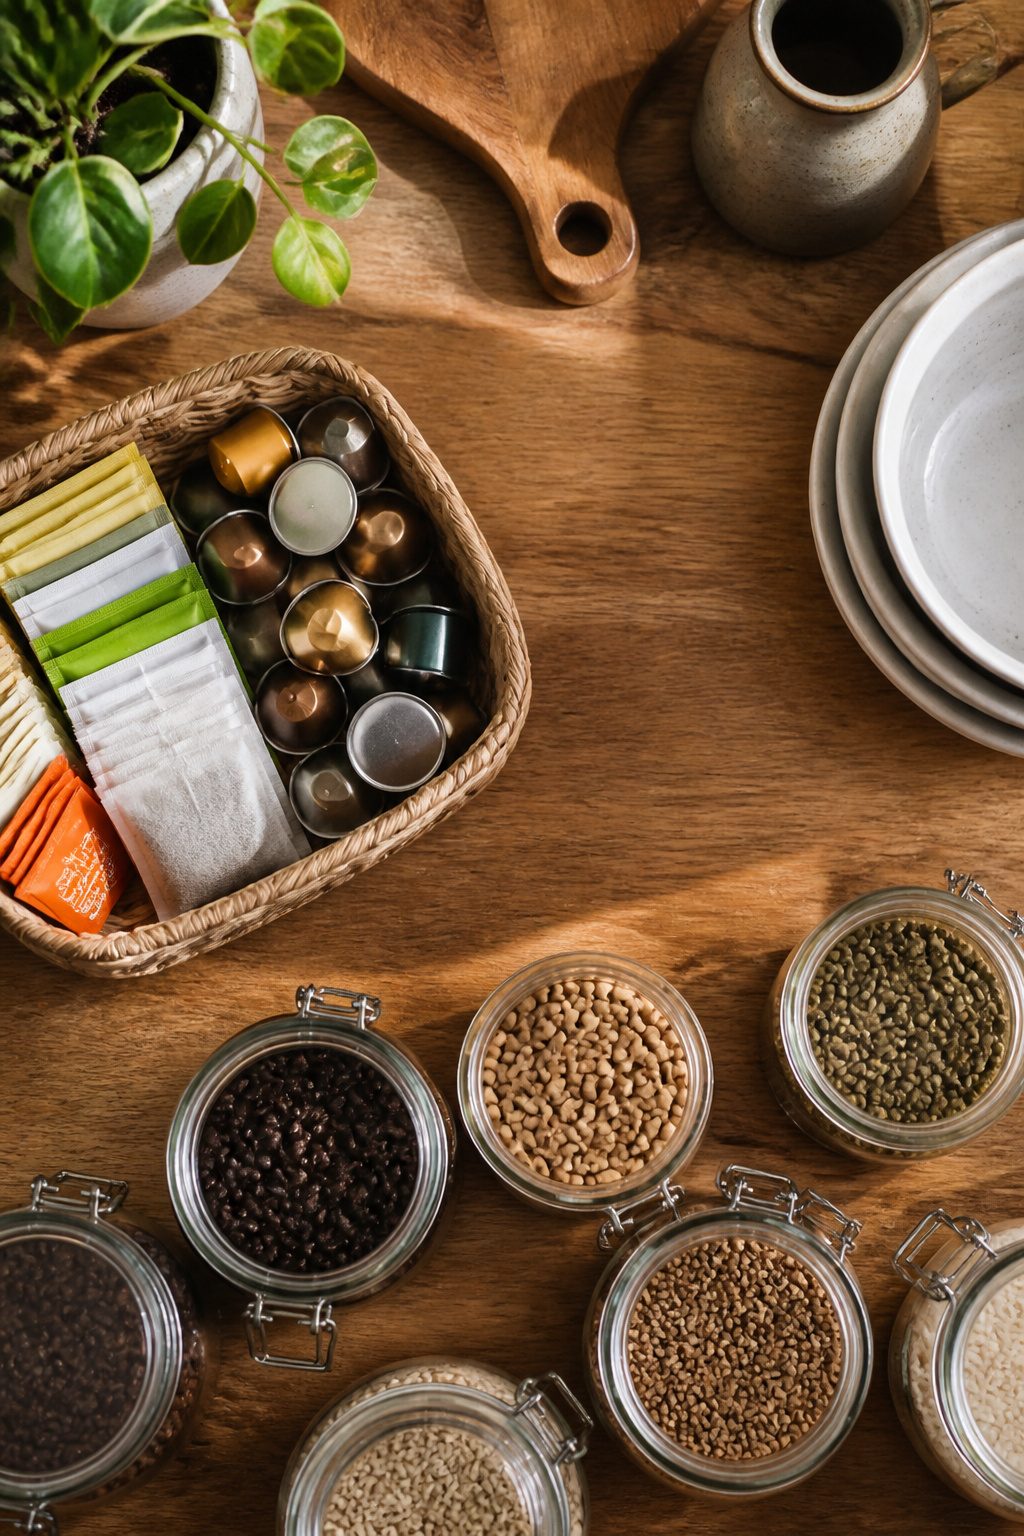
Baskets gave me the first styling win I could actually maintain. A shallow woven bin on the second shelf corrals tea bags, Nespresso cups, and refill bags for the dog, and the whole thing still reads as texture rather than clutter. The trick is sticking to one or two matching weaves so the shelves do not start looking like a flea market stall.
Clear canisters are the move for anything you want visible. Coffee beans, pasta, oats, rice; same container shape across the row and the contents become the color palette. Glass reads cleaner than plastic and survives the steam near a range. What stays in baskets versus what graduates to a jar is a judgment call: snacks the family tears through daily, keep open and reachable. Specialty flours you bake with twice a year, those can hide. Reserve the canisters for the pretty things you actually use.
Balancing Function and Looks
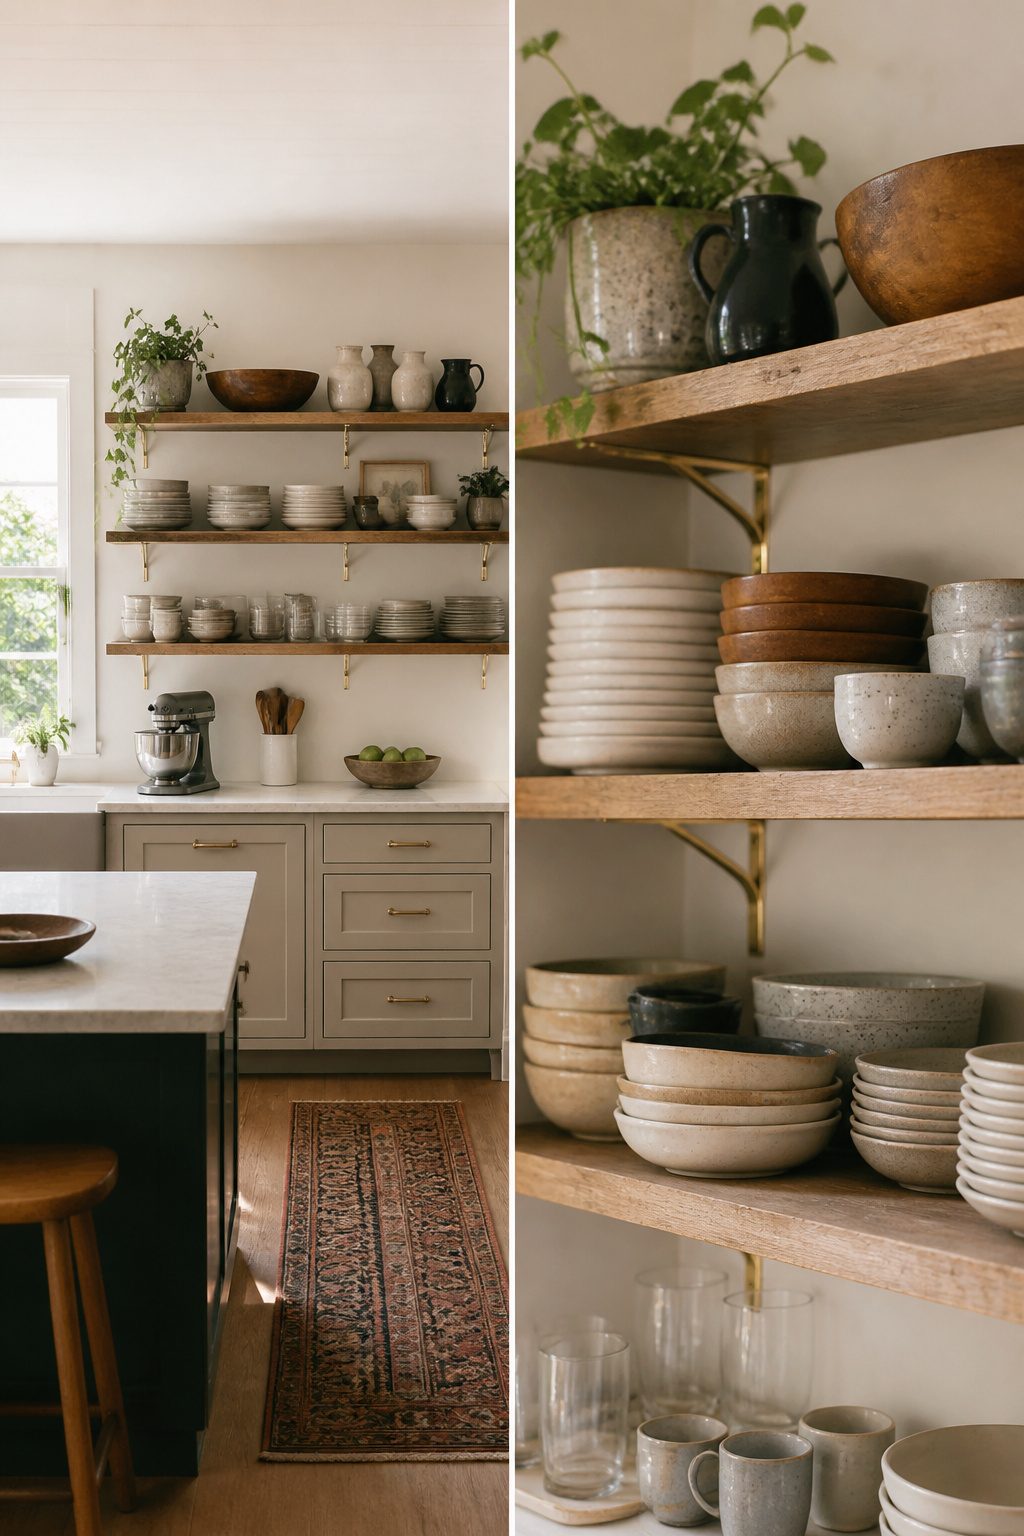
Open shelves force a choice that closed cabinets never do: every dish you own becomes part of the room’s face. Too many purely decorative pieces and you’re running to the back of a cupboard for a cereal bowl each morning. Too many mismatched daily dishes and the wall starts looking like pantry overflow caught mid-collapse.
The items you reach for every day are your styling material. Plates, bowls, mugs, the serving dishes that see regular rotation. Sources consistently point to this same rule, and it matches what my own kitchen taught me once I stopped fighting it. Coordinated daily dishes reduce visual clutter without requiring a separate "display" set you never touch.
Where the disagreement sits is in how much breathing room those items need. One approach crowds nothing, leaving deliberate gaps between stacks so the eye rests. Another fills the lower shelf completely with function, reserving higher reaches for objects used less often. Both work, but they ask different things of the cook. The spaced-out method demands restraint in what you own. The zoned method demands honest assessment of which shelves you can actually reach while holding a hot pan.
Leave at least one shelf with true negative space, not just organized spacing. A single stretch of bare wood breaks the rhythm and signals intention rather than accumulation. That gap costs nothing and saves the whole arrangement from reading as storage pretending to be design.
Spacing and Grouping
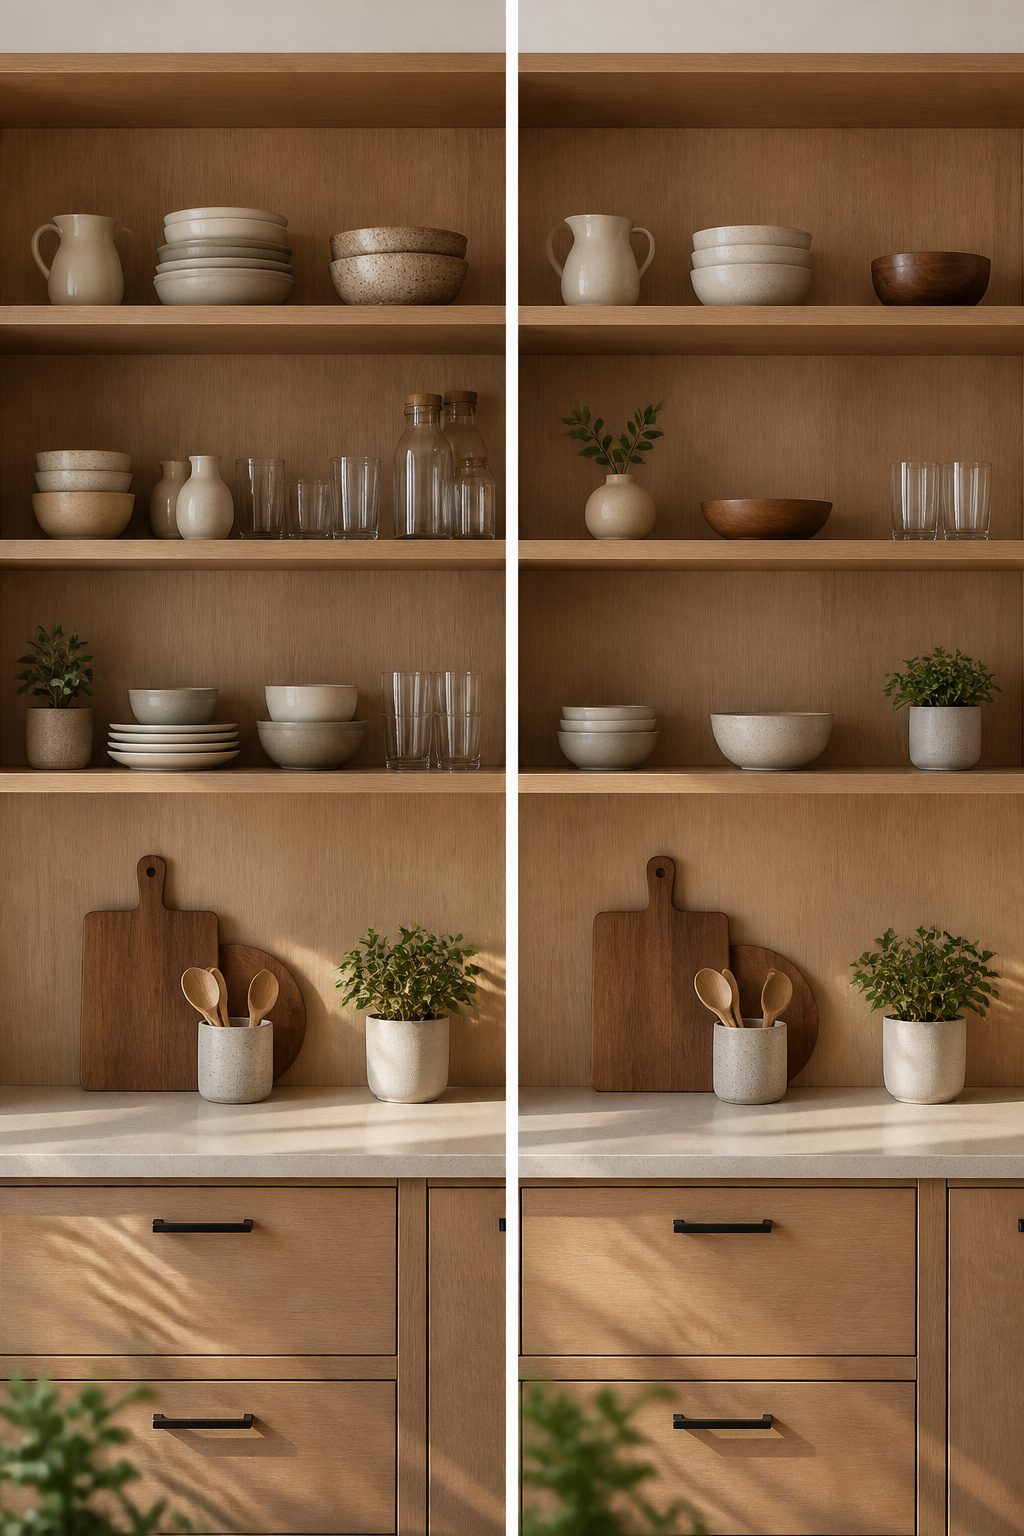
The eye reads a shelf the same way it reads a paragraph: it needs punctuation. A solid block of mugs and jars reads as noise, but group items in clusters of two or three and the same collection suddenly makes sense. I learned this the hard way after lining my own shelves in a perfect grid, evenly spaced like a spreadsheet. It looked sterile from across the room and disappeared entirely up close.
Clustering gives weight. Three bowls stacked inside one another, a small pitcher tucked beside them, that grouping becomes one visual unit. The negative space between clusters does the actual work of separating them. Tiered stands help here, raising smaller pieces into a single pile so they do not scatter across the shelf and fight for attention.
The mistake is treating every object as equal. Even spacing demands that each item carry its own visual weight, and most kitchenware cannot. A cluster of small things reads as one shape; one lonely spice jar in a sea of wood reads as an accident. Leave the gaps between those shapes, not between the individual pieces, and the shelf starts to breathe.
Swapping for the Season
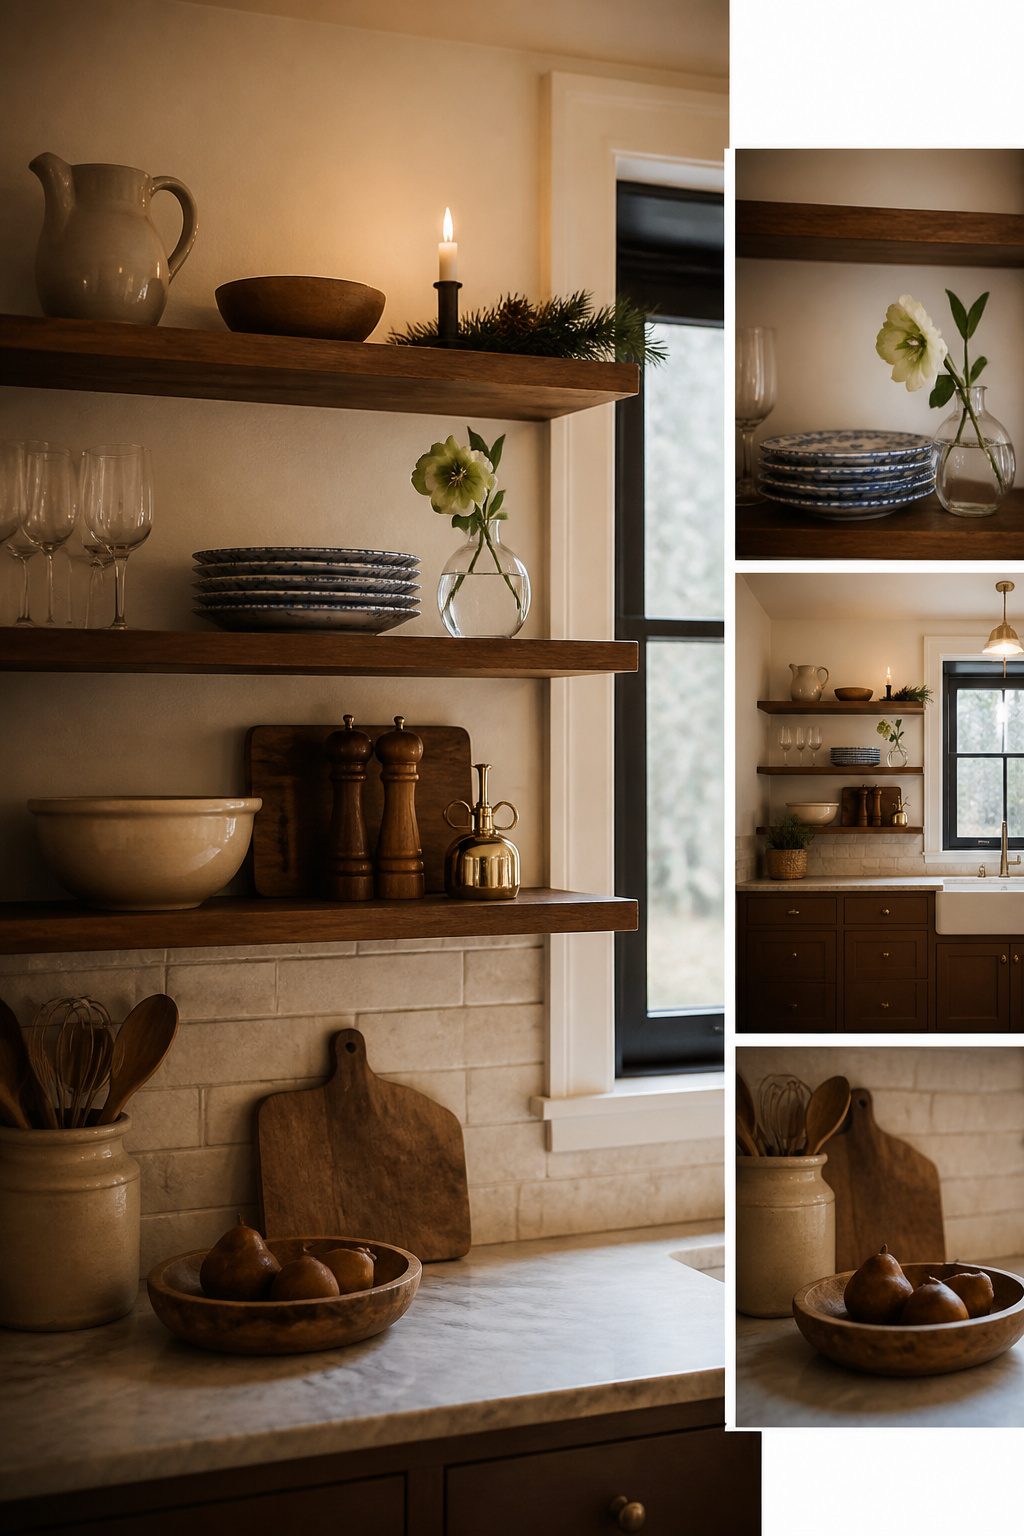
A few swaps across the year keep open shelves from going stale without the work of a full restyle. In late spring, I traded out one neutral ceramic canister for a small stack of blue-and-white plates and added a single fresh stem in a juice glass. The whole shift took ten minutes and cost nothing; the plates were already in the cabinet. Come December, I limited seasonal pieces to one shelf only and kept the rest of the everyday lineup. Clustering holiday items on a single level stopped the kitchen from reading like a gift shop. The rest of the year, the staples stay put: white bowls, a set of matching mugs, the clear canisters that hold actual flour. Two swaps, not ten, is the workable rule for anyone who would rather cook than rearrange.
Building Your Own Shelves
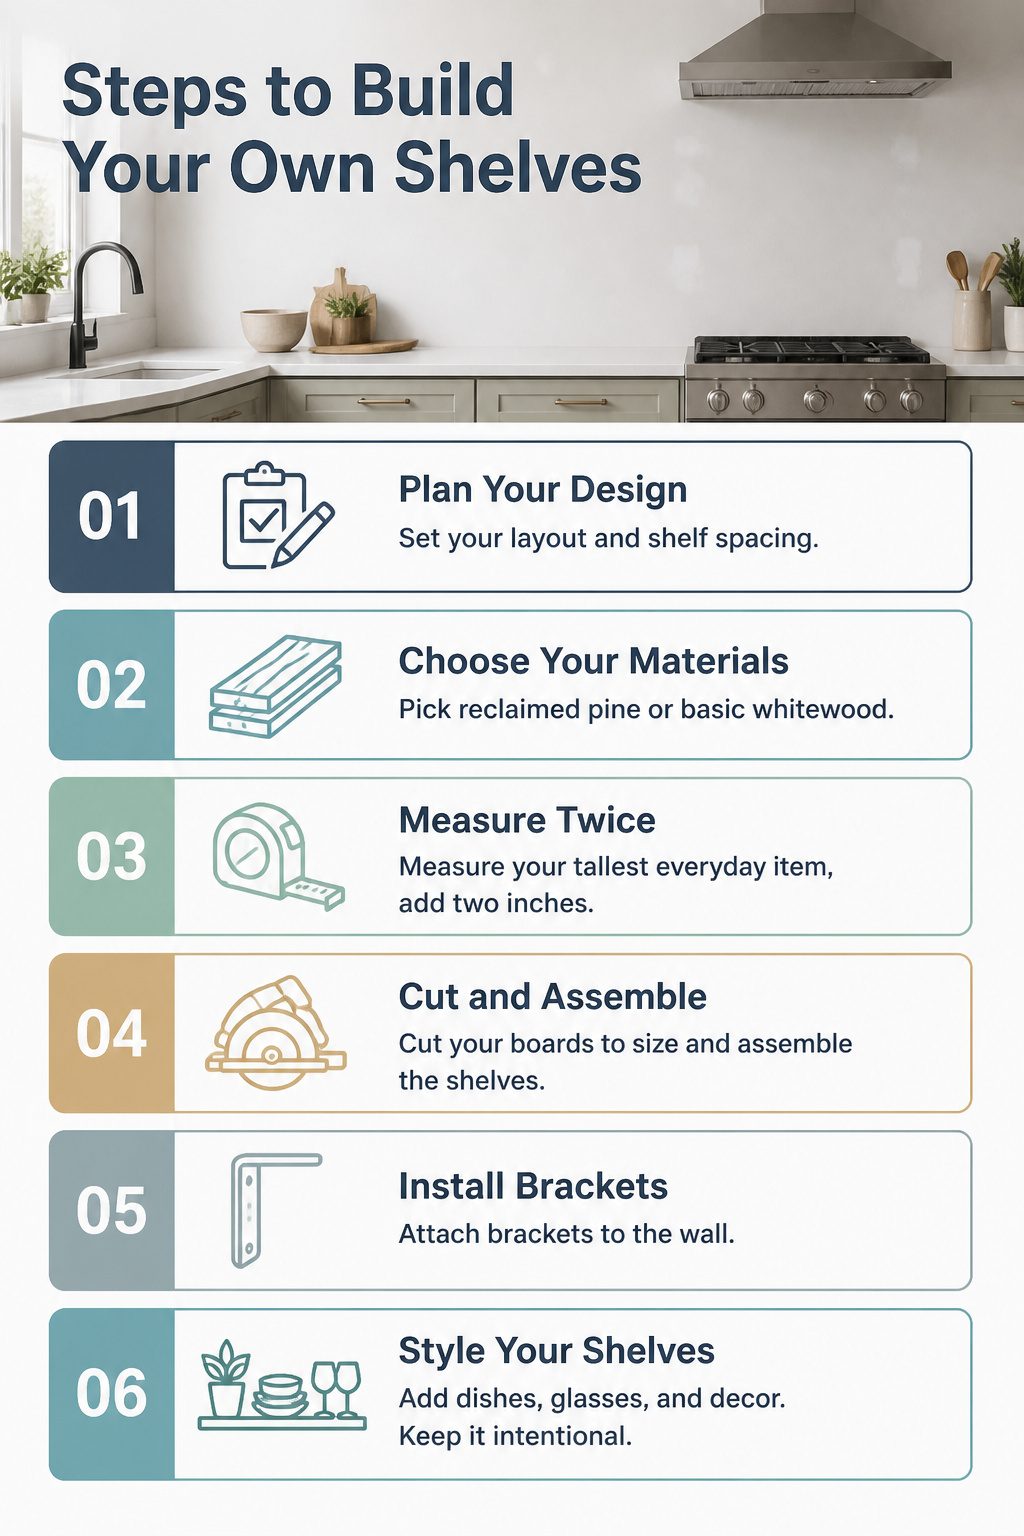
You cannot style shelves you do not have, and the ones that come with most rentals or starter homes often fight the room rather than serve it. A counter-to-ceiling run that you build yourself fills a weekend and costs a few hundred dollars in lumber and brackets, and the result gives you something worth styling in the first place.
Materials matter more than the design blogs suggest. Matching your current kitchen decor is the safer play for a first project, since mismatched shelving reads as an afterthought against cabinets you cannot replace. Reclaimed pine or basic whitewood keeps the budget under control and paints clean if you want a neutral backdrop for dishes. The trickier call is depth: plates need about 10 inches, but a shelf that deep at eye level blocks light and crowds the work triangle. I would split the difference and build the lowest shelf at 12 inches for serveware, the upper ones at 8 for glasses and the few decorative pieces you actually use.
What convinced me, reading through a dozen of these builds, is that the weekend timeline only holds if you settle the design Friday night. Changing shelf spacing after the first bracket is drilled turns a one-day job into three. Measure your tallest everyday item, add two inches, and lock that spacing in before you touch a saw. The visual discipline of open shelving, the restraint that keeps daily dishes looking intentional rather than cluttered, starts with the carpentry. A shelf built too close to the counter forces stacking, and stacking reads as mess the moment you walk in.
Frequently Asked Questions
How do I style open kitchen shelves?
Mix wood, ceramic, and metal textures together so the shelf feels like a room rather than a display. Keep your color palette subdued with browns, burgundies, beiges, earthy greens, blues, and whites so you can vary shapes and finishes without visual noise. Stack plates and bowls at different heights to create rhythm, and leave deliberate gaps between clusters so your eye has somewhere to rest.
What should I put on my open kitchen shelves?
The plates, bowls, and mugs you actually eat from every day, plus one or two plants if the shelf gets daylight. Add a single framed print you already own, not store-bought kitchen art, and use one or two matching woven baskets to corral small items. Clear glass canisters for coffee, pasta, or oats let the food become part of the color story.
How do I keep my open shelves organized?
Group items in clusters of two or three instead of spreading them evenly; a stack of bowls with a small pitcher beside it reads as one visual unit. Leave negative space between those clusters, not between individual pieces, and keep at least one stretch of bare wood somewhere to signal intention rather than accumulation. Reserve baskets for daily snacks and clear canisters for pretty things you actually use.