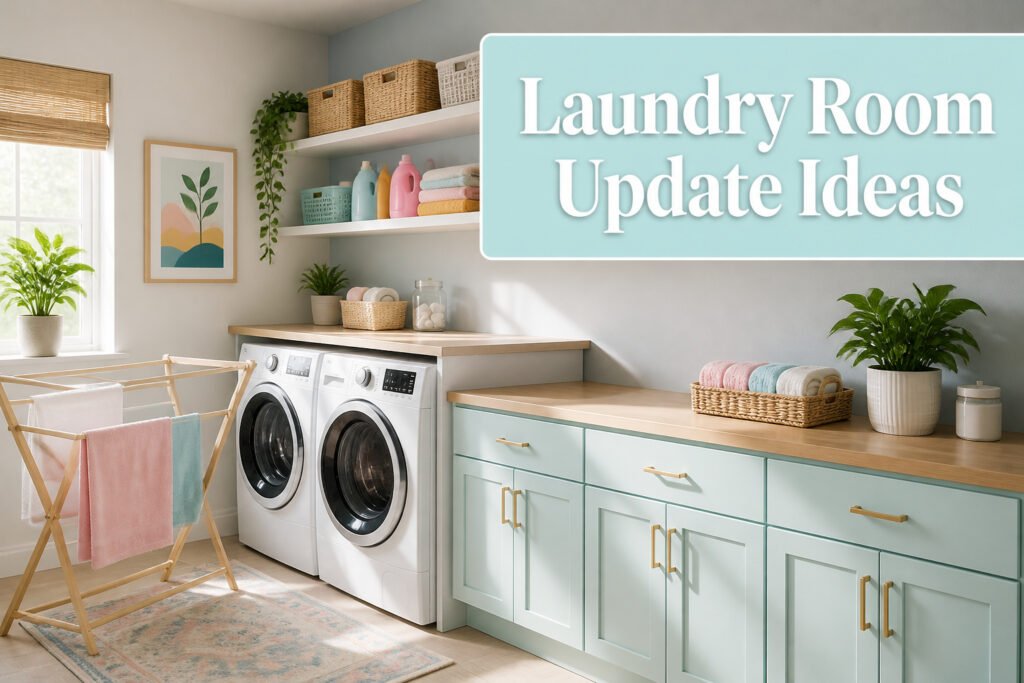
A laundry room update in 2026 runs anywhere from a free afternoon of reorganizing to a $900 overhaul with butcher block counters and peel-and-stick flooring. What separates the projects that stick from the ones that stall is whether you start by pulling the machines forward and seeing what you actually have, or skip straight to the shopping cart.
1. Add Color with Paint or Wallpaper
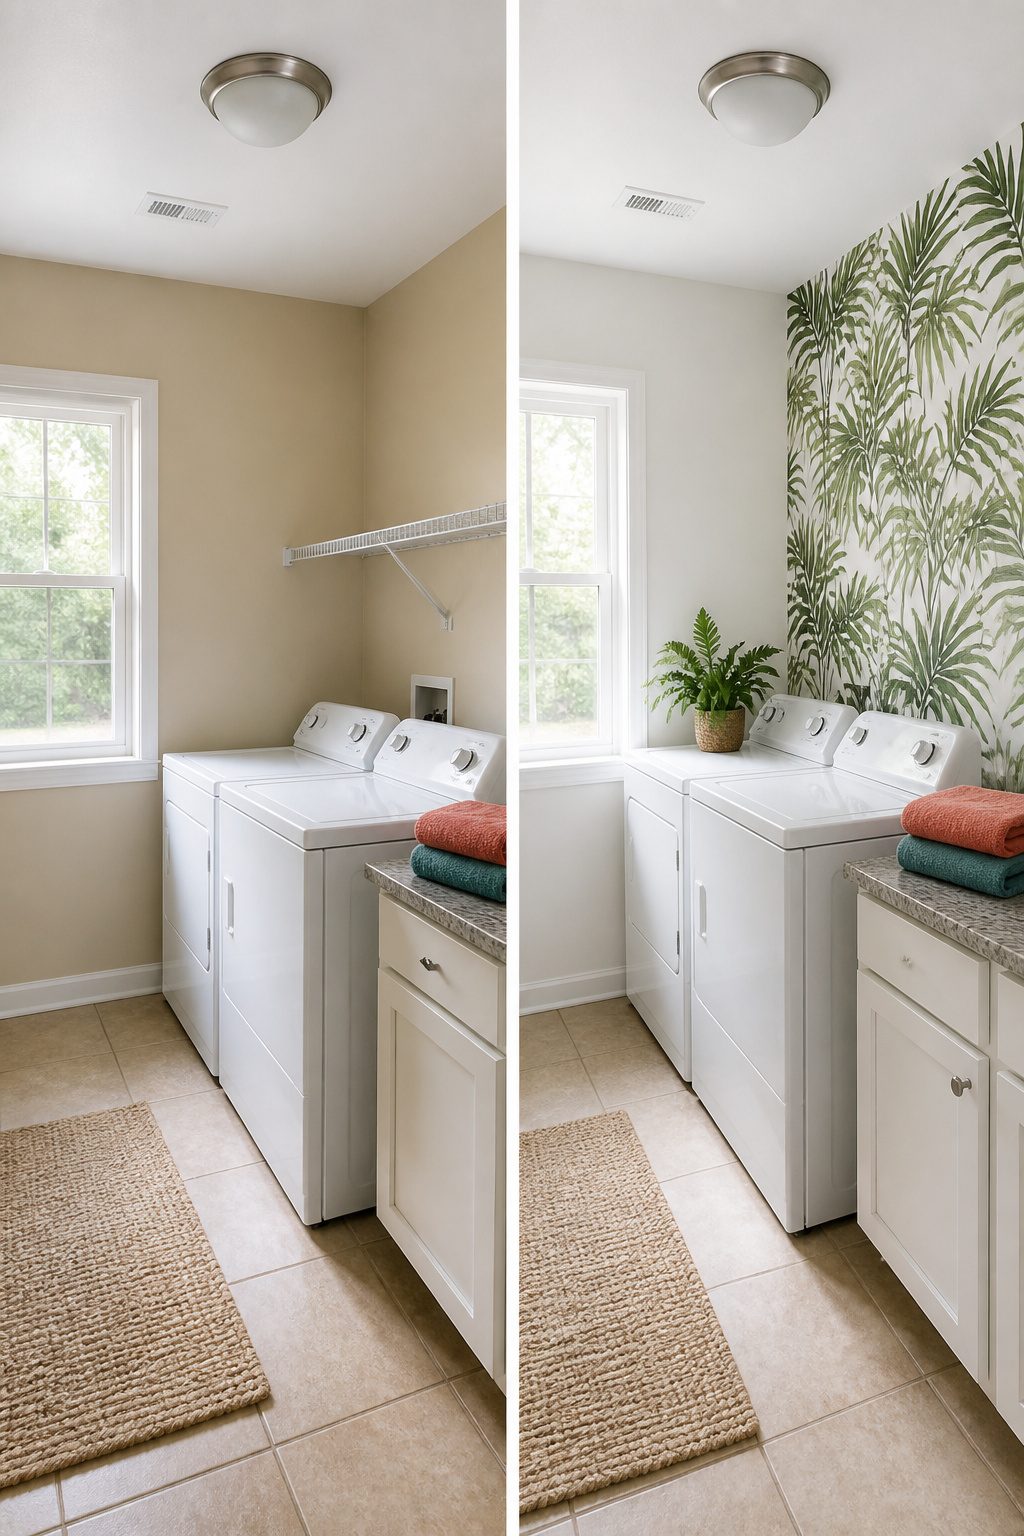
A gallon of Benjamin Moore’s Simply White in eggshell turned my friend’s laundry room from builder-beige to something that actually felt clean before a single load ran. Walls and trim, satin on the latter, about $60 total if you catch a sale. The bright white bounces light around so aggressively that the space reads a full size larger.
Small rooms forgive bold choices that would swallow a living room. A palm print or dark floral wallpaper behind the machines adds personality without the commitment of a whole-house statement. Peel-and-stick vinyl makes this reversible for renters, and one accent wall keeps material costs tight. Match the remaining walls to a tone pulled from the paper so the room holds together rather than fighting itself.
2. Upgrade Your Lighting
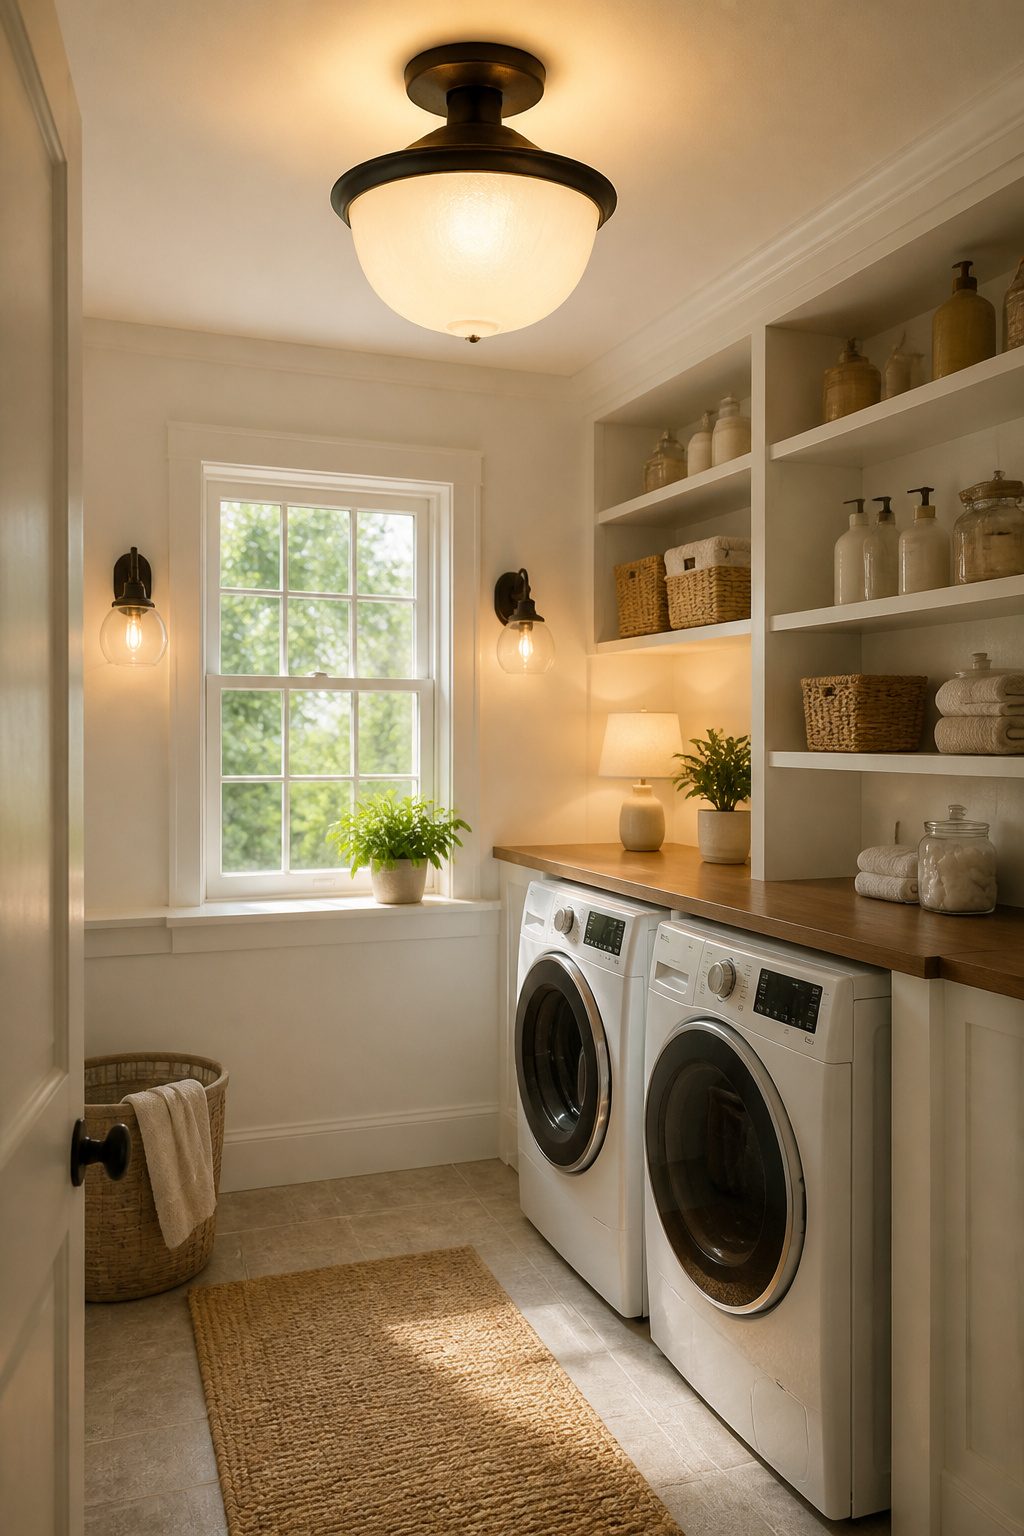
The most frequently mentioned laundry room update across every source I read was lighting, and the gap was not close. Fixtures set the mood faster than paint or hardware because they sit at eye level and they are on whenever the room is in use.
A schoolhouse-style flush mount or a star-shaped fixture replaces the builder-grade dome most of us start with. Sconces flanking a window read as high-end but only work where wiring already exists or where you are comfortable cutting drywall. The wattage and lumens matter more than the shape: task lighting needs enough output to read care labels, and a bulb below 2300K reads as candlelight, not daylight. A small lamp on a shelf adds warmth for evening loads when overhead light feels sterile.
Swapping a single overhead fixture is a one-hour job if the junction box is rated for the weight. Adding sconces or a chandelier where none existed is a half-day project that usually means patching wall. Warmth and function are not either-or. The sources that loved their results chose bulbs for tone first, then built the fixture choice around it.
3. Add a Countertop to Your Washer and Dryer
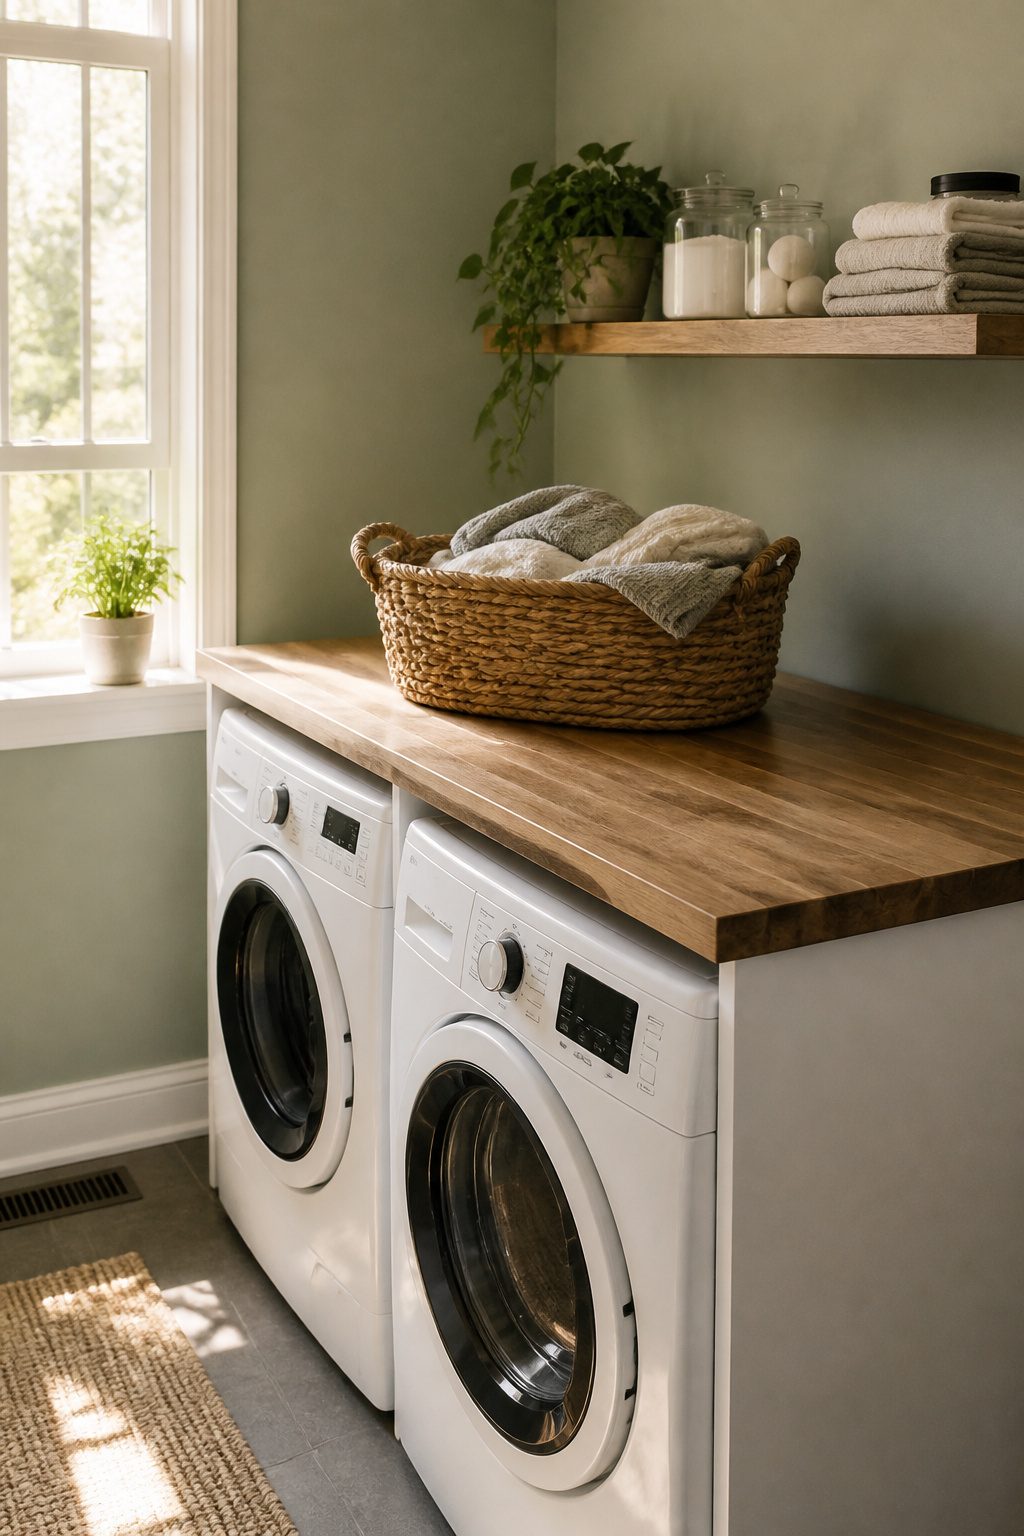
A butcher block countertop stretched across the washer and dryer turns a cramped laundry area into a workable folding station. The piece I priced out ran $318, which lands in that sweet spot of real material without creeping into quartz territory. Most of the precut options meant for this spot measure roughly 27 to 30 inches deep and 60 to 66 inches wide, sized to clear the appliances below while giving you enough front-to-back room to stack a basket and still work.
Height matters more than I expected. My own setup sits about an inch above the washer control panel, close enough that the block acts like a true counter but with enough gap that vibration does not transfer. If the appliances sit in a recessed nook, check the side clearance too; a 30-inch deep slab reads generous until you are wrestling fitted sheets against a side wall. The leftover scrap from trimming to width becomes useful later, maybe a floating shelf above the hook rail or a narrow ledge beside the sink.
Warmth is the real reason this upgrade works. Painted cabinets and white appliances can feel clinical fast, and the wood grain fixes that without another trip to the hardware store. Three coats of butcher block conditioner keeps it from drinking detergent drips, though you will reapply every few months if you actually fold wet towels up there.
4. Install a Wall-Mounted Drying Rack
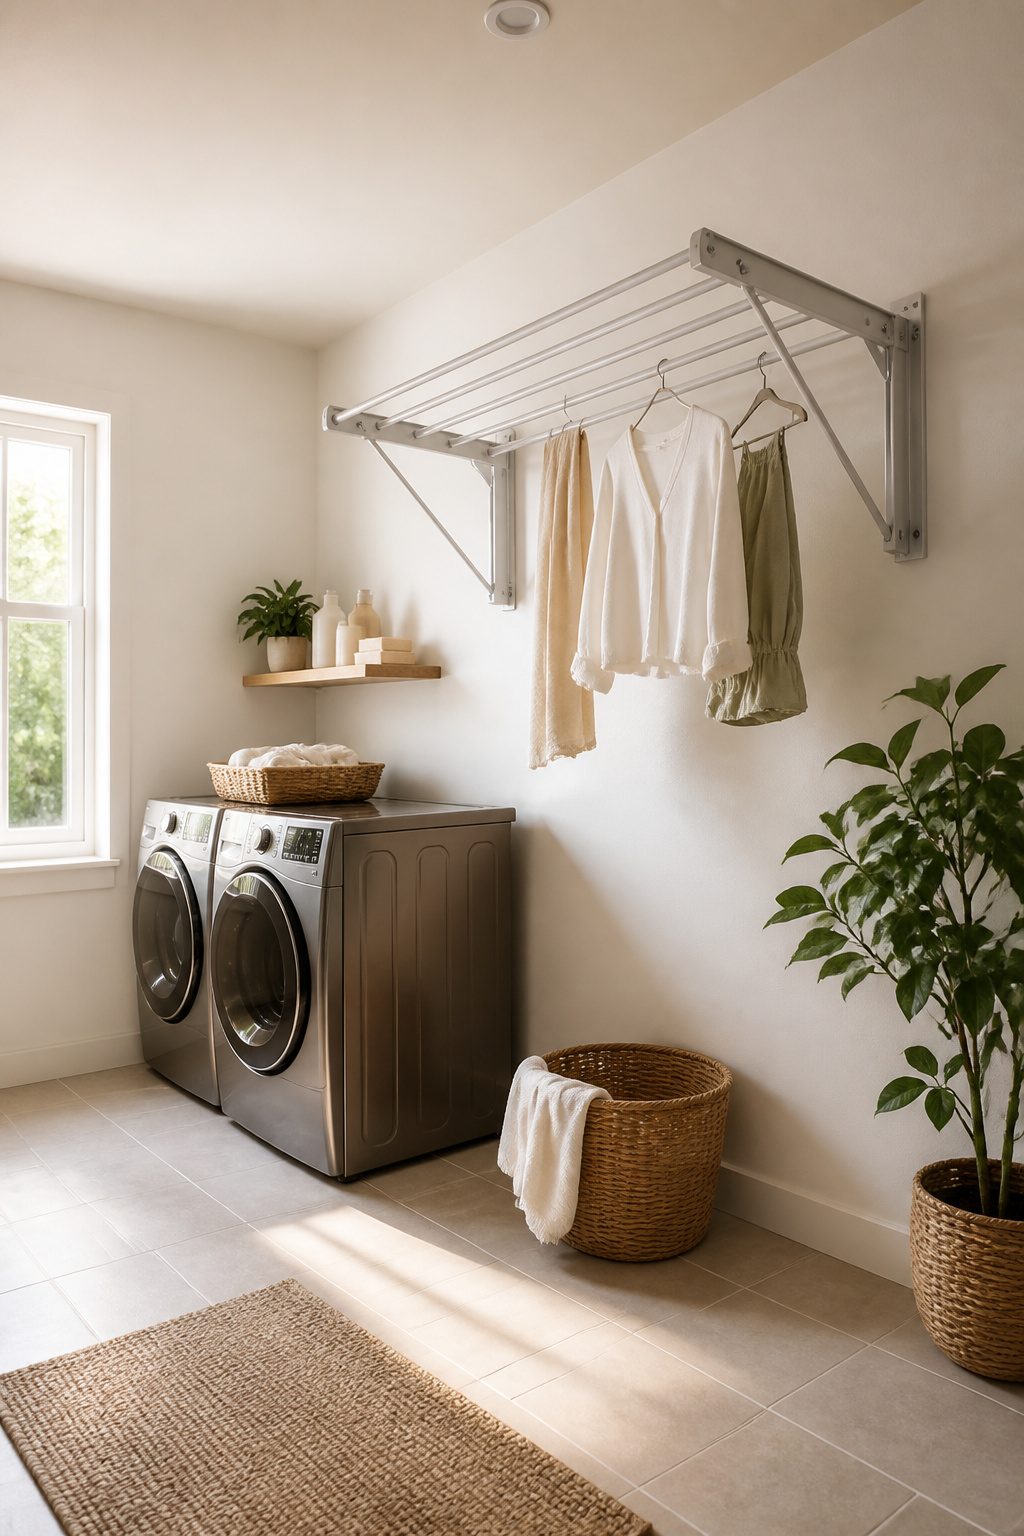
A wall-mounted drying rack folds flat to about 1.5 inches from the wall, then opens to 20 linear feet of hanging rods. That expansion matters most in a laundry room where floor space is already eaten by the machines and a freestanding rack becomes an obstacle you step around for days.
Installation depends on what is behind the drywall. Studs carry the weight of wet clothes without drama; toggle bolts or similar anchors work for plaster or when studs miss the mark, though the folded rack will feel less solid every time you snap it shut. The better hardware is worth the few extra dollars if you open and close it daily.
The retracting style suits someone with a full load of delicates. A smaller accordion or three-position rack, the kind that holds a handful of items and hugs the wall tight, makes more sense if you only ever have two or three things that cannot hit the dryer. Either way the bulky floor rack leaves the room, and that alone changes how the space moves.
5. Utilize a Rolling Cart for Storage
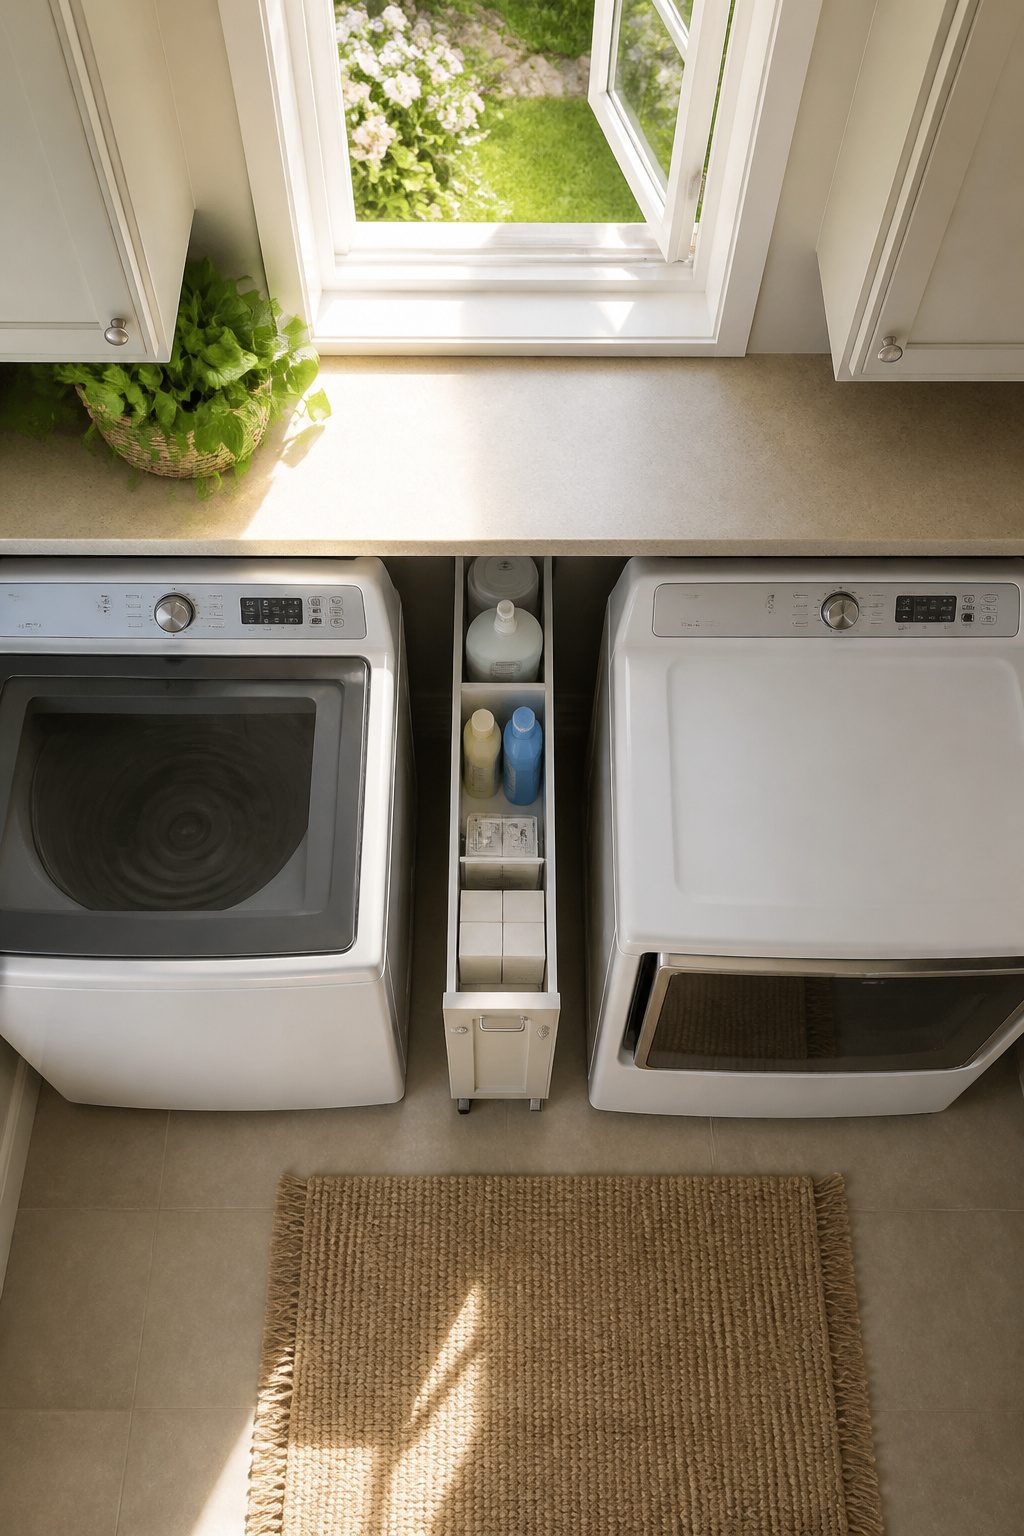
Fixed shelves in a laundry room sit where they sit, and that is their whole problem. A rolling cart moves where the work is, which matters more than it sounds on a Saturday morning when detergent, stain remover, and dryer sheets end up scattered across three surfaces.
The gap between a washer and dryer is often dead space, and it is usually narrow. Carts as slim as five inches wide slide into six-inch gaps and carry enough for a full load cycle: detergent bottle, mesh bags, a small lint bin. A seven-inch version fits the same footprint with slightly more breathing room for taller bottles. Neither demands installation, and neither leaves screw holes to patch when the setup changes.
Renters see the payoff first. A cart rolls out with you at move-out, and the next apartment’s laundry corner is almost never the same dimensions. Fixed shelving built to one wall’s quirks becomes scrap or headache; the cart just rolls on.
6. Incorporate Decorative Accents
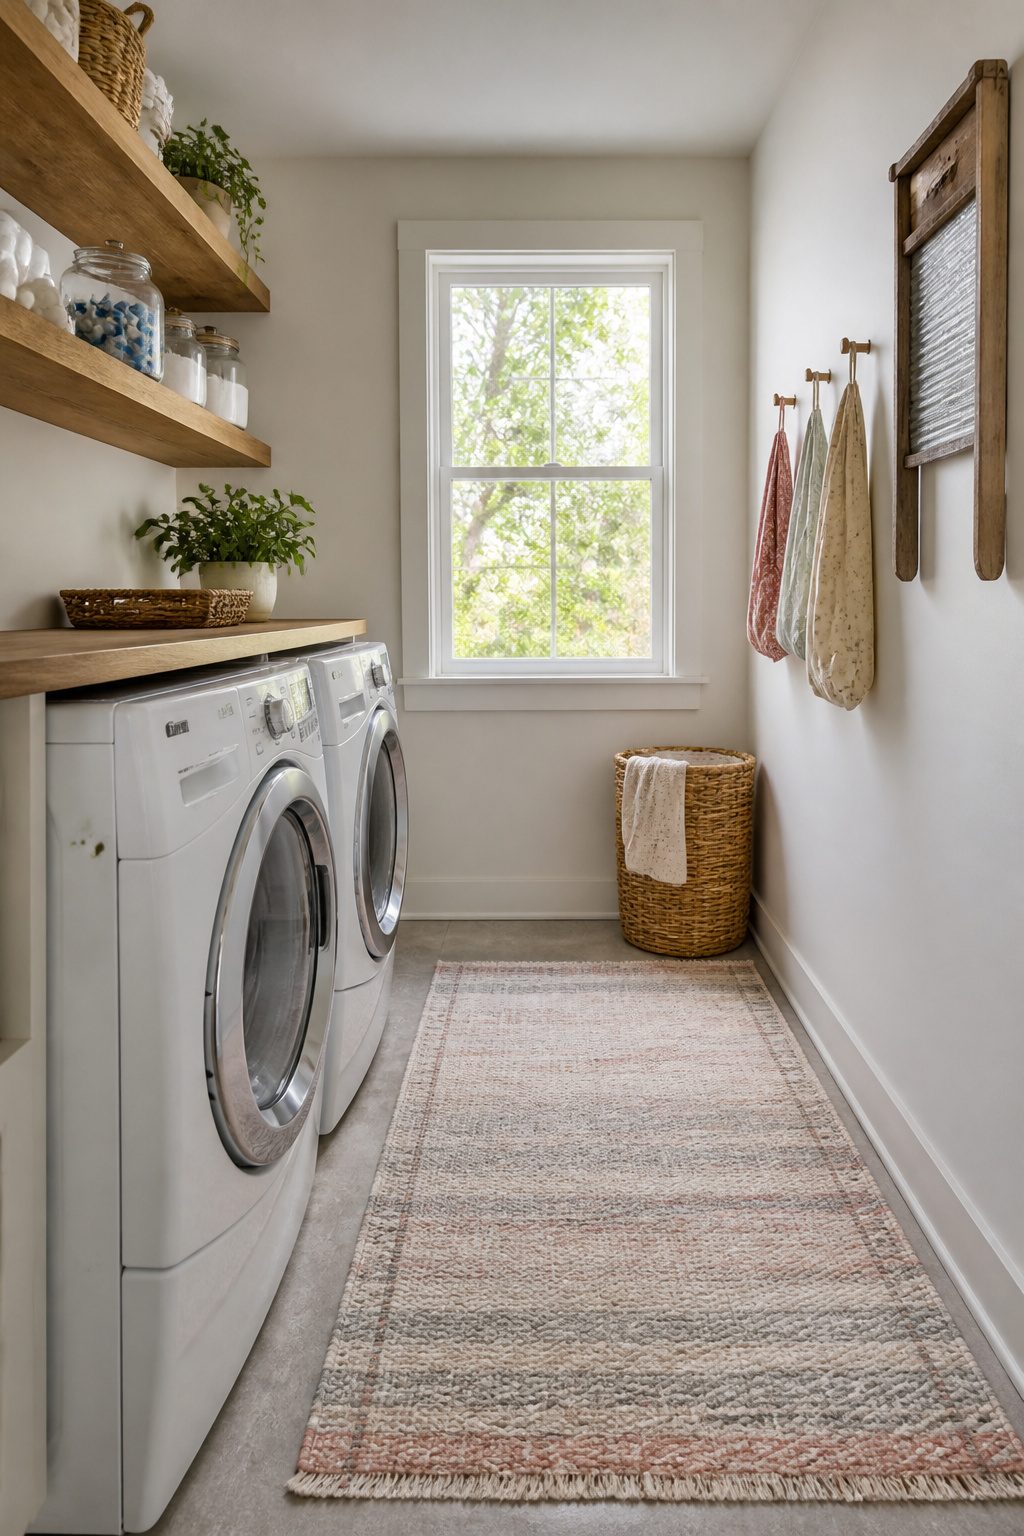
A flatweave rug underfoot softens the concrete or tile most laundry rooms inherit, but the weave matters more than the pattern. Low-pile cotton or synthetic flatweaves shake out easily and dry fast if the washer overflows; shag or anything with a jute backing traps moisture and starts to smell within a month. I learned that distinction after ruining a hand-me-down Moroccan-style rug that looked perfect for about two weeks.
Glass jars for detergent pods or dryer balls read as decorative on open shelving, yet the humidity cycling through every load can rust ordinary lids. Sealed gasket lids or simple cork stoppers survive where screw-top metal fails. The same humidity warps framed prints unless the frame sits well clear of the washer’s vent line; vintage oil paintings and laundry signs work here only if the wall runs perpendicular to the machine, not above it. Collections of antique washboards or clothespin bags look curated until they become dust traps; three pieces grouped tight read as intentional, seven read as clutter no matter how authentic each one is.
7. Swap Out Cabinet Hardware
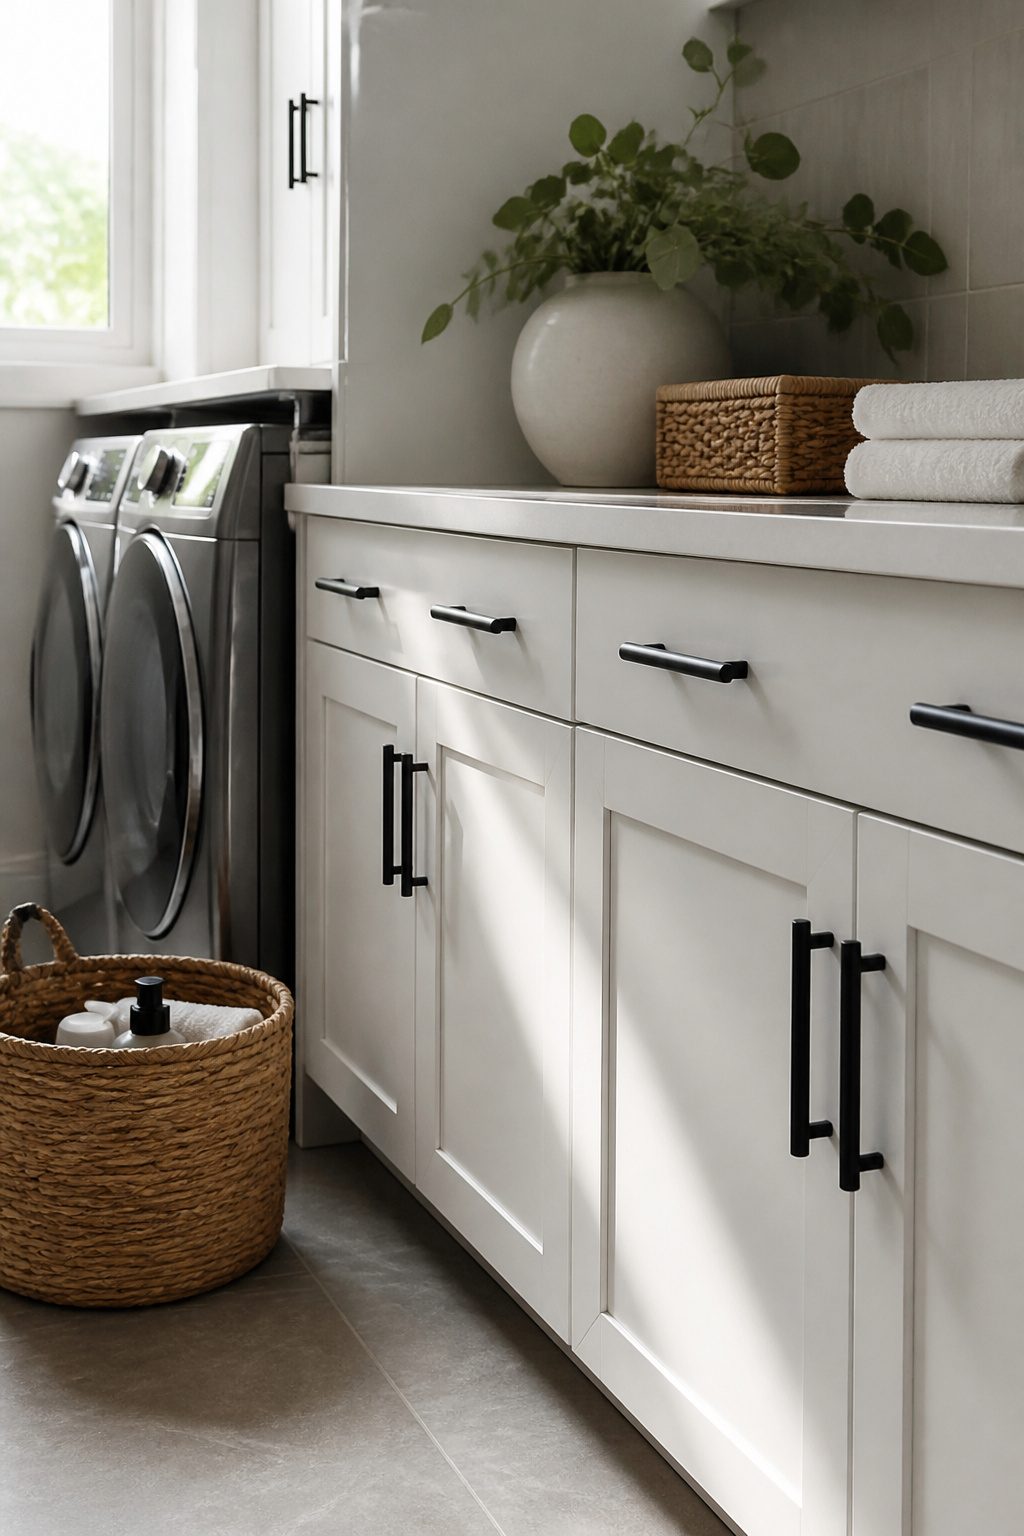
New pulls do more for a laundry room than their size suggests. Most spaces only hold four to six cabinet doors, so even higher-end hardware stays under what you’d spend on a single kitchen drawer. The trick is measuring the hole spacing before you order, because the common three-inch center-to-center spread is not universal. Older cabinets sometimes run four inches, and European styles often land at 96 millimeters. A pull that does not line up turns a ten-minute job into a patch-and-repaint afternoon.
If the cabinets themselves are basic, this swap reads as custom. In my last place the doors were builder-grade laminate, but matte black bar pulls gave them enough weight that guests assumed the whole run was new. I only needed four, which was the entire budget right there. For a tighter spend, ten-packs of similar styles run cheap and look nearly identical from a few feet back. Knob swaps work the same way; six-packs cover most laundry rooms with hardware left over.
The whole project takes a screwdriver and maybe twenty minutes. The cabinets stay on the wall, the hinges stay put, and the only evidence of the old life is two holes you will never notice again.
8. Clean and Organize the Space
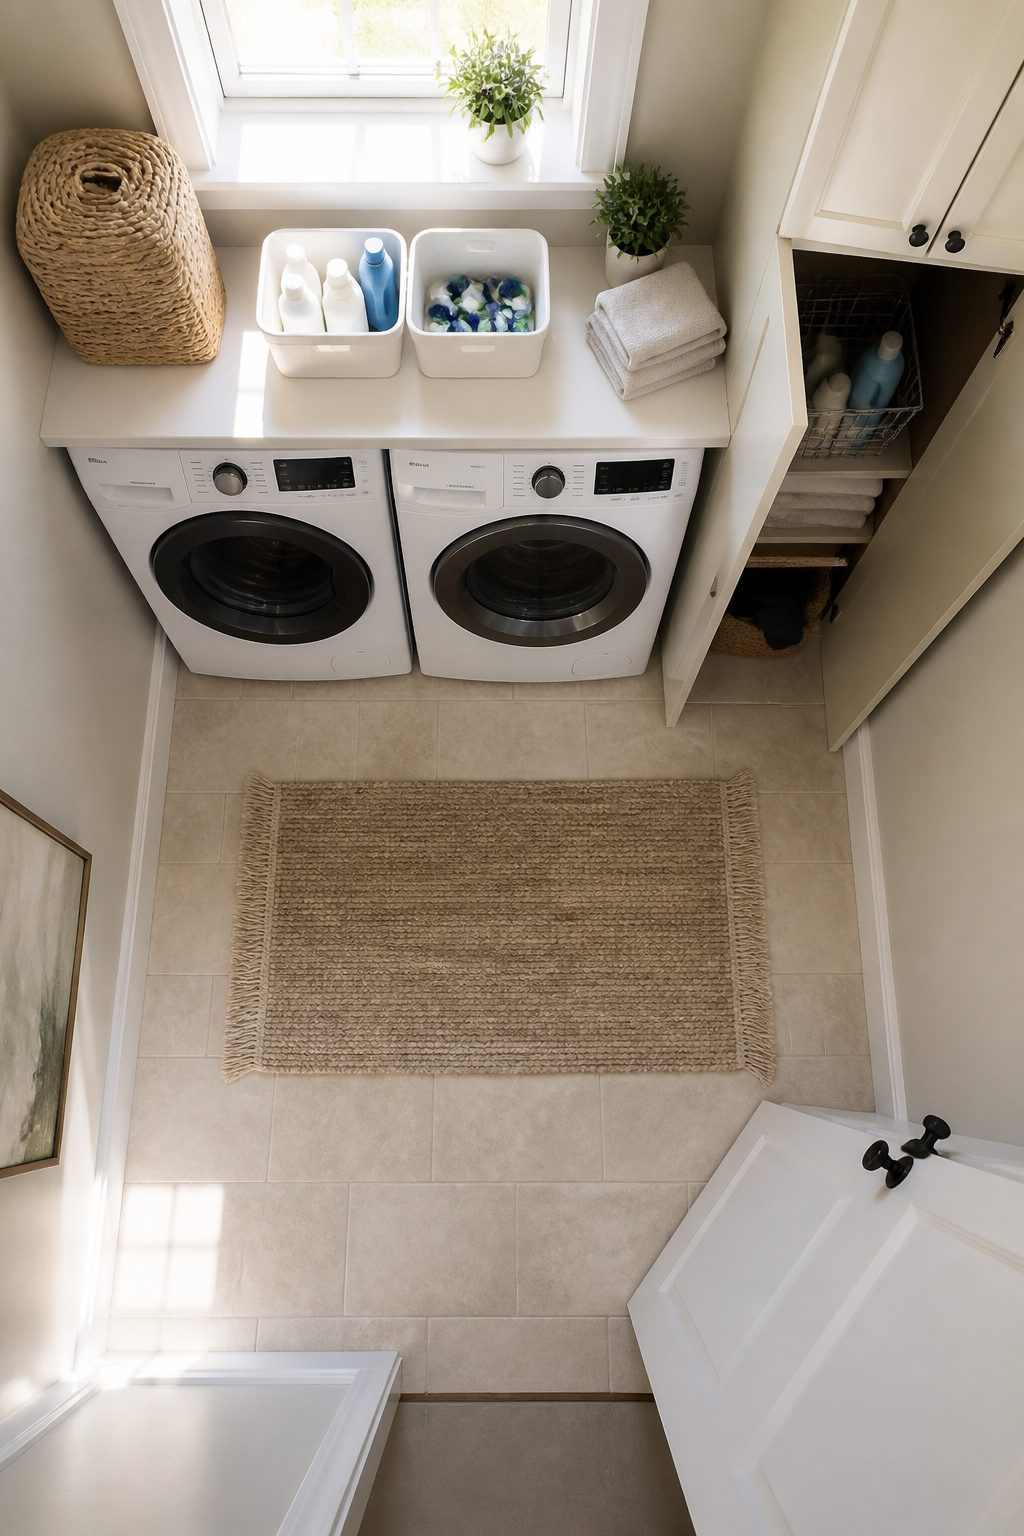
Pulling the washer and dryer forward costs nothing and immediately shows what you are actually dealing with. Behind mine, the dryer lint had packed into a solid mat against the wall, and a bottle of detergent I had written off three months earlier was wedged under the drum. Hot water, a scrub brush, and an hour of work changed the room more than any later purchase did.
Cabinet space shrinks when it is treated as a junk drawer for the whole house. I took the ladders, the rags, and the half-empty paint cans to the garage, then wiped the shelves inside and out. Bins I already owned went in to corral the bleach and pods, and suddenly I could see empty square footage I had been ignoring. The room measures 8 feet by 8 feet; every inch surrendered to clutter is an inch that cannot store what belongs there.
Only after the floor was clean and the cabinets sorted could I tell which problems were real. The lighting was dim, but the cabinets were sound. The walls needed paint, not tile. Starting at zero dollars separates the updates that earn their place from the ones that just look good in a cart.
9. Add Wall Art
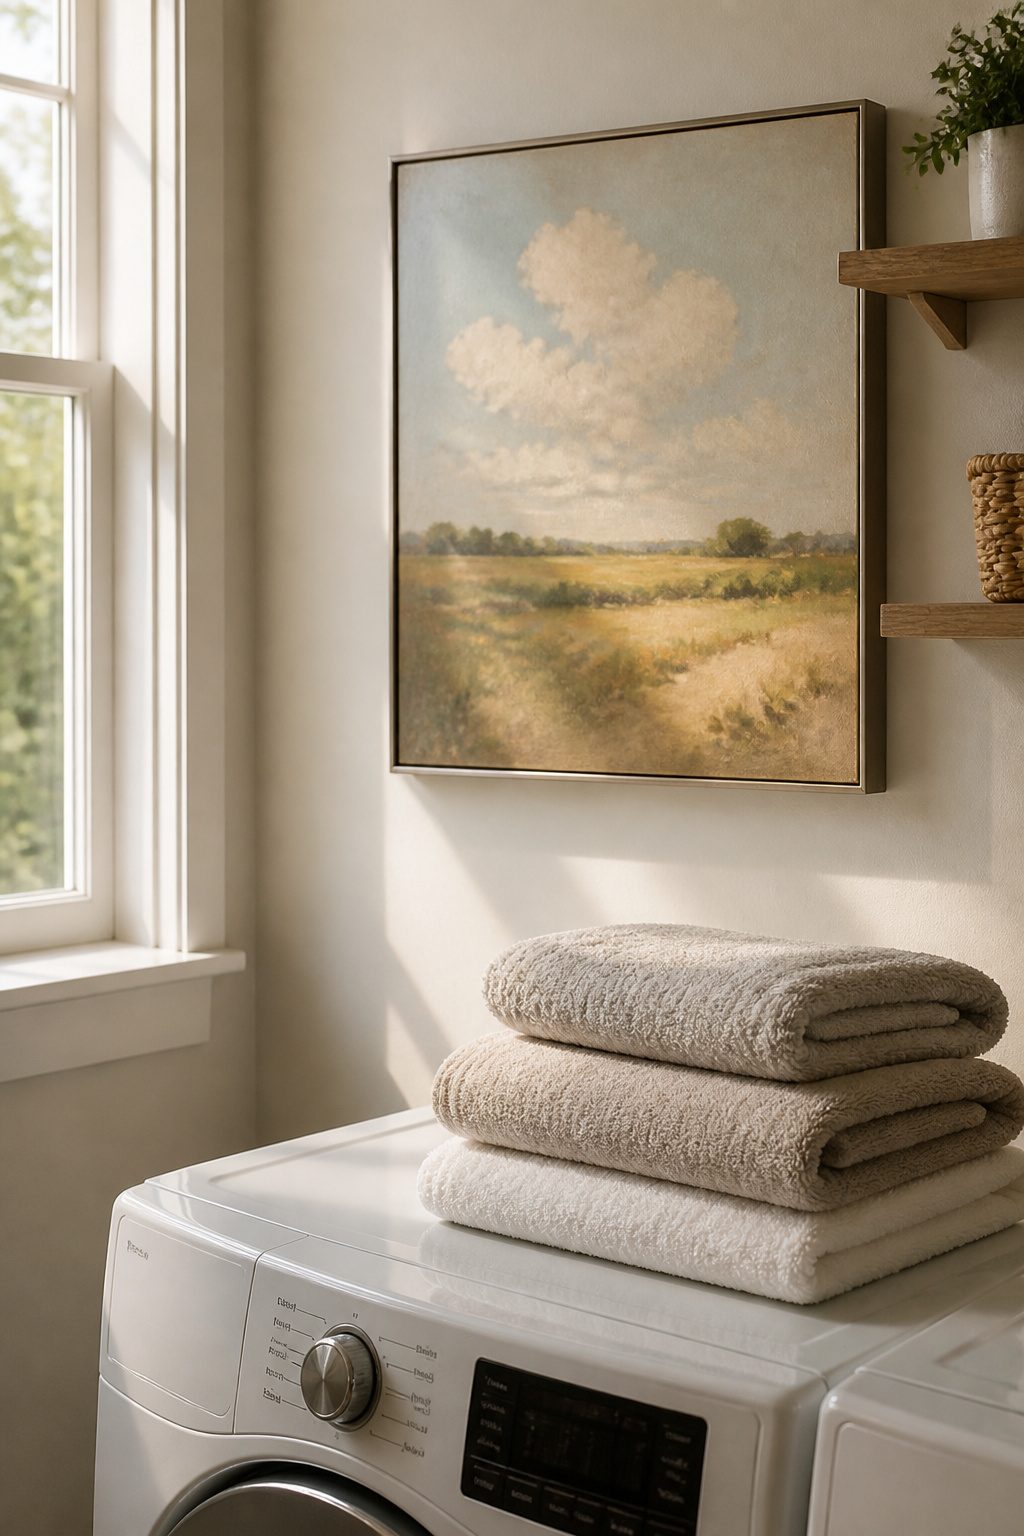
A small laundry room only needs a little art to feel finished, so scale matters more than quantity. One well-chosen piece beats a crowded wall that fights the machines and the door swing.
Vintage oil paintings or antique portraits hold up well in humid spaces if you seal the frame properly. I learned this the hard way: a standard wood frame I hung above my washer warped within a single summer. Now I look for metal frames or sealed composite materials, and I keep anything paper-based at least a foot from the dryer vent. Collections work too, antique washboards or vintage clothespin bags grouped tight, but they need that same buffer from direct heat and moisture.
Laundry signs are the easy default, and they are fine if the typography suits you. Thrift stores and antique shops are the move here; the passages note wall art does not need to cost much money, and a small budget goes further when you are hunting rather than ordering new. What I would skip: anything with glass that fogs daily, or frames deeper than two inches that knock against the door or the laundry basket passing through.
10. Update Flooring
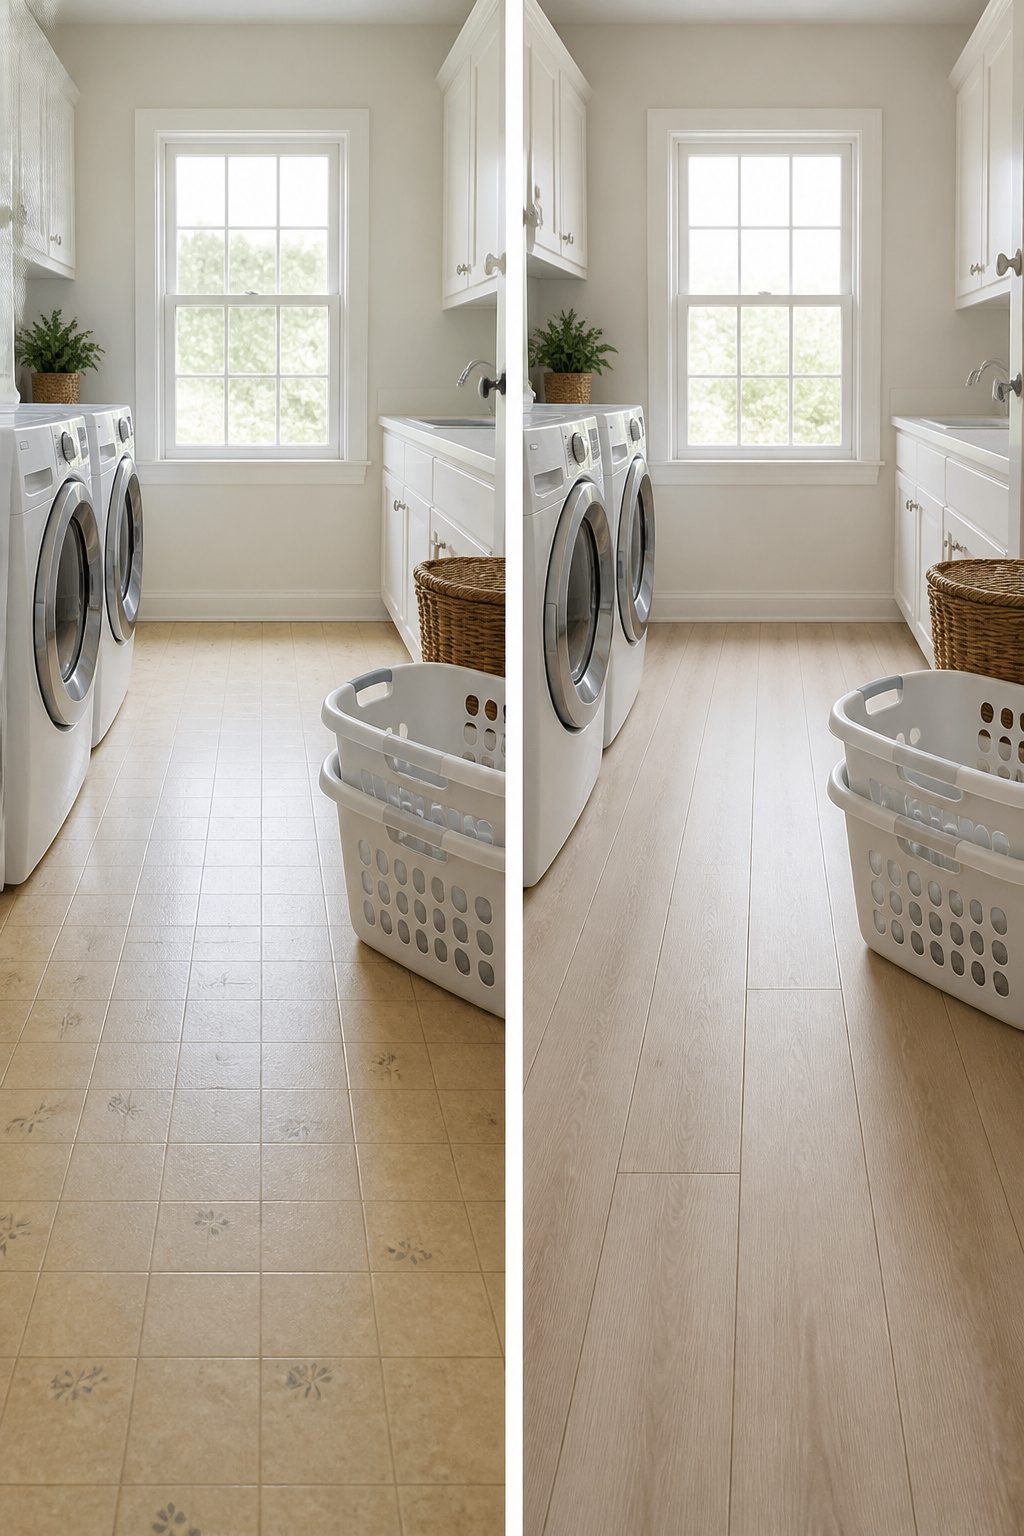
Flooring in a laundry room carries a risk most updates don’t: standing water. Vinyl plank or sealed tile handle it; laminate swells, and bare plywood stains. The sources I read barely touch this step, which tells me most people either skip it or hire it out.
Peel-and-stick products have changed what a $90 weekend can cover. A peel-and-stick backsplash at $90 suggests the same technology applied to flooring, vinyl plank that clicks together over existing tile without mortar or demo. That cost bracket is real, and the install is single-day work.
In my own reading, the hesitation around laundry floors makes sense. The payoff is hidden, the failure is rot. But vinyl plank rated for wet spaces starts around $2–$3 per square foot, and it goes down with a utility knife, not a wet saw. For a room where function matters more than showpiece, that math holds.
What a Real Budget Looks Like
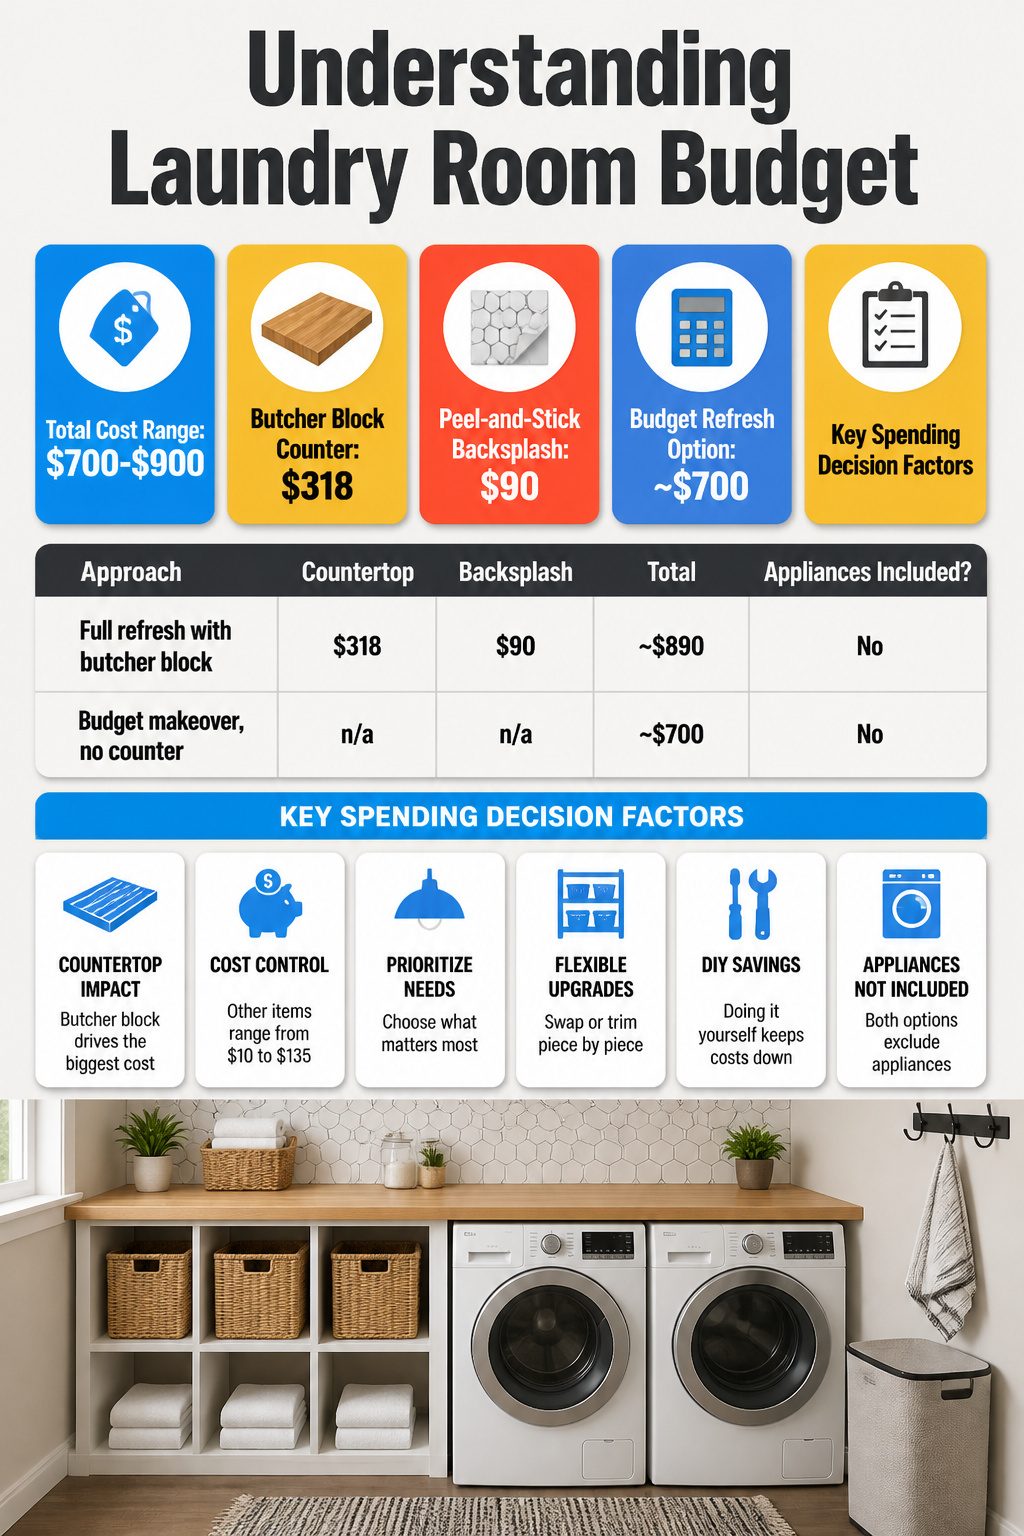
A complete laundry room update lands in a narrow band: $700 to $900 if appliances stay put and you do the work yourself. The $890 total from one recent refresh breaks down to a $318 butcher block counter, a $90 peel-and-stick backsplash, and the rest scattered across lighting, storage, and small hardware. Another homeowner kept the whole project closer to $700 by skipping the countertop entirely.
| Approach | Countertop | Backsplash | Total | Appliances Included? |
|---|---|---|---|---|
| Full refresh with butcher block | $318 | $90 | ~$890 | No |
| Budget makeover, no counter | n/a | n/a | ~$700 | No |
Where your own spending falls depends on whether folding space matters more to you than, say, a new drying rack or better task lighting. The butcher block is the single item that swings the budget hardest; everything else clusters in $10 to $135 increments that are easy to trim or swap out piece by piece.
Storage That Actually Fits an 8 by 8 Room
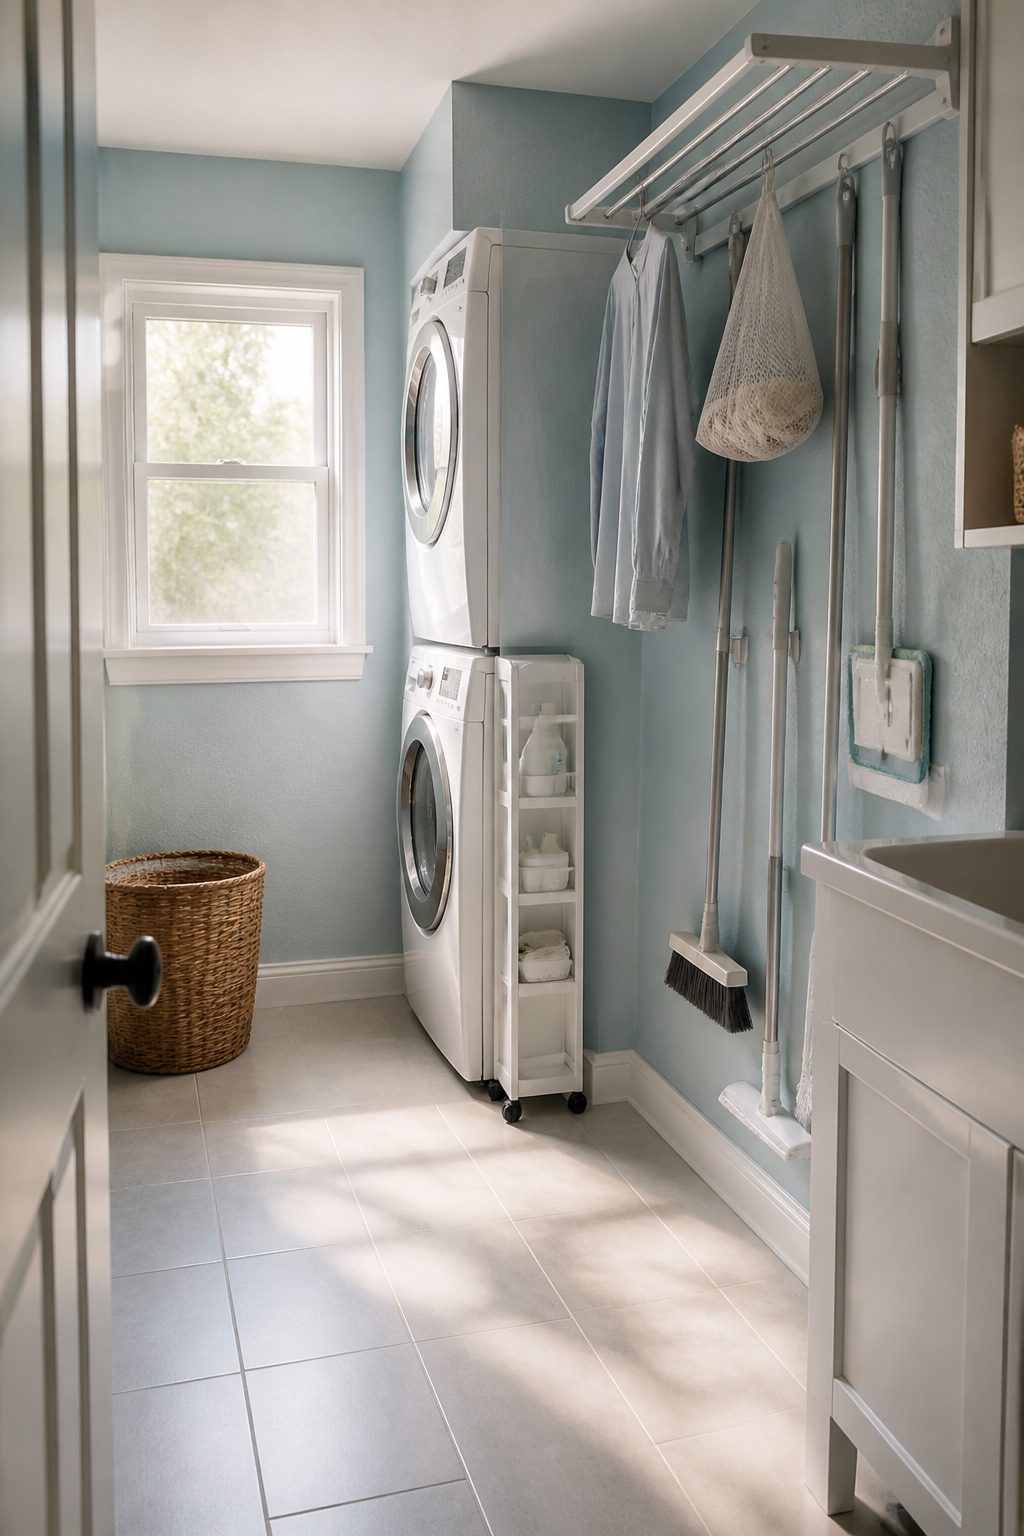
An 8 by 8 laundry room sounds workable on paper until you start placing real objects in it. The washer and dryer alone eat roughly 5 feet of wall depth once hoses and venting clearances are factored in, leaving a narrow corridor where anything deeper than about 7 inches becomes a shin-bruiser. I learned this the hard way in a similarly sized utility closet where a rolling cart I loved on the website turned out to be just wide enough that I clipped it every single trip with the laundry basket.
The six-inch gap between appliances is where a skinny rolling cart earns its keep, and at less than 7 inches wide, several options slide in without stealing walkway. Mine held detergent, mesh bags, and a lint bin without protruding into the lane I needed clear for hauling baskets. Wall-mounted racks with hooks pull double duty in this footprint: damp clothes air-dry on the bar while brooms and Swiffers hang underneath, all of it flat against the wall instead of occupying floor space a drying rack would demand. The retractable models fold to roughly 1.5 inches deep when not in use but expand to 20 linear feet of rod, which matters enormously when your total wall real estate is already committed to appliances and maybe a small sink.
Countertop depth across the appliances competes directly with this. A standard 24-inch counter over the machines leaves maybe 28 inches of walking aisle, which clears a basket but not comfortably two people. I would skip the deep counter entirely in an 8 by 8 room unless folding happens elsewhere, and put that wall toward the mounted rack instead.
DIY Realities I Hit
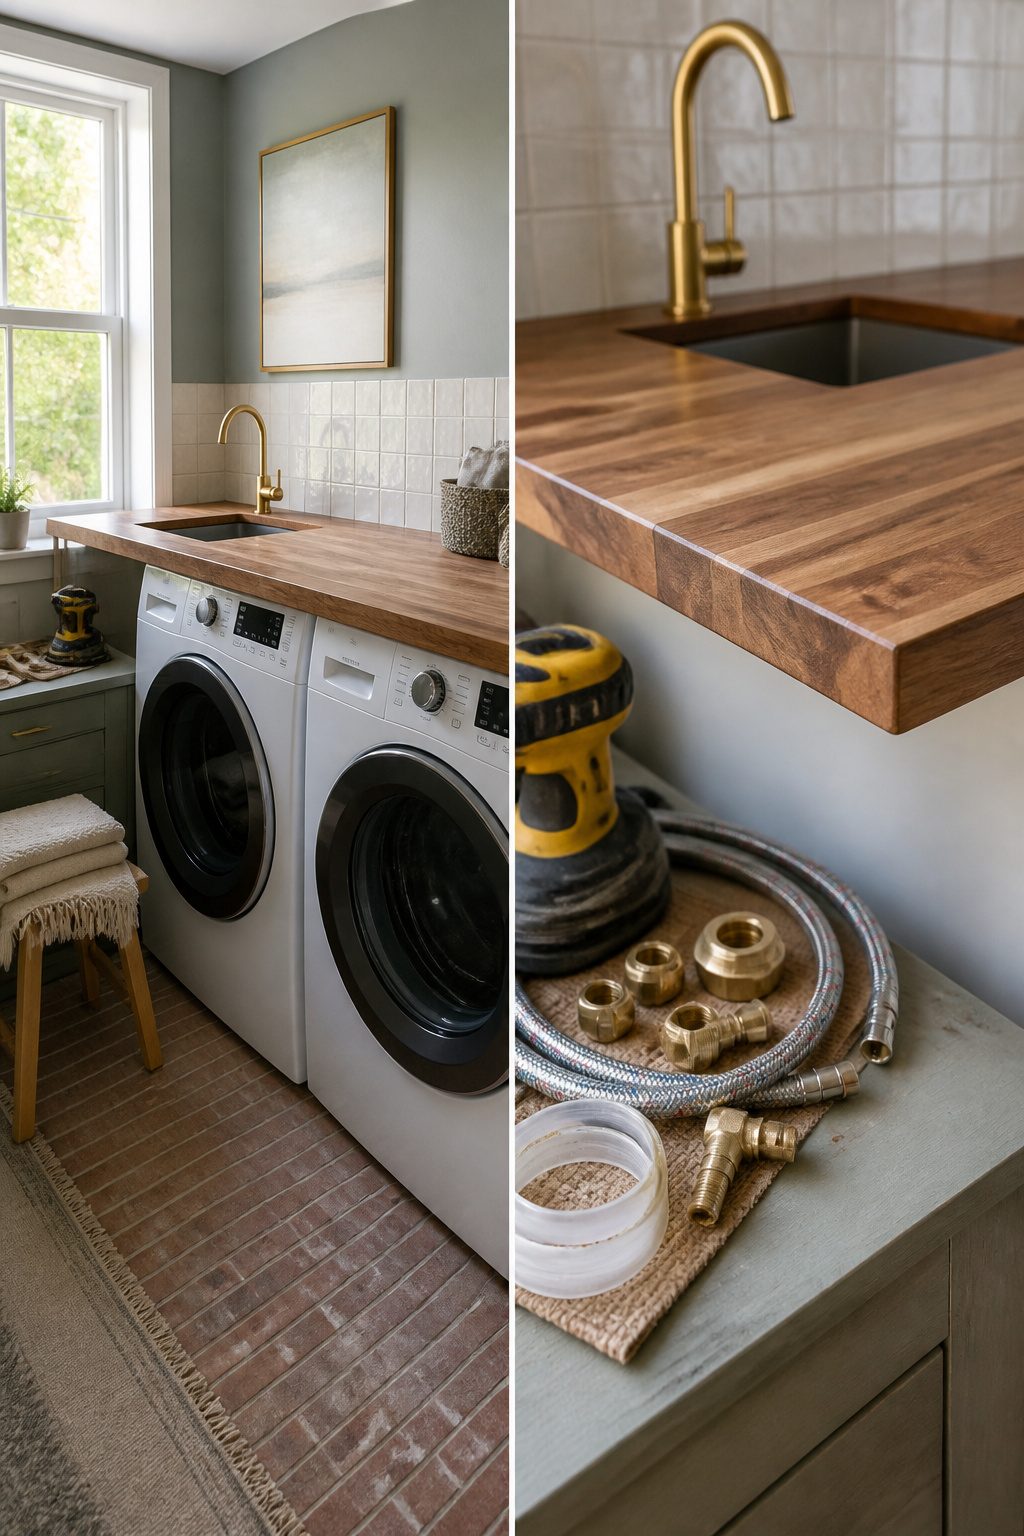
Butcher block across the washer and dryer was the project that sold me on this whole update. The sources all mention it as a quick win, and it is, until you actually cut the thing. My first slab arrived with a twist that rocked on the machines. A belt sander and a half day fixed that, but the "weekend" had already slipped into four days of real work, matching the timeline one source logged for their full room.
The faucet swap went faster, though only because I stopped pretending I could braze copper in a closet. YouTube makes the sink-side work look like a single afternoon. What the videos skip is the shut-off valve that seizes, the supply line that crumbles, the trip to the store for a 3/8 compression fitting you did not know existed. I outsourced the plumbing after the second leak test. The brushed gold finish I chose still ties the room together, and I am glad I picked it, but the "DIY" part of that project lasted about twenty minutes.
Backsplashes sit in the same gap. Peel-and-stick tile arrives in a box with no wet saw required, which sounds like a Sunday morning. Cutting around outlets, keeping rows level across an uneven wall, and the grout-or-no-grout question turn it into something else. I have not done one in a laundry room. Based on the countertop and the faucet, I would budget a long weekend and line up a plumber’s number before I started.
Product Links That Stayed Good
Links in old laundry room posts go stale faster than the projects themselves. A fixture that was $116 two years ago might now be listed under a new model number or discontinued entirely. The trick is knowing what specs to carry forward instead of chasing the exact SKU.
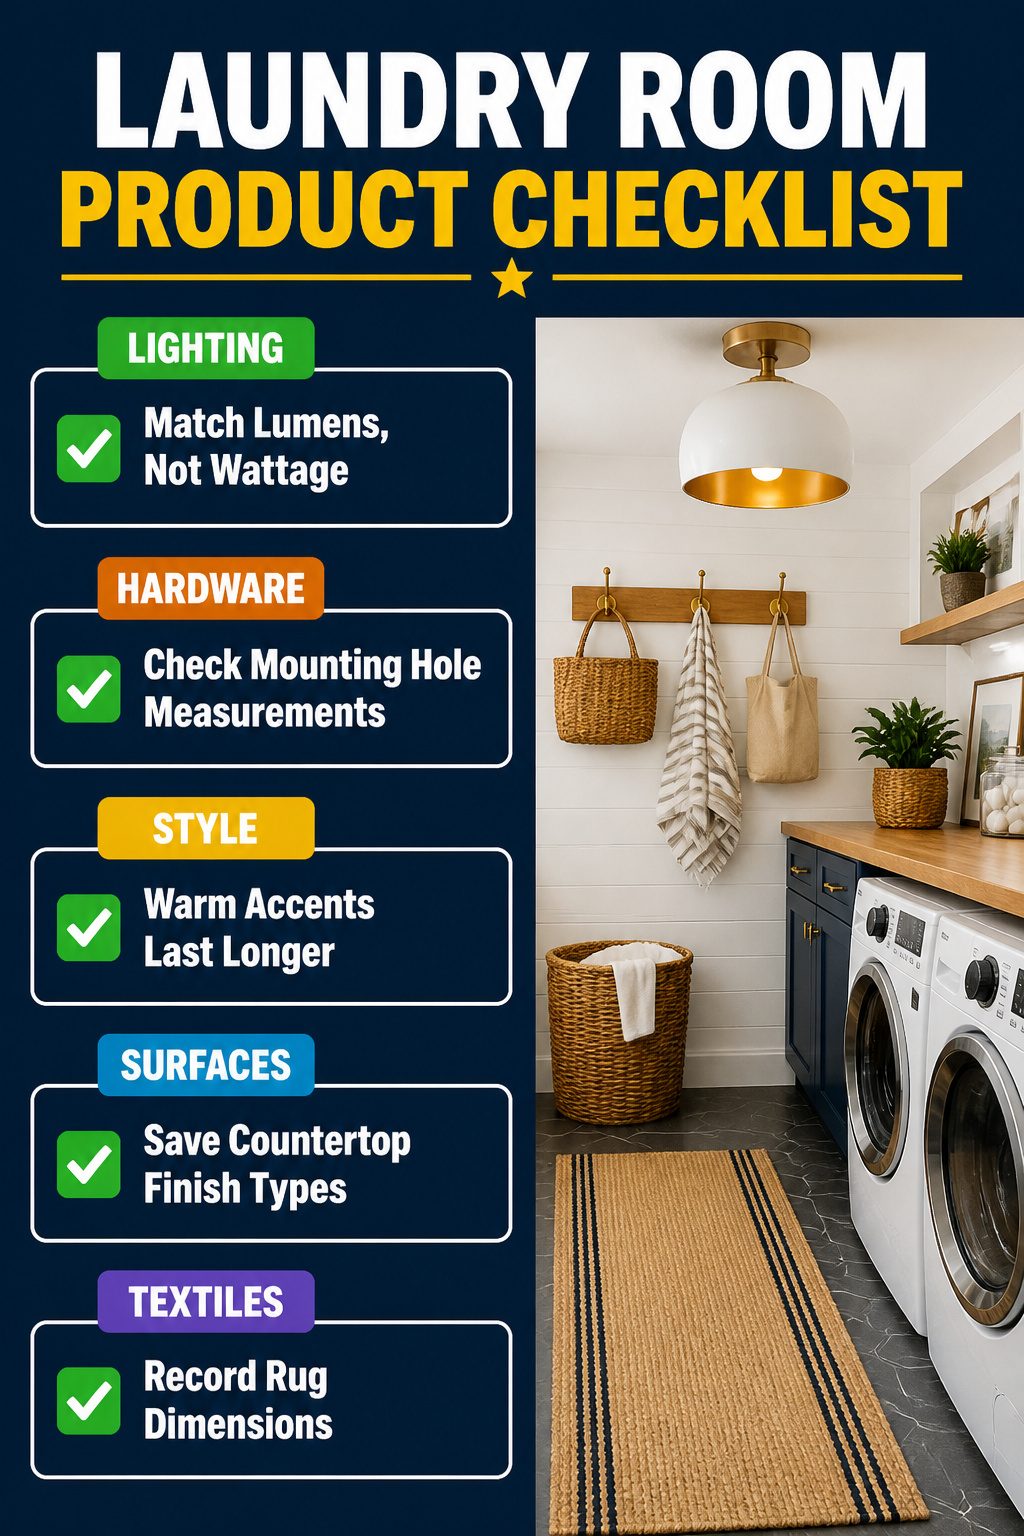
- Match lumens and color temperature, not wattage. A schoolhouse-style ceiling light works because it puts out enough lumens for folding clothes and reading tags; aim for 3,000–5,000 lumens at 3000K or below so the room does not feel like an operating theater. Dimmable helps if you add a small lamp for evening loads.
- For hardware and hooks, note the center-to-center measurement and the projection from the wall. A 15-dollar hook set and a 129-dollar wall-mounted drying rack both fail the same way: if the mounting holes do not line up with your studs or tile, you are drilling new holes and patching old ones.
- The flush mount star fixture and the Ballard Designs farmhouse light with gold interior detail both show a pattern: the warm accent, not the shape, is what lasts. Brass or gold lining inside a white or black shade gives that same glow even if the exact fixture is gone.
- Peel-and-stick backsplash and butcher block countertops move in and out of stock by the season. Save the thickness, the finish type, and whether the edge is square or beveled. A 318-dollar slab that was 1.5 inches thick with an oil finish can be matched to a new source even when the original seller drops the line.
- Rugs and baskets are the easiest to replace and the hardest to match for exact size. A 34-dollar runner that was 2 by 6 feet will not read the same at 2 by 5; write the dimensions on the back with a Sharpie when you unroll it.
Frequently Asked Questions
How can I redo my laundry room for cheap?
Keep the existing footprint and update what you already have. Paint the walls and cabinets, swap hardware instead of replacing cabinetry, and add inexpensive storage like bins or a rolling cart. One refresh cost under $60 for paint alone and changed the room’s whole feel.
How much does it cost to redo a laundry room?
A full refresh runs $700 to $900 if appliances stay and you do the work yourself. The higher number includes a $318 butcher block countertop and $90 peel-and-stick backsplash; skip the counter and you land closer to $700.
How do I refresh my laundry room?
Start with paint or peel-and-stick wallpaper, upgrade the overhead light to something that puts out 3,000–5,000 lumens, and add storage that fits your actual space. A six-inch rolling cart or wall-mounted drying rack changes how the room works without touching the walls.