
Adding wall sconces takes about one afternoon, a voltage tester, and the willingness to cut power at the breaker instead of trusting the wall switch. Most people get the height wrong because they measure from the floor instead of from where they actually sit, stand, or work.
1. Choose the Right Placement

Wall sconces live or die by where you put them. For general lighting, 60 to 72 inches from the floor puts the light right at natural eye level, which is the height that feels right when you walk into a room and do not think about the fixture at all.
Bathrooms have their own rule. Sconces flanking a mirror go 60 to 65 inches up, landing near eye level so your face gets even light without the shadows that come from overhead fixtures alone. Keep them 36 to 40 inches apart when they are on both sides; closer and the light pools, farther and you get dim strips in between.
Bedside reading sconces are the ones I measure last, because bed height changes everything. Sit where you actually read, then mark about 5 inches above your shoulder. That is your height, not a number off a chart. Adjustable arms buy you some forgiveness if you guess wrong.
Kitchens and work spaces follow the same logic as beds: 24 inches above the counter puts task light where your hands are, not where the average person might be. Doorways, built-in shelves, and sloped ceilings all push these numbers around. The tape measure matters more than the guideline.
2. Turn Off the Power
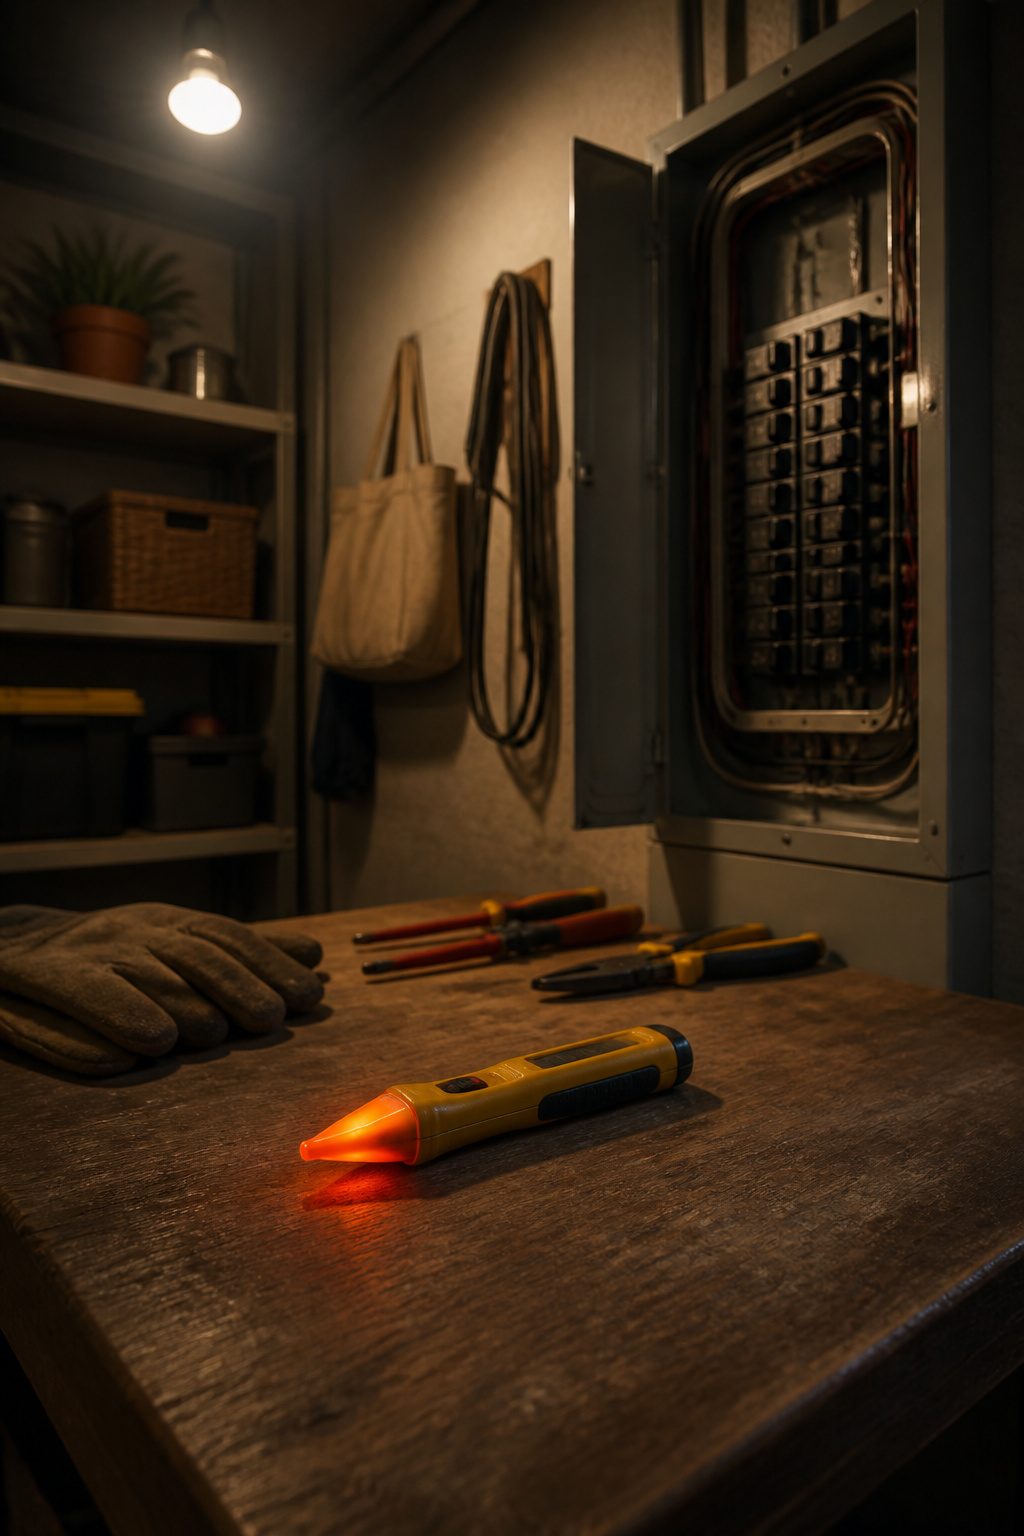
The wall switch is not enough. Flip the breaker that controls the circuit where the sconce will live, then hold a voltage tester against the exposed wires to confirm silence. If the tester beeps or lights up, you picked the wrong breaker and need another trip to the panel.
I learned this the hard way on a hallway fixture: the switch was off, the wires still carried current, and my gloved hand got the reminder. Non-conductive gloves and insulated-handle tools are worth keeping in the kit for exactly this gap between assumption and proof. Label breakers while you are at it, if the panel is a mystery. Once the tester stays dark, you are cleared to work.
3. Remove the Old Fixture
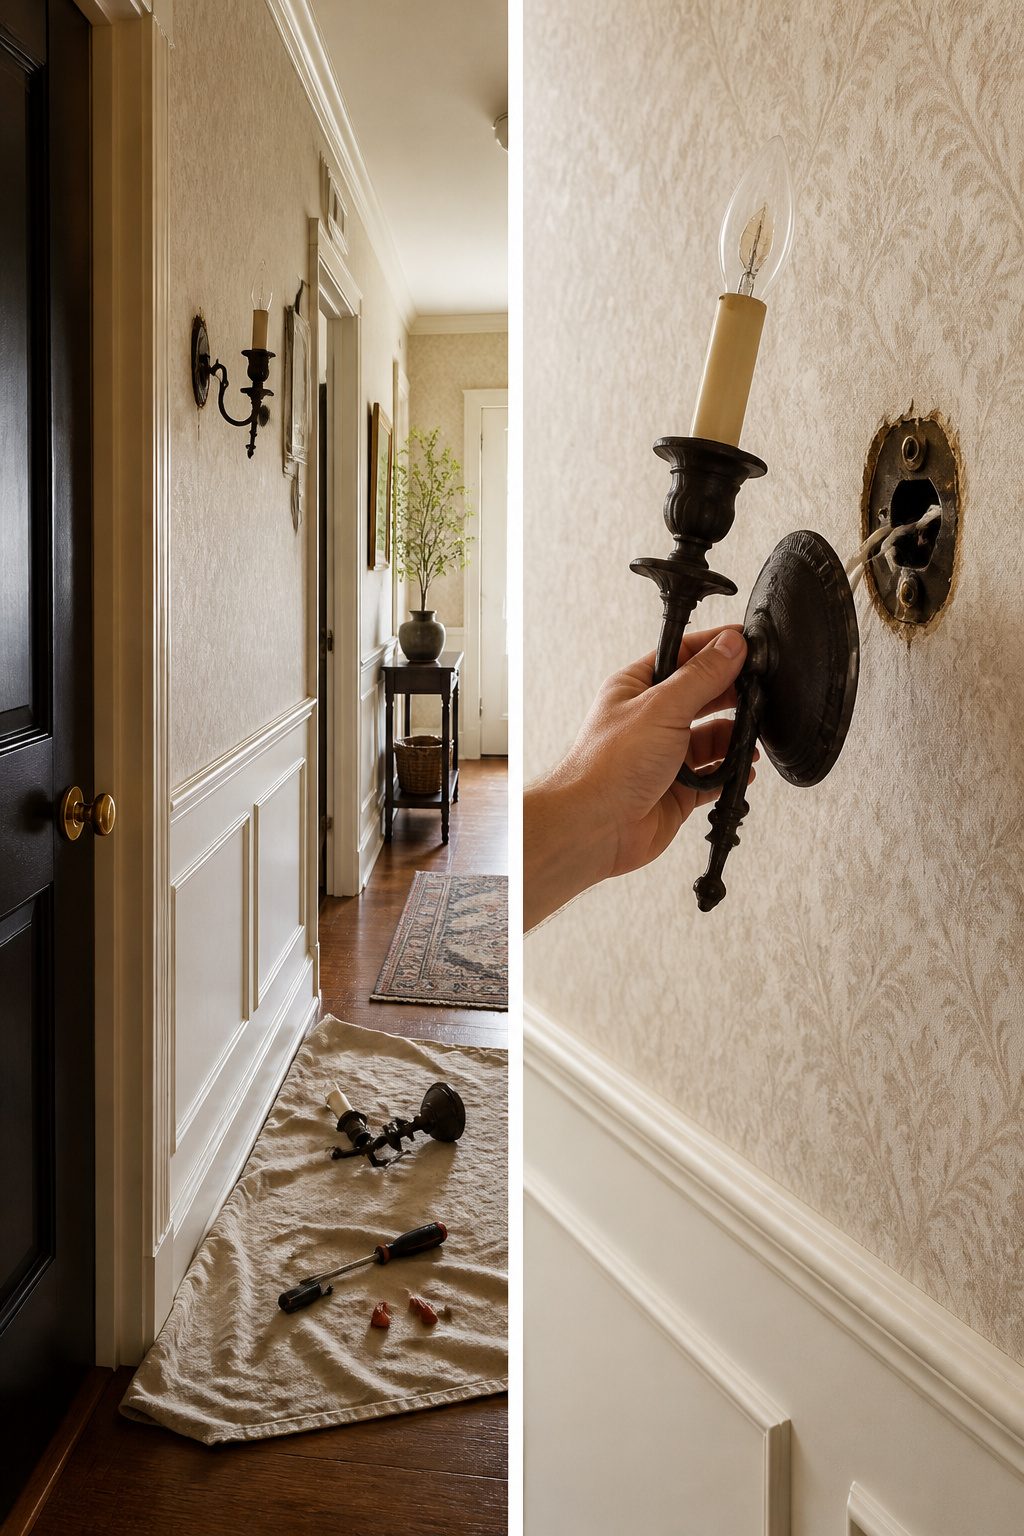
The old sconce usually hangs from two or three screws through the mounting plate into the wall box. I back them out slowly, letting the fixture settle into my free hand rather than trusting the threads to the last turn. Most of the weight drops away once the wire nuts come off, so the real risk is scratching the wall with a swinging bracket or losing a washer down the junction box.
Untwist the live black wires first, then the white neutral, then the ground last. That order matters more than I used to think; it leaves the safety ground connected until everything else is already separated. The old fixture can hang by its wires for a moment if I need both hands, though a second person removes that particular anxiety entirely.
The mounting plate itself stays useful. I set aside every screw and washer in the order they came off, because new sconces rarely ship with hardware that matches old box threads, and a trip to the hardware store for a single 8-32 screw burns an hour I do not get back. If the old plate is rusted or the ground screw is stripped, I swap it now rather than discovering the problem halfway through hanging the replacement.
4. Install the Mounting Bracket
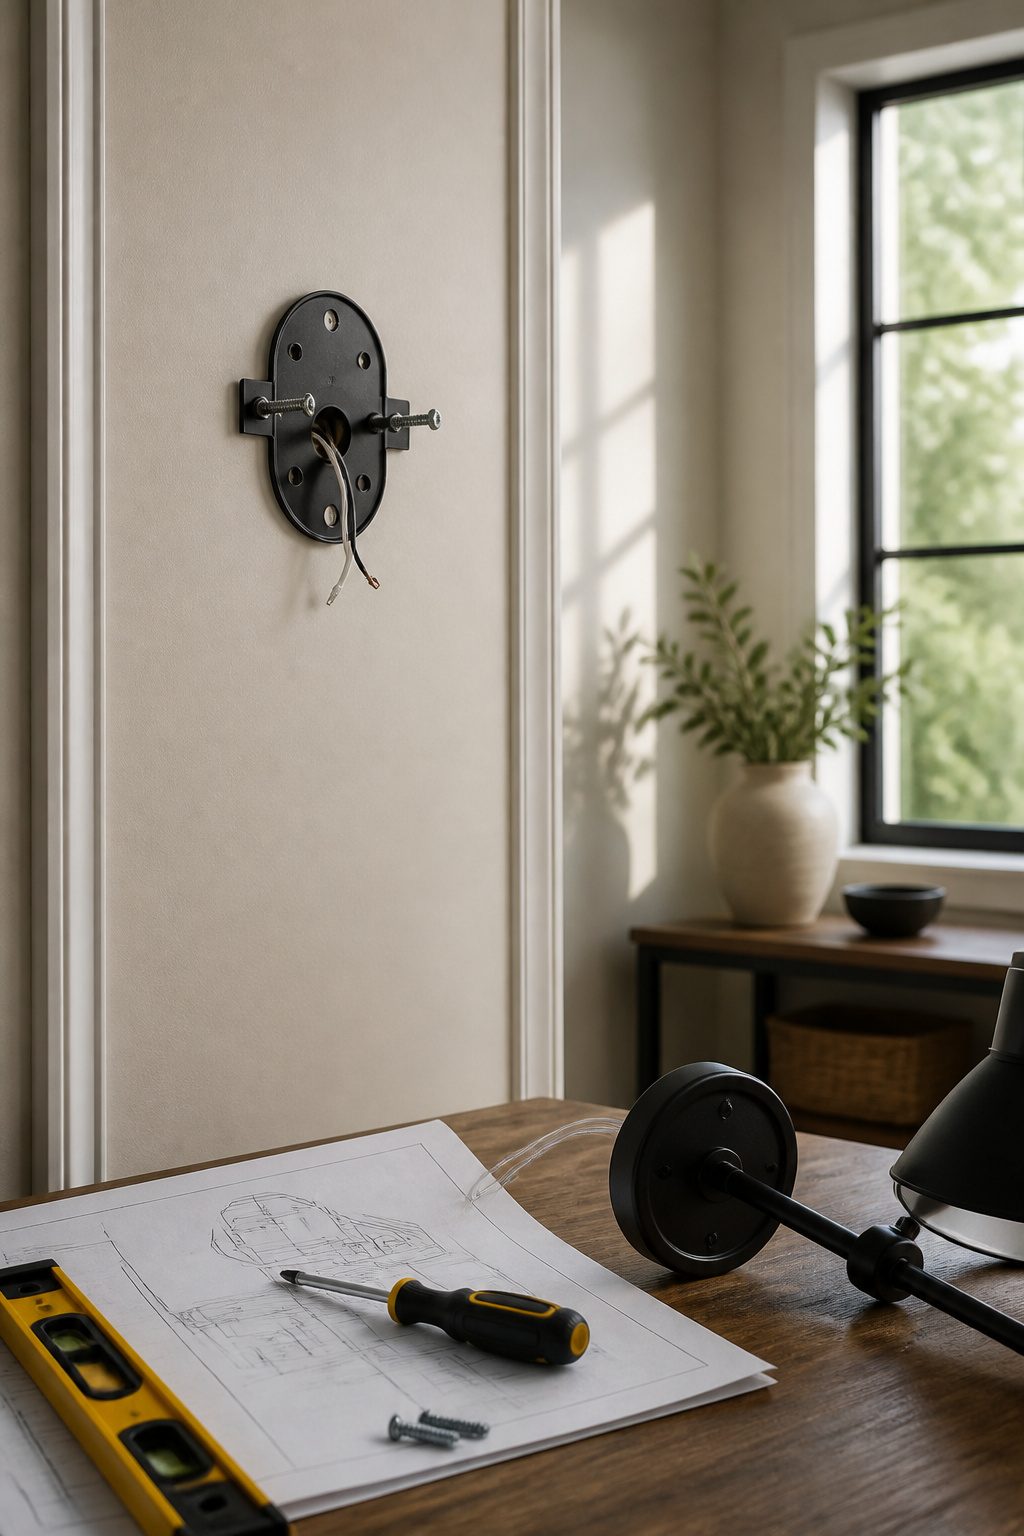
The mounting plate is the piece that actually carries the sconce’s weight, so the screws need to bite into something solid or the fixture will sag. Hold the bracket against your wall marks and check that it sits flush. Any gap here teleports straight through to the finished fixture.
If your marks line up with a stud, drive the screws directly. More often they won’t, and that is where wall anchors earn their keep. Drywall alone will not hold a sconce over time; the repeated torque of someone bumping the shade or changing the bulb pulls screws loose. Toggle bolts or molly bolts spread the load across a wider patch of wall and keep the bracket from shifting.
With the screws started but not tight, set a level across the bracket. A sconce that tilts even slightly reads as a mistake from across the room. Tighten fully once the bubble sits where it should, then wiggle the bracket to confirm there is no play. A loose mount means a loose fixture later, and you will not want to reopen the wall after the wiring is done.
5. Connect the Wires
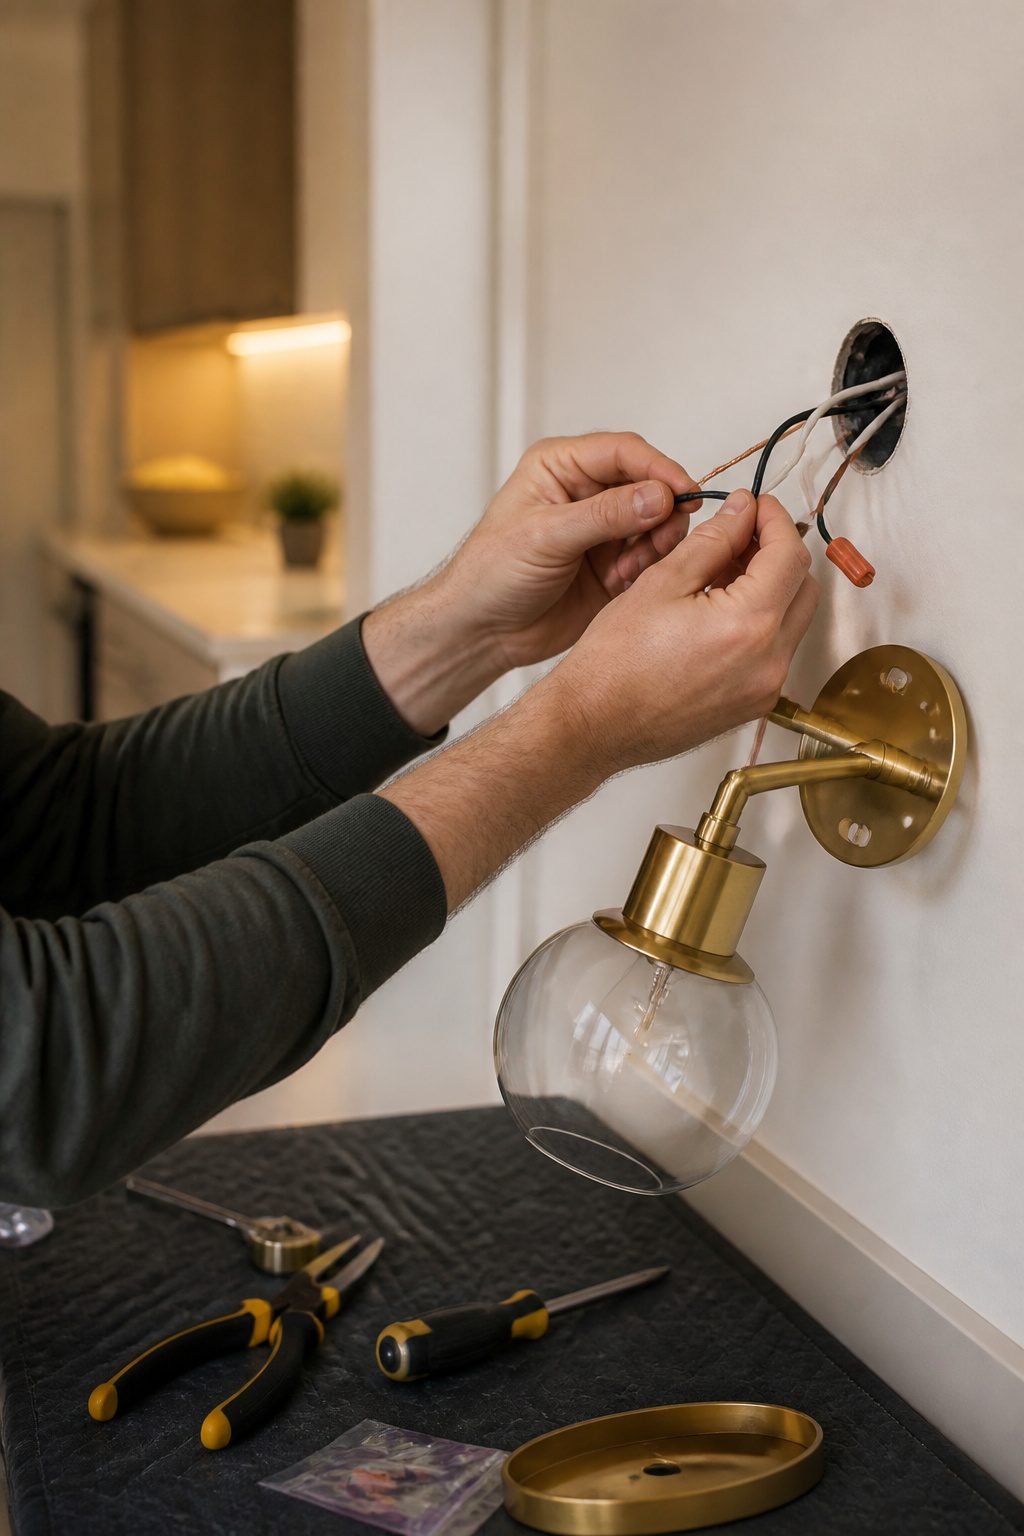
The wire colors tell you exactly what to do. Black from the wall joins black from the sconce; that is your hot wire carrying the live current. White meets white for the neutral return path. The bare copper or green ground wire fastens to the green screw on the mounting bracket, not to another wire. Twist each pair together clockwise and cap it with a wire nut until the plastic skirt covers the bare metal. A loose nut will give you flickering or worse, so tug-test every connection before you move on.
Extra length is almost guaranteed with new sconces. Push the slack through the bracket’s center opening rather than coiling it inside the box, where a tight loop can crowd the black and white together. Keep those two separated in the remodel box so they do not touch. Once the connections are secure and taped if you want the extra insurance, fold the wires in half or thirds and tuck them flat against the back so nothing pinches when you bring the fixture home.
6. Attach the Sconce
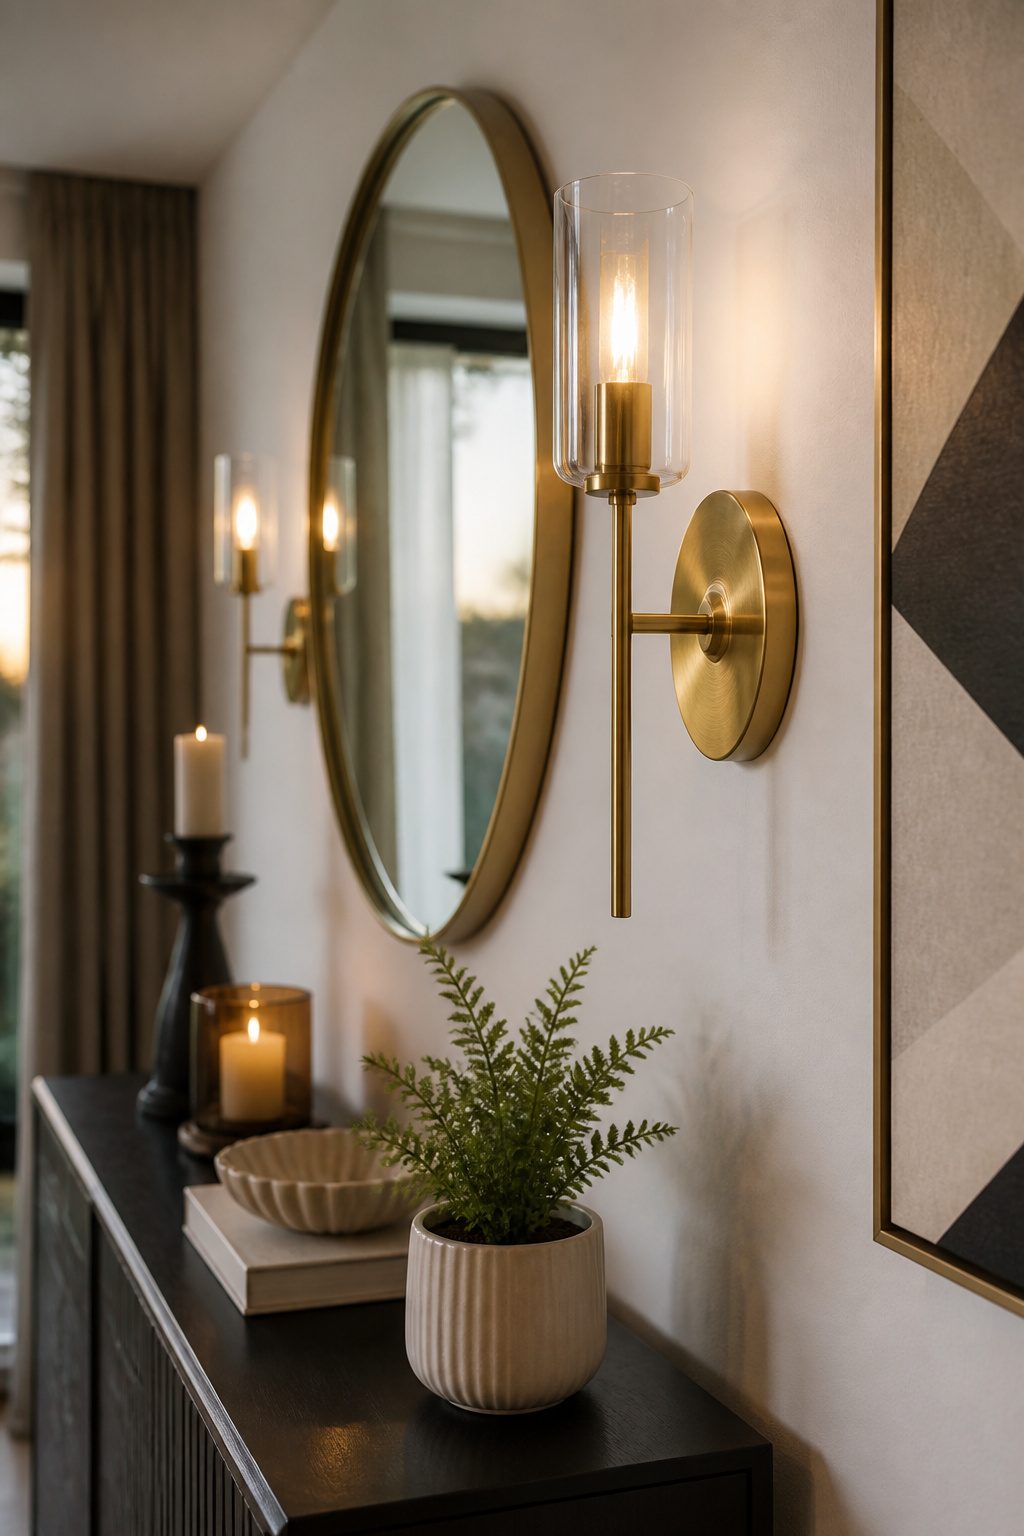
The sconce body slips over the mounting bracket and seats against the wall with a small twist or a pair of screws. Most fixtures hide the fasteners behind a decorative cap or shade, so the clean face you see in the product photo only appears at the very end.
A crooked sconce is almost always the bracket, not the fixture. Before the final screws bite, hold a small level against the front plate and nudge the sconce until it reads true. Overtightening strips the heads or cracks a ceramic base, so snug the screws by hand and stop when the wobble disappears.
If the wall is uneven, the back plate may rock on a high spot. A thin rubber washer behind the low corner can take up the gap without stressing the metal. On plaster especially, that last eighth of a turn is where things crack, so patience here saves a patch job later.
7. Install the Bulb and Restore Power
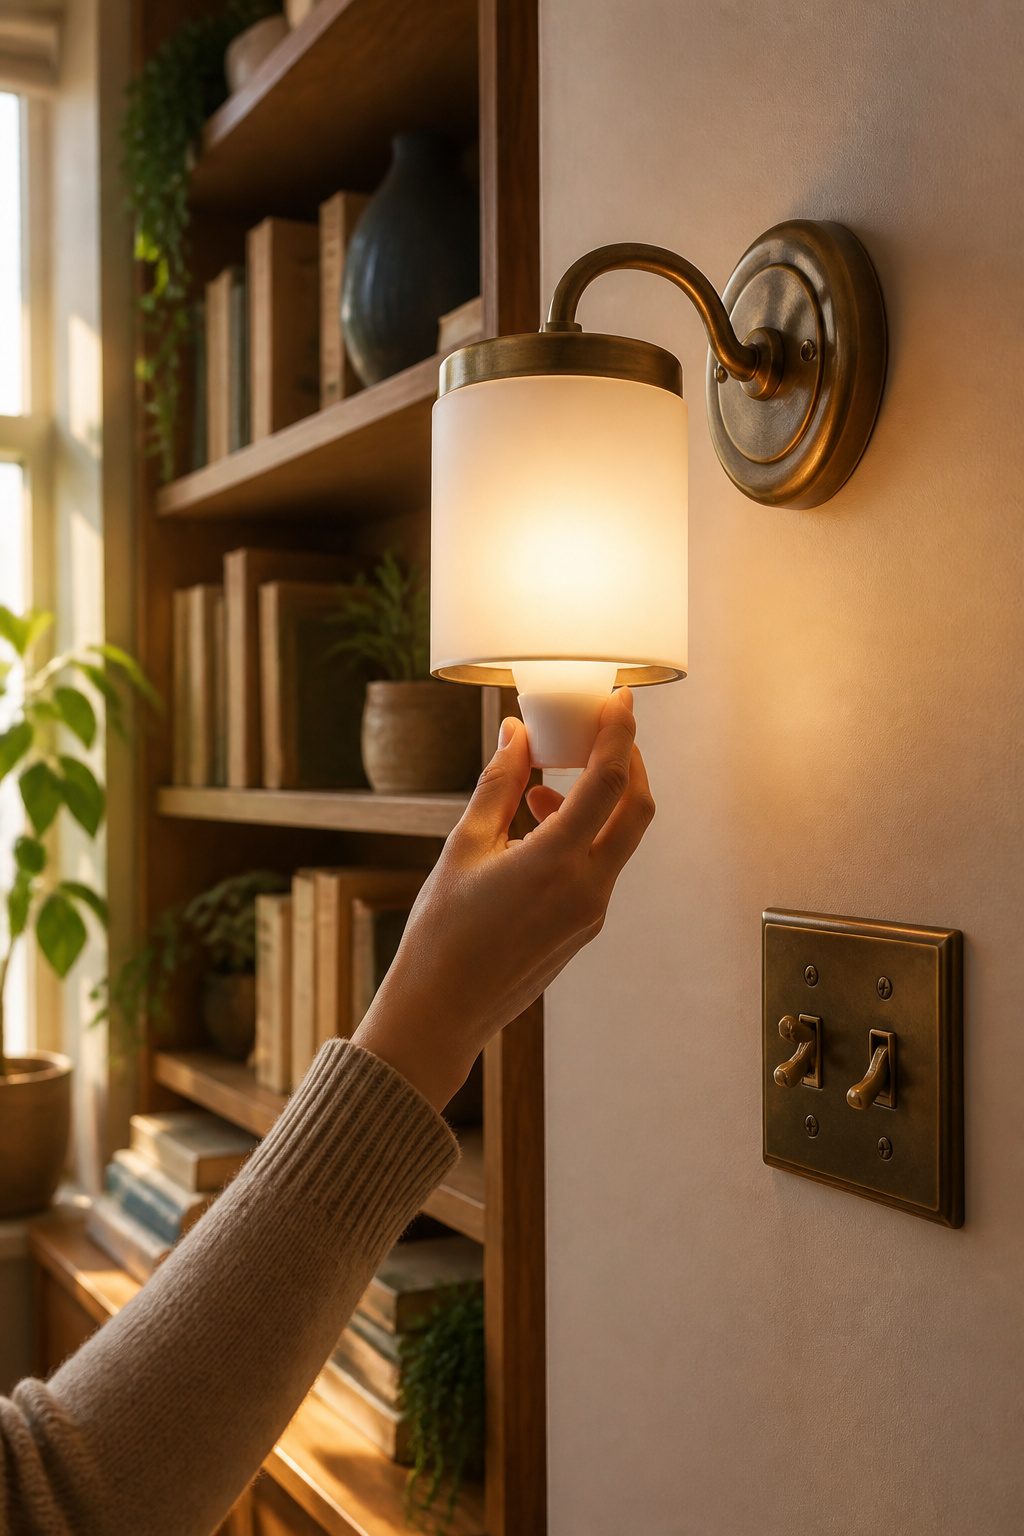
The bulb you choose matters more than the fixture itself. Every light fixture carries a maximum wattage rating, usually stamped near the socket, and going above that number risks overheating and fire. LED bulbs run cooler and draw less power, so a 9-watt LED often replaces a 60-watt incandescent without pushing the limit. Screw the bulb in firmly, flip the breaker back on, and test the switch.
If nothing happens, the fix is usually simple. A loose wire nut inside the box kills the circuit more often than a bad fixture. The wrong bulb base or a tripped GFCI on the same run can also look like a wiring failure. I once spent twenty minutes rechecking black-to-black connections before spotting that the bulb itself had shifted in transit and the filament had separated. Flickering or buzzing means power is reaching the fixture but not flowing cleanly; turn the breaker off again and reseat every nut before the shade goes on.
Tools and Materials
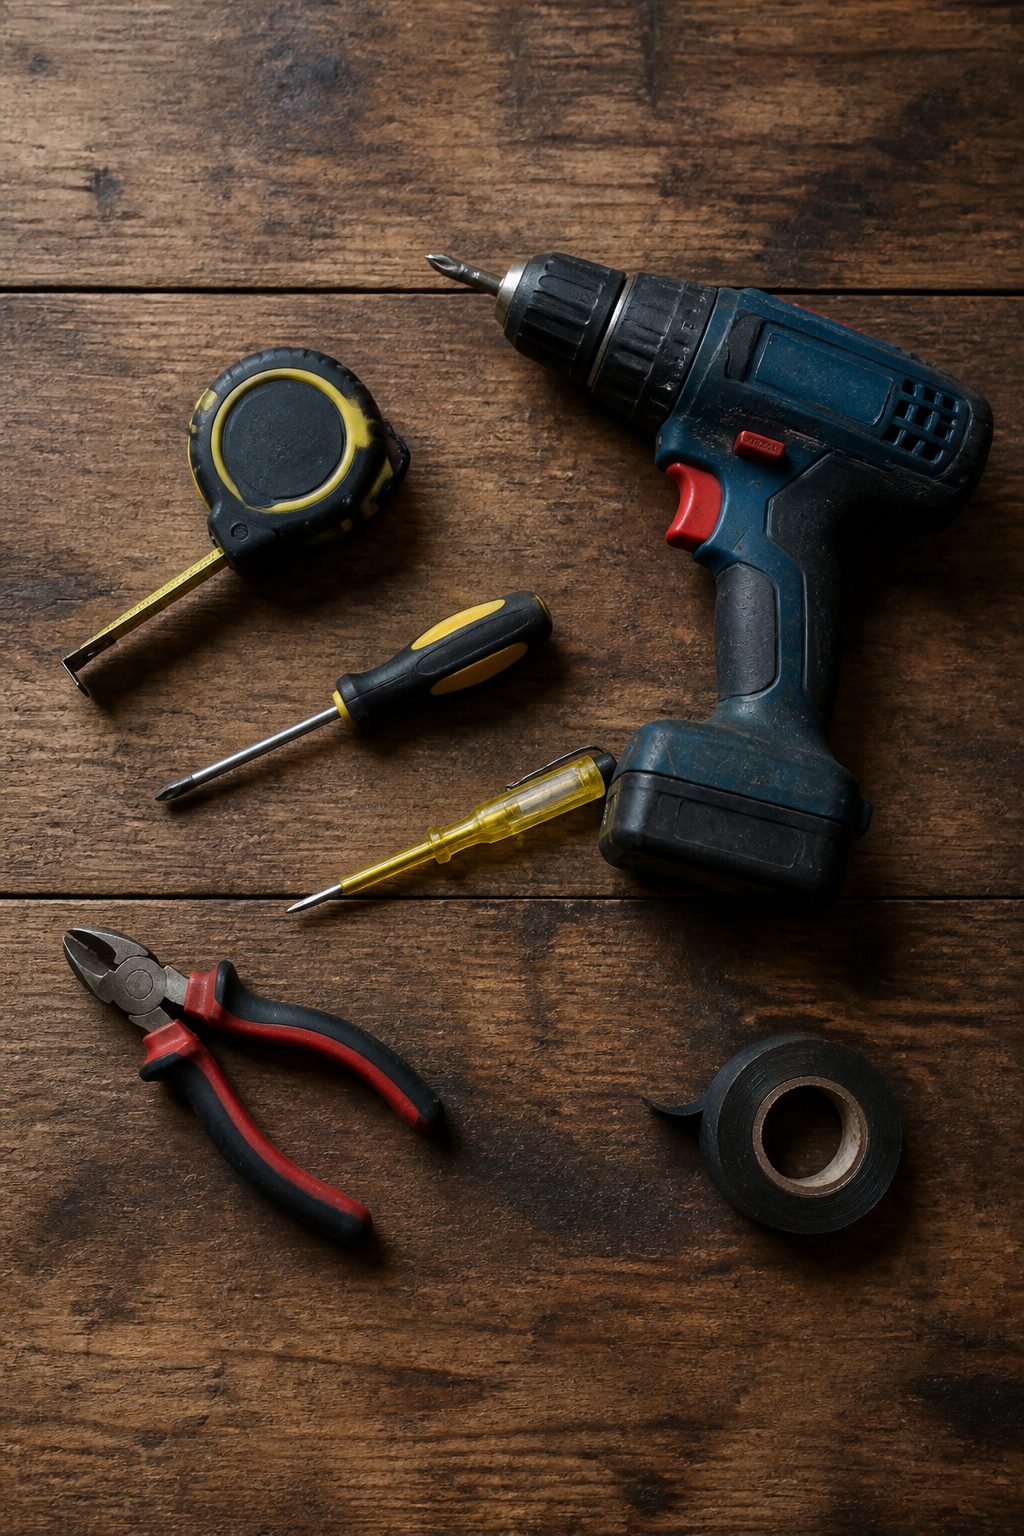
A drill handles the mounting bracket, a screwdriver tightens everything down, and a wire stripper cleans up the ends so the connections sit flat. The voltage tester is the step you do not skip; I read enough accounts of people finding live wires where the breaker should have killed them. A level and measuring tape keep the sconce from the slight tilt that reads as sloppiest from across the room, plus a pencil for marks and electrical tape to secure the wire nuts afterward.
The fixture itself ships with its mounting bracket, so check the box before you buy a second one. Bulbs are on you; match the wattage to what the socket label says, not what looks brightest on the shelf.
For renters without a full kit, a basic voltage tester and wire stripper run about $15 together at any hardware store, and a drill borrows easily from a neighbor or a tool library if your building runs one. The rest lives in a standard screwdriver set you probably already own.
Design Considerations
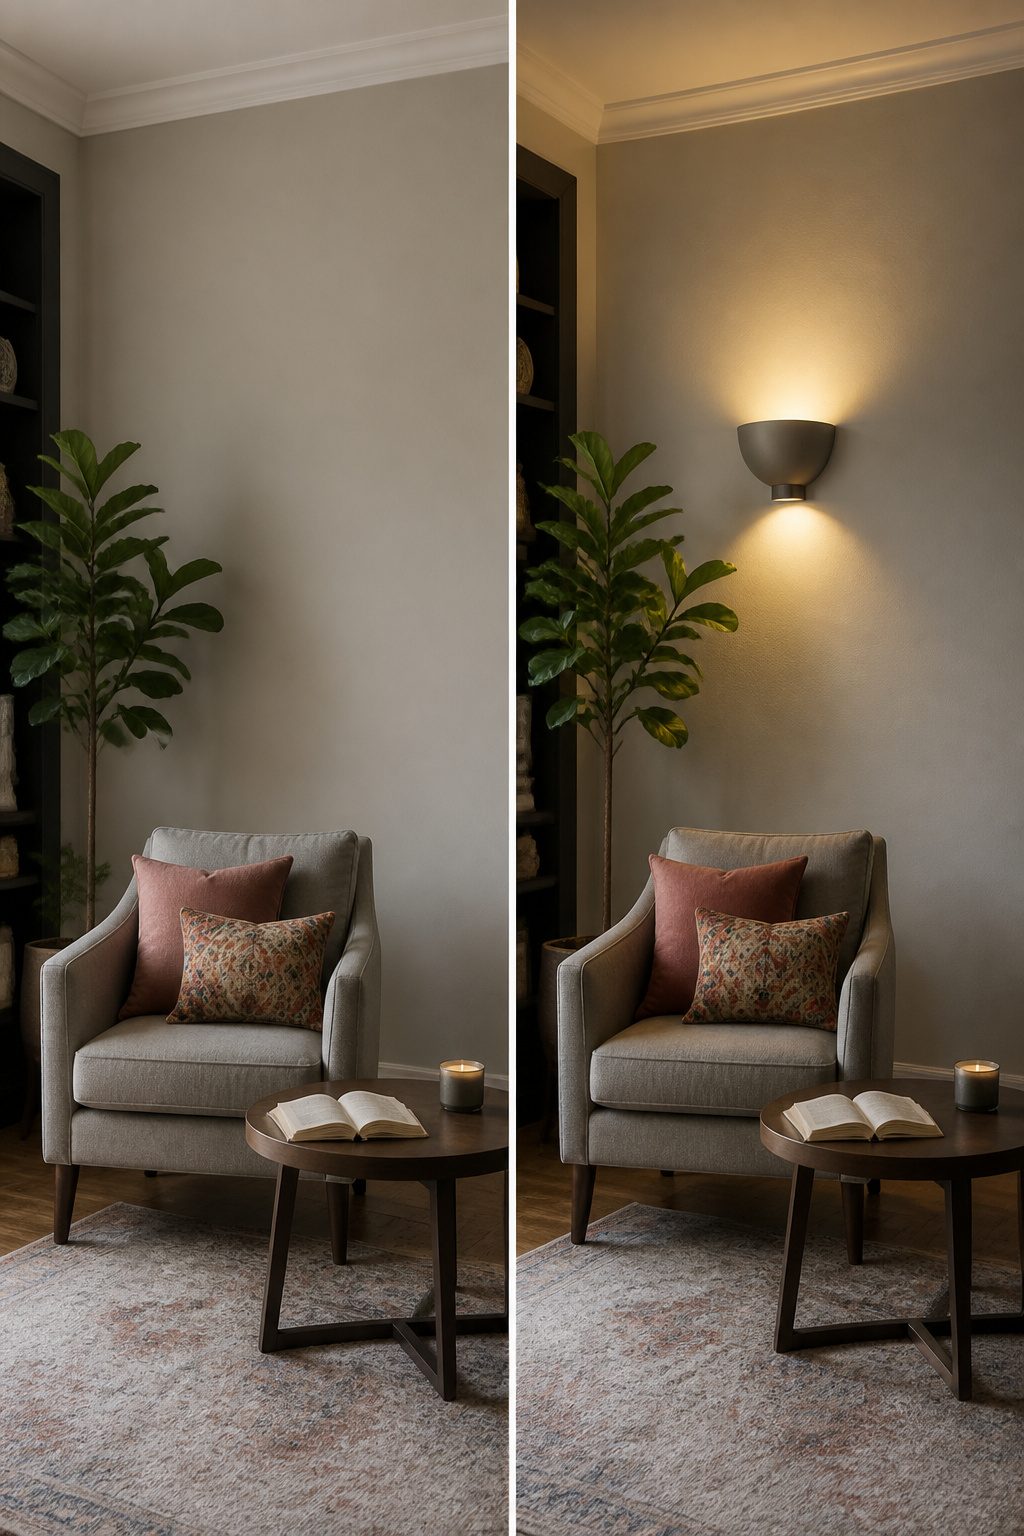
The shade direction on a sconce does more to shape a room than most people notice. An upward-facing shade washes the ceiling and pushes the walls back, which helps a cramped entryway feel taller. A downward shade pools light at shoulder level and reads cozier, but it also throws hard shadows under cabinets and cheekbones. In a bathroom, placing sconces beside the mirror instead of above it keeps the overhead light from carving shadows across your face. Frosted glass softens everything; clear glass punches a brighter, more direct beam that can feel harsh in a bedroom where you are trying to wind down.
Light temperature matters just as much as placement. A bulb that reads clean and white at the store turns cold and clinical at 10 p.m. Dimmable bulbs let you pull the room back from that edge, and they cost little enough now that skipping them feels like a false economy.
Scale against furniture is where I have seen the most mistakes in friends’ apartments. A tiny sconce beside a king bed looks like an afterthought; an oversized one above a narrow console swallows the wall. The piece does not need to match your existing hardware finish exactly. Brass with brass is safe, but mixing metals reads intentional if the shapes talk to each other.
For renters who cannot hardwire, plug-in sconces with a cord cover or battery-powered puck lights get you the look without the landlord conversation. Battery-operated puck lights run about 100 hours on three AA batteries, which works out to roughly 45 days at two hours a night.
Though the batteries will need replacing fairly often, I don’t regret this project at all. After four years of renting, I finally have the sconces I’ve always wanted — and will be able to easily bring them with me once we move.
That portability is the real advantage. You buy once, move twice, and hardwire later when the walls are yours.
When Hardwiring Is Not an Option
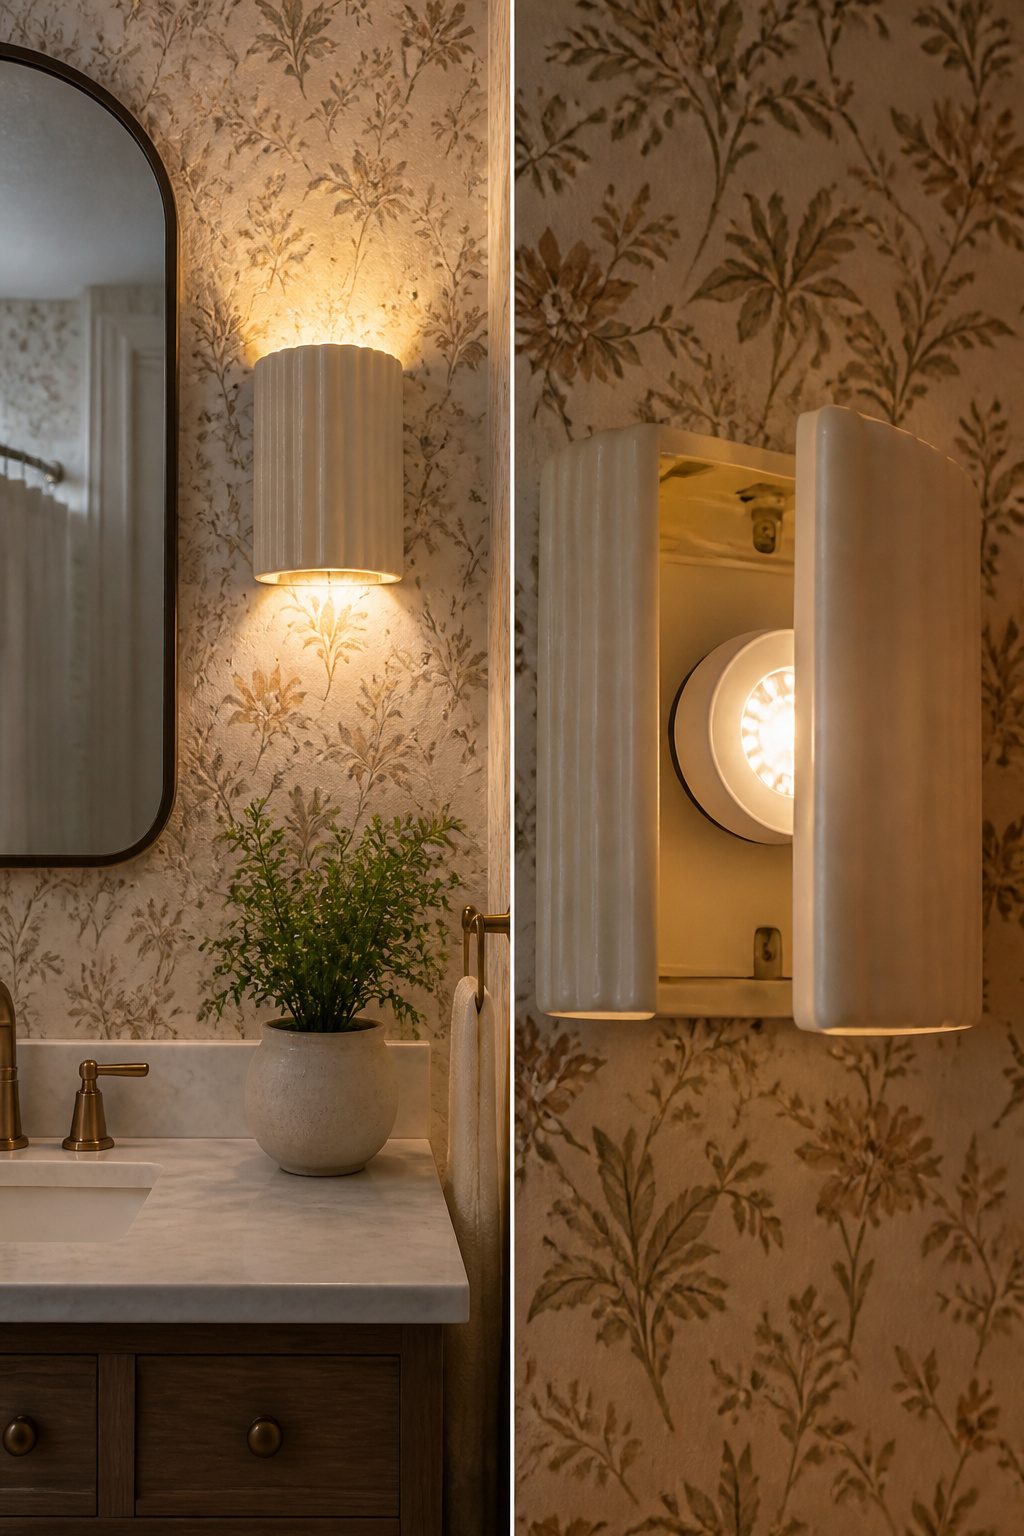
Not every wall cooperates with a drill. In two rental bathrooms with plaster walls, I skipped the anchors entirely and used removable frame hangers rated for five pounds. The sconce mounting plate sits flush against the wall, the wires stay bundled and hidden behind the fixture, and the whole thing lifts off clean when the lease ends.
For power, battery-operated puck lights drop into the shade where a bulb would go. Light distribution is not perfect, but the tradeoff is worth it for a Saturday project with no electrician. Standard puck lights run about 100 hours on three AA batteries, so two hours of daily use means swapping batteries roughly every 45 days. That frequency is real, and it is the cost of avoiding a wall tear-open. In my own rentals, the batteries held close to that estimate, and the fixtures came with me to the next place as soon as the packing tape came out.
Placement Mistakes I Have Made
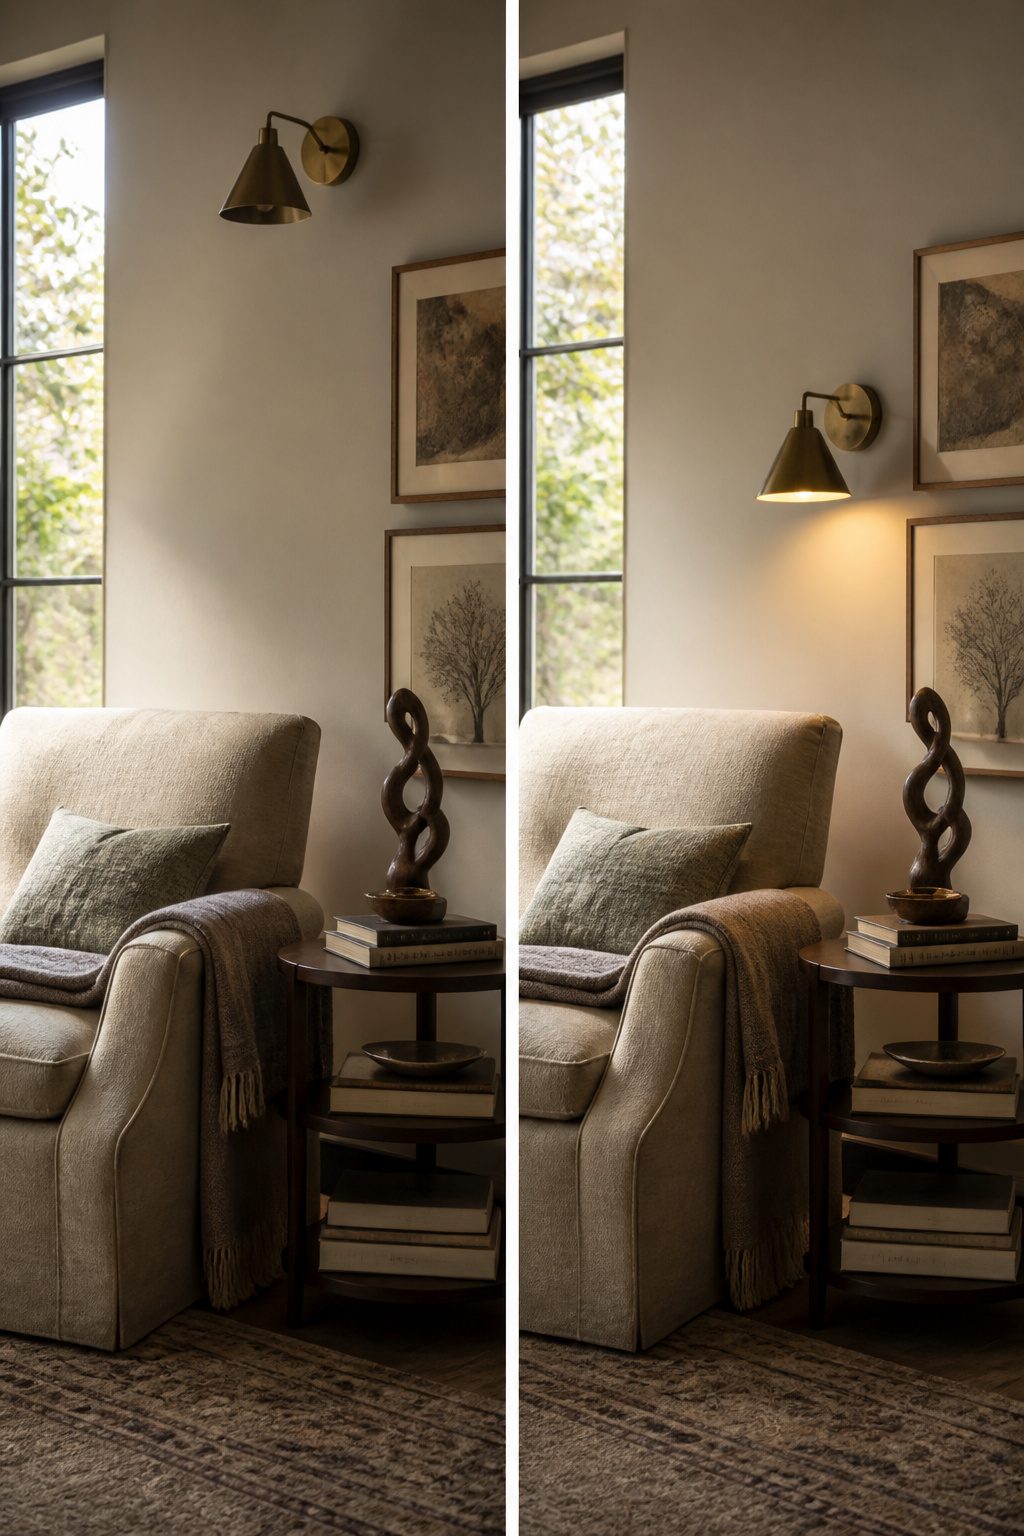
A sconce mounted too high above a reading chair throws light over your shoulder instead of onto the page. The fixture looks fine until you sit down at night and realize the bulb is behind your head, casting your own shadow on the book. Moving one down costs about $15 in spackle, paint, and a new anchor if the old hole is exposed; the real price is the second afternoon of work.
The door swing is easier to forget and harder to live with. A sconce placed on the latch side of a bathroom door, with only the standard clearance, gets clipped by the handle every time someone enters in a hurry. The drywall around the base loosens in months. Now I stand in the doorway and swing my arm through the arc before I mark anything.
Makeup lighting taught me the mirror rule the expensive way. My first sconce went on the left side of the bathroom mirror; I am right-handed, so my working hand cast a shadow across my face every morning. Sconces on both sides of a mirror, or none at all, solve this. A single fixture works only if it is centered above and far enough forward to clear your head, which most shallow medicine cabinets do not allow.
What I check now: the seated sight line, the door arc with the handle turned, and which hand I will have raised in front of that mirror. The drill stays in the bag until all three are marked out in painter’s tape.
Frequently Asked Questions
What is the best height to install wall sconces?
For general lighting, mount wall sconces 60 to 72 inches from the floor, which places the light at natural eye level. Bathroom sconces flanking a mirror should sit 60 to 65 inches high, while bedside reading sconces work best about 5 inches above your shoulder when seated in your normal reading position.
How do you install a wall sconce?
Start by turning off power at the breaker and confirming with a voltage tester. Remove the old fixture, then install the new mounting bracket level and secure. Connect black to black, white to white, and ground to the green screw on the bracket. Finish by attaching the sconce body, installing the bulb, and restoring power at the breaker.
What tools do I need to install a wall sconce?
You need a drill for the mounting bracket, a screwdriver, a wire stripper for clean connections, a voltage tester to confirm dead wires, a level and measuring tape for placement, a pencil for marks, and electrical tape to secure wire nuts. The fixture itself ships with its own mounting bracket, so check the box before buying a duplicate.