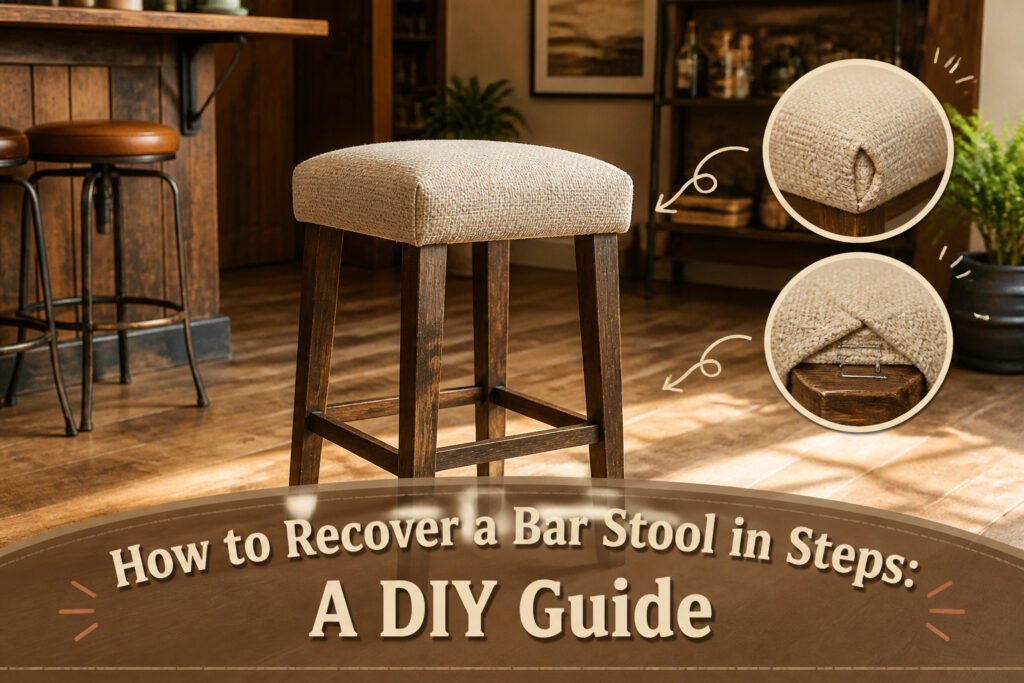
A recovered bar stool runs $50 to $200 and about an afternoon of work, depending on whether the foam underneath has gone flat. Most people pull the old fabric too tight across the weave or leave the corners bunched, and the seat looks off within a month. The fix is the hospital corner: fold the excess into a pleat running along each edge, not stacked at the point, and staple it flat with two staples instead of one.
1. Remove the Old Upholstery
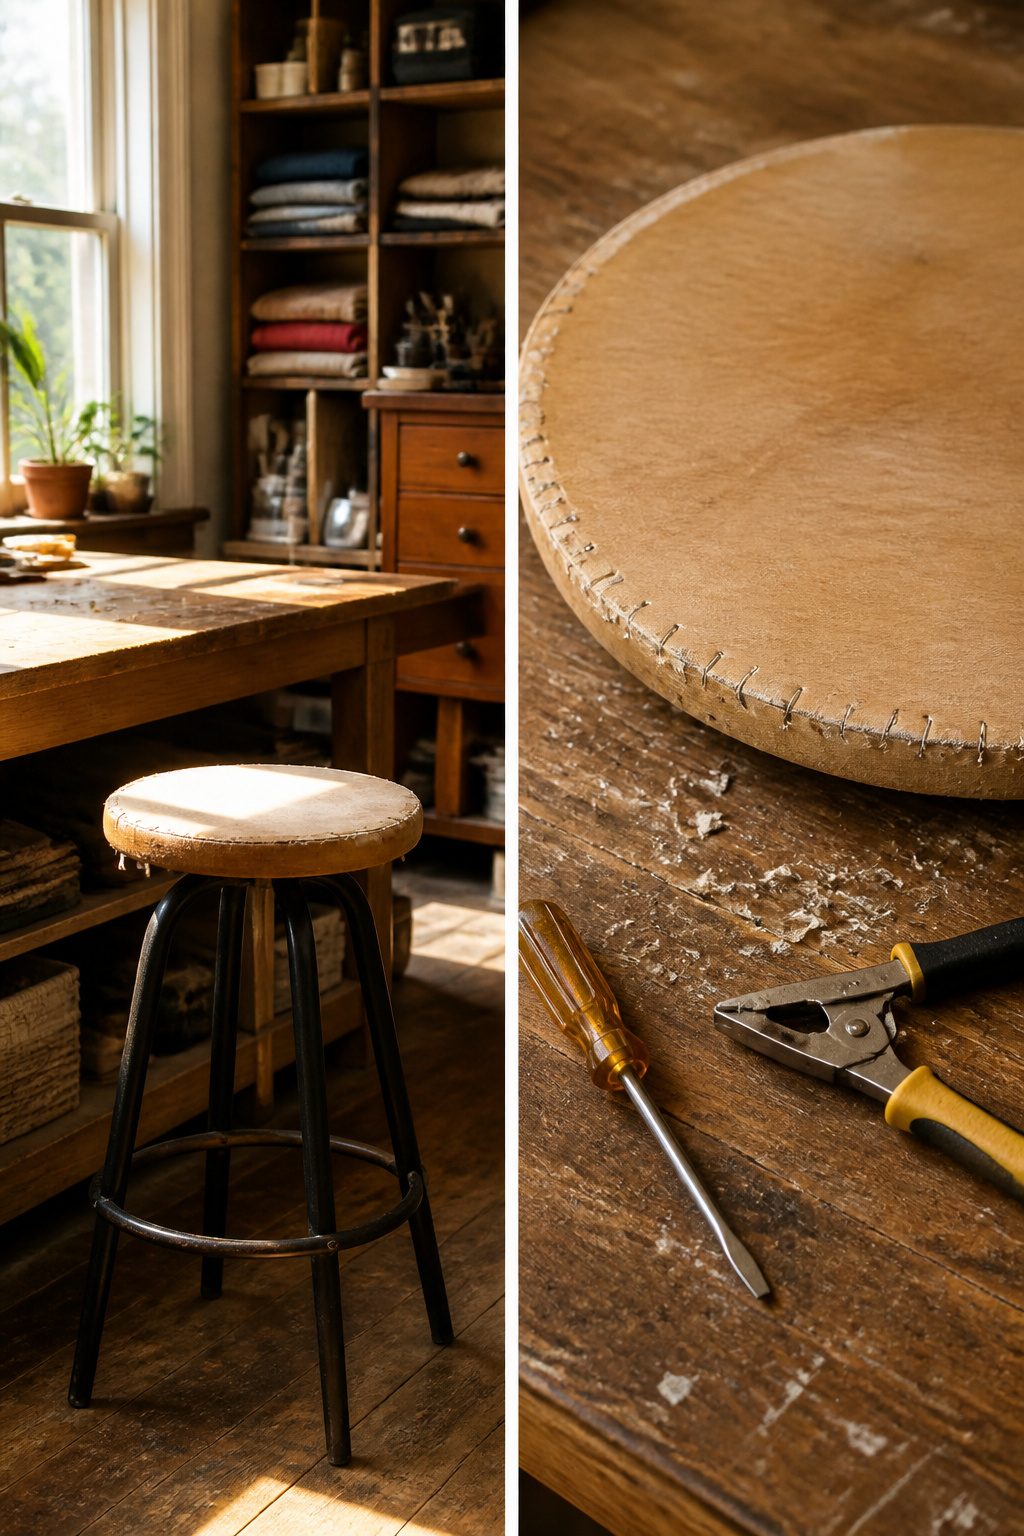
Most bar stool seats come off with a screwdriver or drill, though a few models hide clips underneath that let the cushion pop straight out with firm pressure. Leave three inches of fabric around the seat when you cut, but that comes later. First, the old material has to go. Fabric peels off the plywood or MDF base easily once the staples are out. A staple remover saves time, though needle-nose pliers and a flathead screwdriver work fine too. The backing foam underneath is worth inspecting once the surface is bare, but resist the temptation to strip it down to bare wood unless it is actually damaged. One of the sources I read left the original fabric and backing intact, stapling new material right over the top, and that is a valid shortcut if you plan to recover again in a few years. I would rather start clean. Corners collect the most staples, so check twice before you move on to tracing the new pattern.
2. Check the Cushion
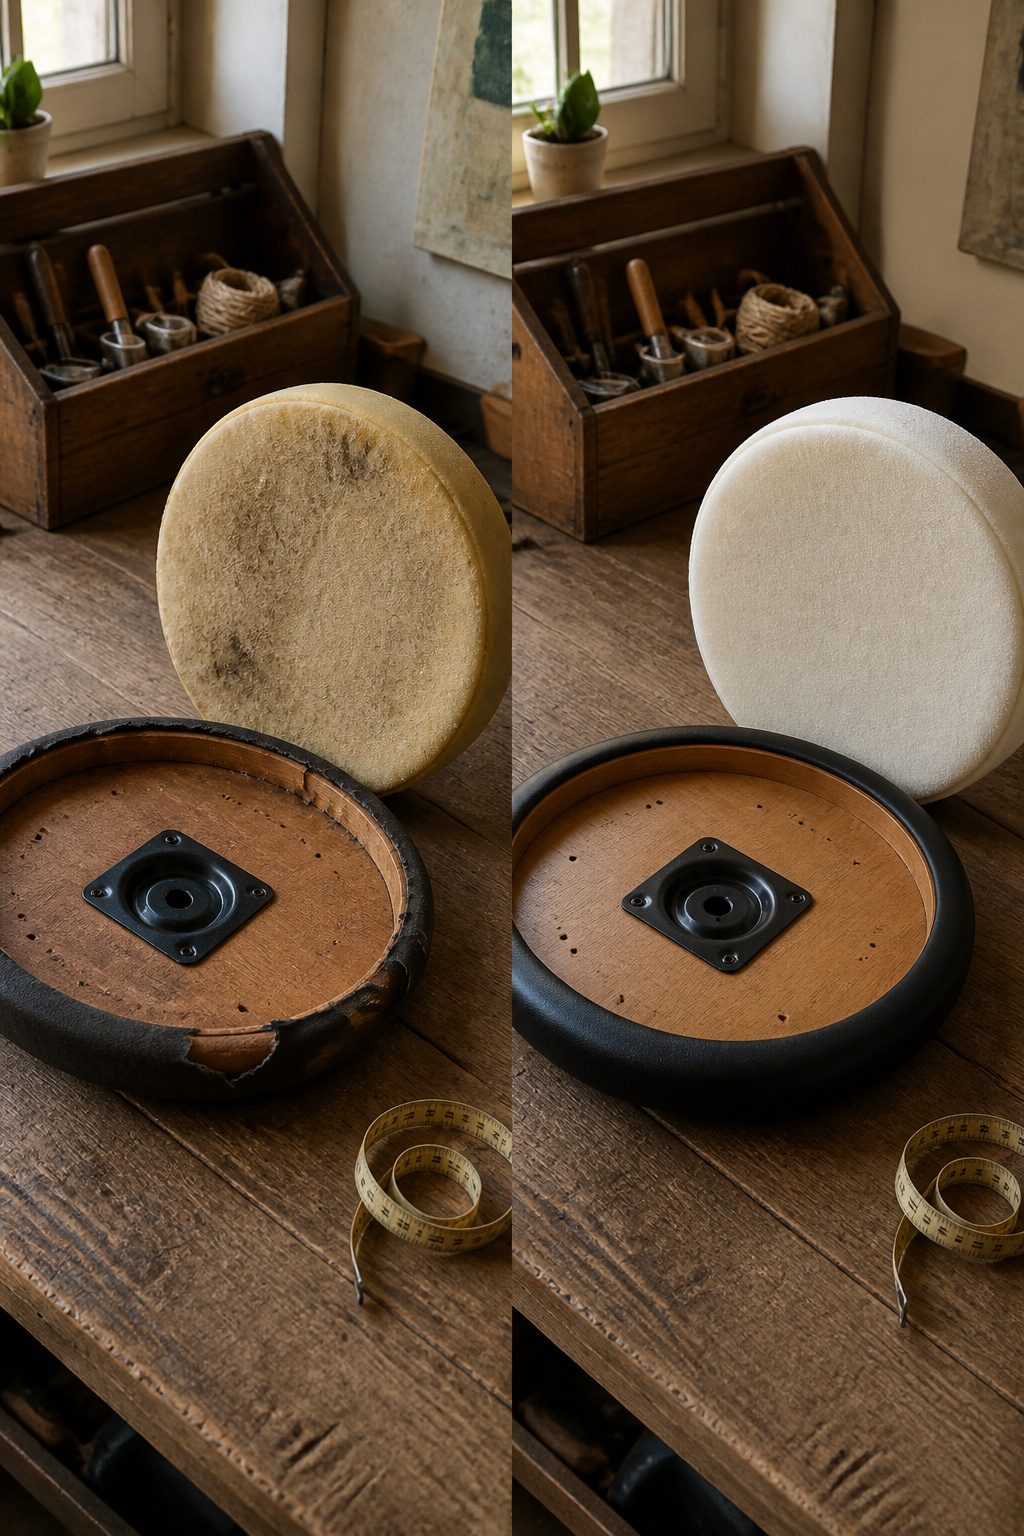
The foam underneath the old fabric tells you whether you are doing a quick refresh or starting over. Press your palm into the center and the edges. If it bounces back and holds its shape, the old cushion can stay. If your hand leaves a dent that lingers, the foam has gone flat and needs replacing.
High-density foam at least 2 inches thick is the right choice for a seat that gets daily use. It keeps its shape under weight and does not bottom out against the wood base. Memory foam works if you want a softer sit and the stool sees lighter traffic. Polyester fiberfill costs less and is easy to find, though it compresses faster and you will be pulling staples again sooner. For a kitchen island stool that gets sat on three times a day, high-density foam is worth the few extra dollars.
3. Cut the New Fabric
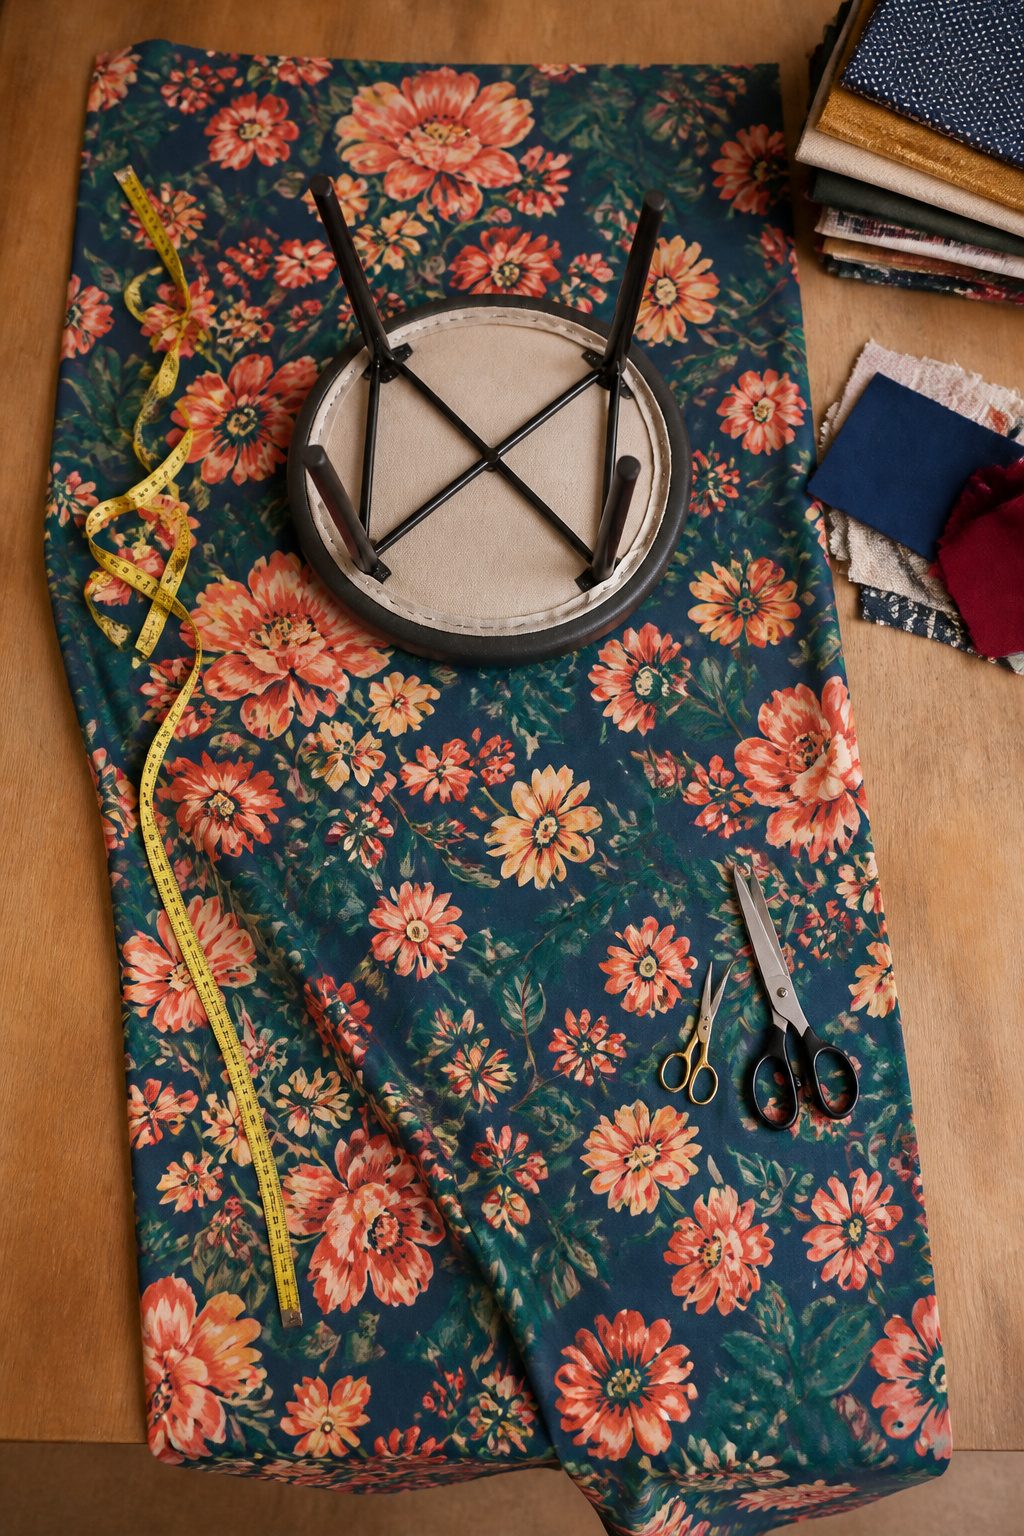
The fabric comes off the bolt in a single long strip, which is why 1 to 1.5 yards per stool is the workable amount, not some exact trim-to-size piece. I lay it face down on the floor or a table, then set the seat on top, also face down, so I can see how the pattern sits. Three to four inches of overhang on every side is the minimum that lets you pull and staple underneath without fighting the edges; four inches is safer if your hands are not used to stretching fabric tight.
Pattern matching costs extra yardage. Stripes, large florals, or anything with a clear repeat will shift on you if you do not buy enough to center the motif the same way on every stool. The same applies to wide seats, anything over the usual 14 to 16 inches, where 1.5 yards stops being generous and starts being necessary. I buy the full 1.5 yards even for a plain fabric on a standard seat; the leftover goes in a bag under the workbench, because bar stools live hard lives and a ripped cover is easier to fix when the fabric still exists.
4. Staple the Fabric
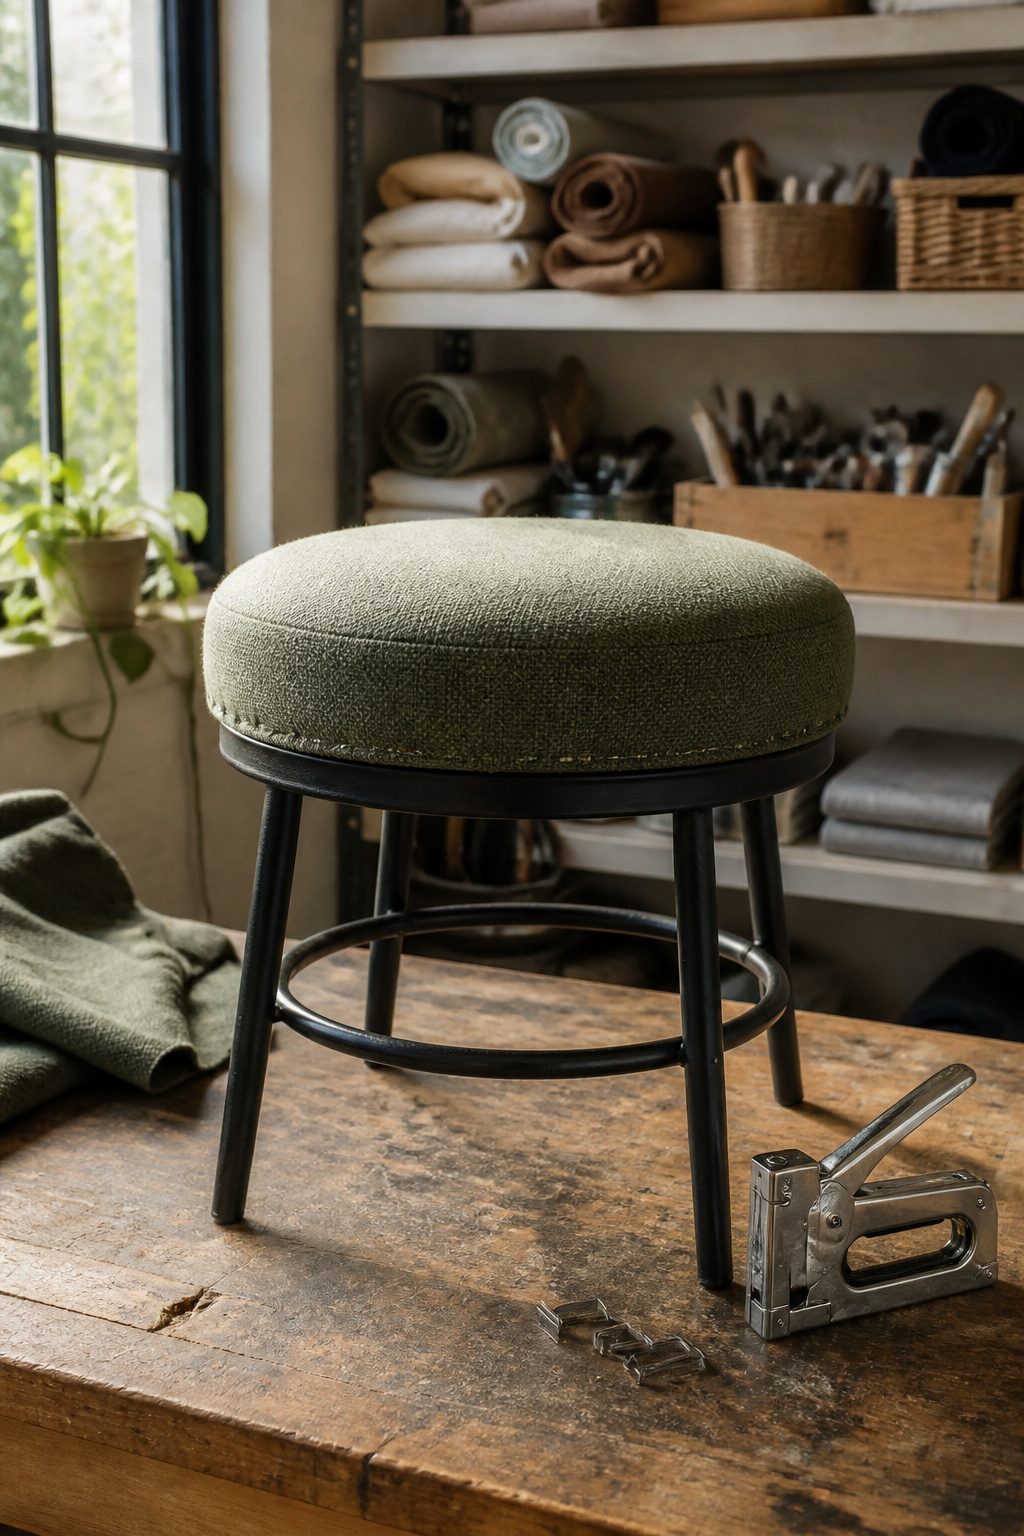
Fabric goes face down on the work surface, the seat placed on top so the pattern stays straight. Three inches of overhang on all sides gives you enough to grip without wasting yardage. I staple the middle of one side, then the middle of the opposite side, pulling just enough to take out slack. Too tight and the weave distorts, especially across a large repeat; too loose and the seat looks saggy inside a month.
Size 6 staples are the standard for upholstery, and a manual gun will drive them if you lean in, though a pneumatic gun saves the wrist on a set of four. Work from each center toward the corners, alternating sides so tension stays even. Corners stay bare until the edges are set; that flexibility matters when you fold the pleat. If a staple sits proud, a hammer taps it flush without reopening the gun.
5. Fold the Corners
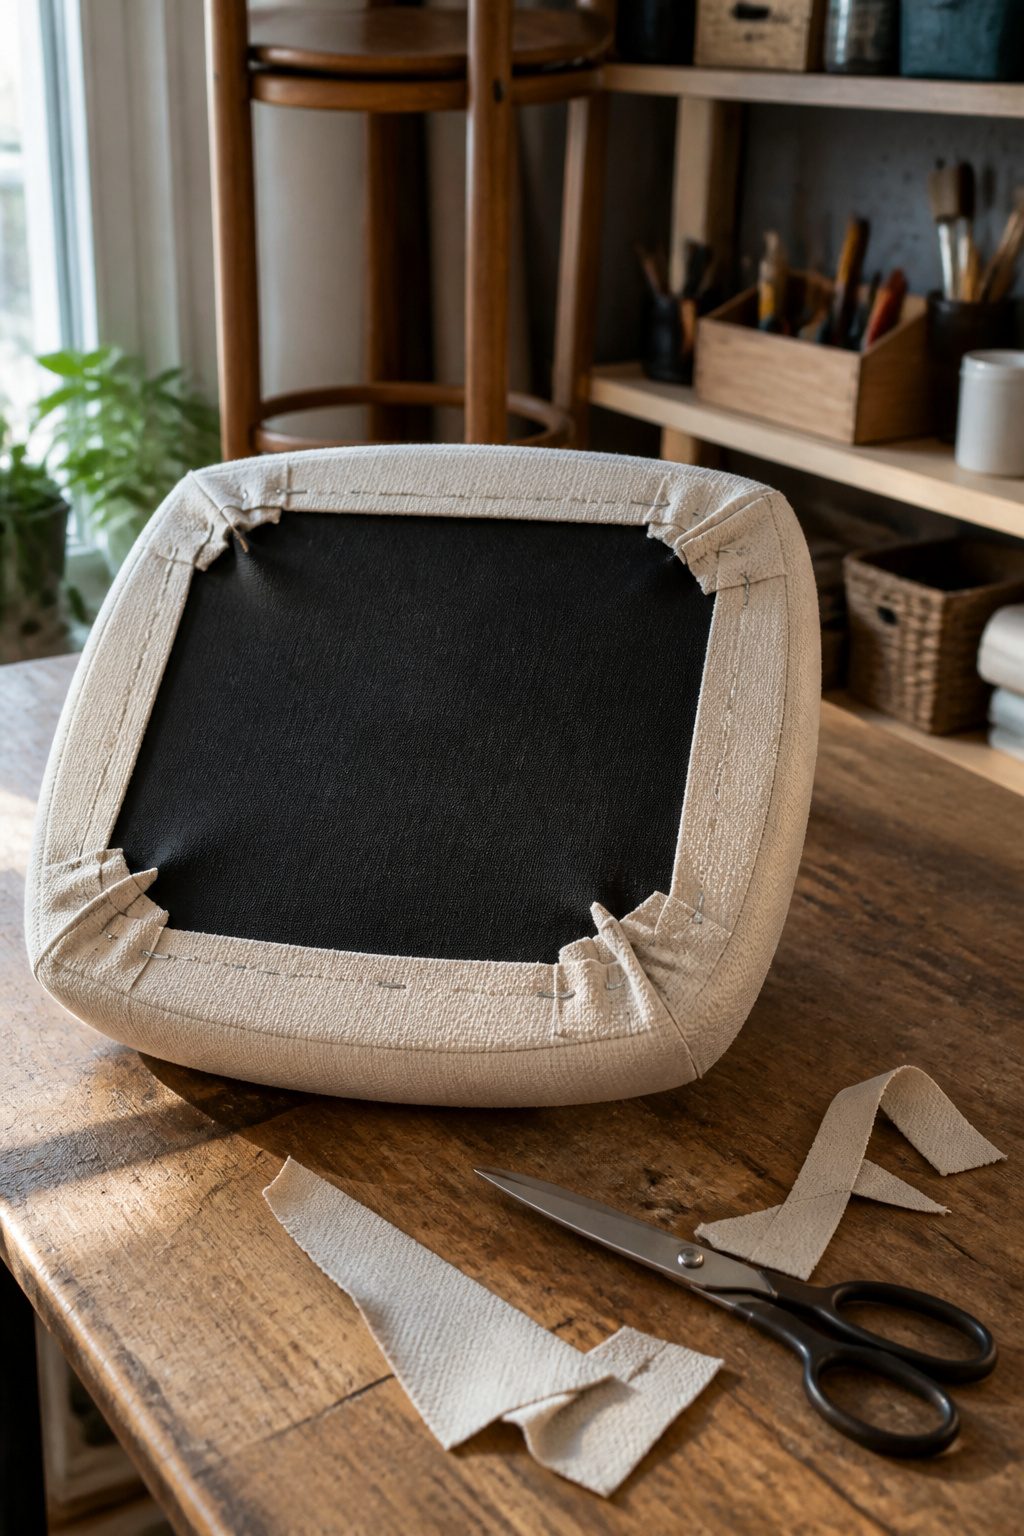
Corners are where recovered seats go lumpy if you let them. Fabric piles up fast, and a thick wad of vinyl or canvas will keep the seat from sitting flush against the stool base no matter how tight your other staples run.
The triangle fold, or hospital corner, is the cleanest fix. Pull the fabric straight toward the center of the seat underside, then fold the excess into a neat pleat running along each edge rather than bunching it at the point. This keeps the bulk in line with the rail instead of stacked on top of it. Two extra staples at each corner, placed right through the fold, hold it flat where one would let the fabric creep over time.
Trim whatever still flares past the staple line with sharp scissors. The goal is material thin enough that the seat pan meets the frame evenly when you bolt it back on. A ridge of folded cloth under the rim telegraphs through eventually, or leaves a gap that rattles.
6. Reattach the Seat
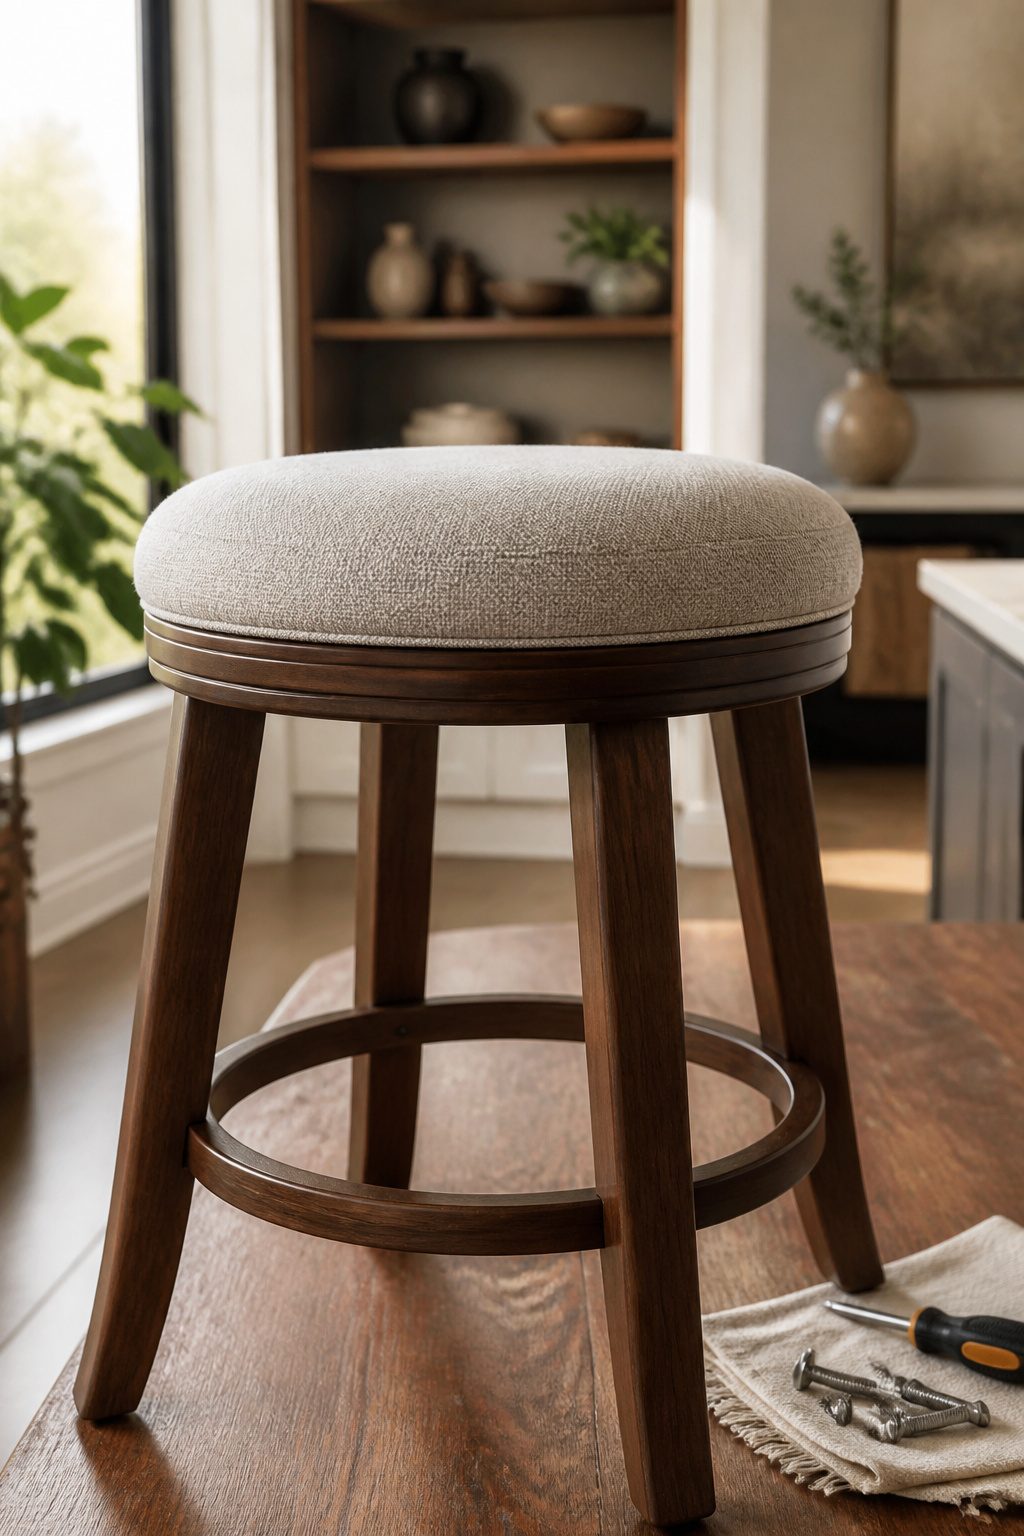
The seat goes back on the same way it came off, which is why that photo of the underside matters more than you think it will. Line the recovered top up with the base and run the screws in by hand first, feeling for the old threads so you don’t strip anything. The fabric is fresh and the foam is thicker than the worn-out padding you pulled off, so the holes may not line up exactly where memory says they should. Tighten in a star pattern, the way you would a car wheel, so the seat settles flat instead of cocking to one side.
A wobble usually means one leg of the base is not square, not that the seat is the problem. Set the stool on a hard floor and look for daylight under any foot before you blame your upholstery. If the seat rocks on its own, loosen the screws, press down on the high corner while someone else drives them home, and test again. Give the finished stool a sit before you call the project done. The staples you felt on the underside should stay hidden, but a fingertip dragged across the edge will catch anything that pokes through.
What You Need
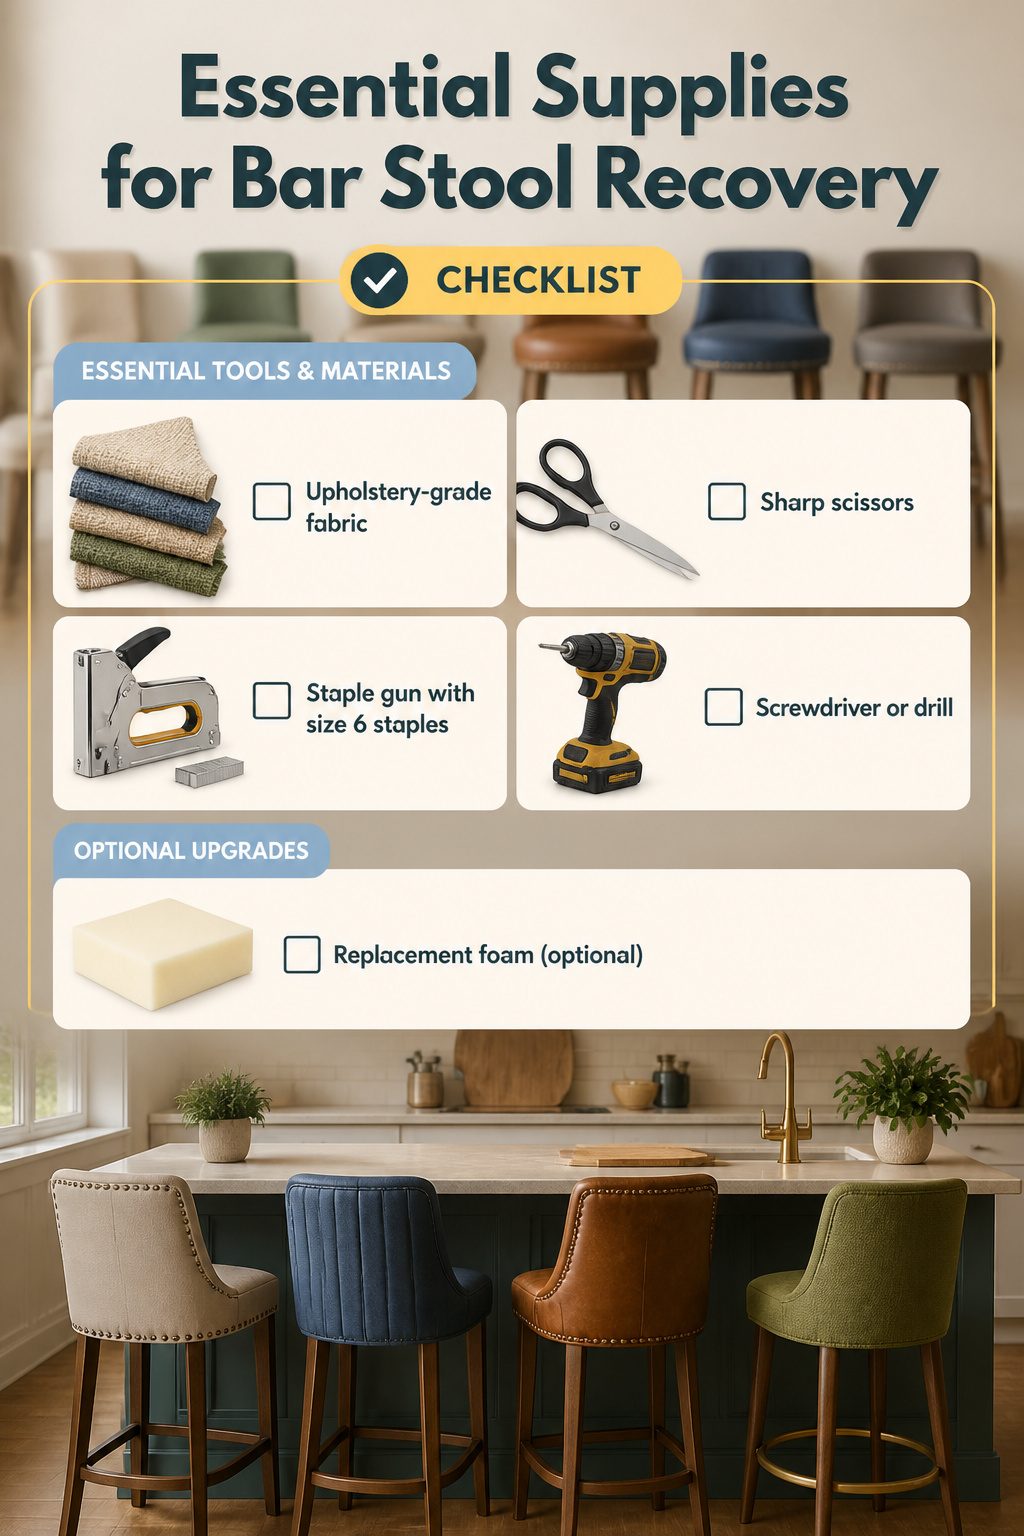
Most bar stool recoveries run $50–$200 per stool, split between fabric and whether the foam underneath has gone flat. The shell of the job needs only a few things:
- Upholstery-grade fabric, roughly 1 to 1.5 yards per stool. Buy extra if the pattern needs matching or you want backup for future stains.
- Scissors sharp enough to cut cleanly through fabric layers.
- A staple gun loaded with size 6 staples. I keep pliers or a staple remover nearby for the old staples that always break halfway out.
- A screwdriver or drill to detach the seat from the frame.
The optional line is where costs jump. Replacement foam matters only if the current cushion is hard or compressed. Piping and edge trim dress up the finished seat but add steps and material cost. Electric scissors speed the cutting if you are doing a set of four, though regular shears work fine for one or two.
Picking Fabric That Lasts
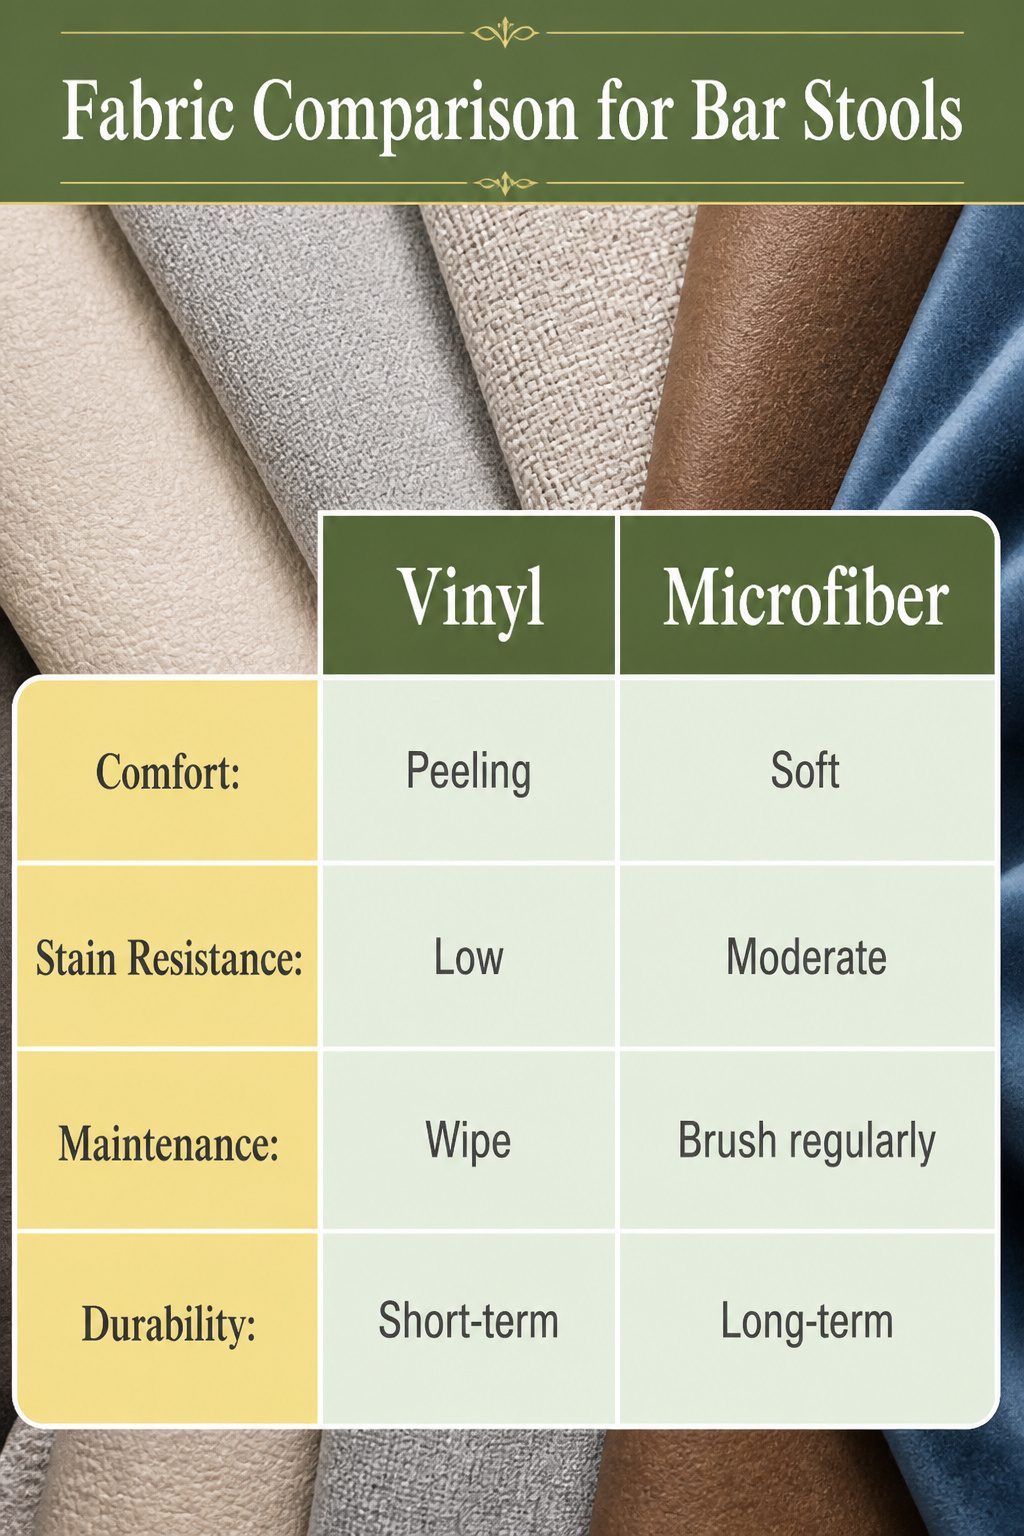
Vinyl peels off a breakfast bar in one easy wipe, which is why it shows up in so many rental kitchens. The catch is the heat: bare legs stick to it by mid-July, and after a few years it can crack along the seams. Microfiber solves the comfort problem, it is soft and resists stains well enough for coffee spills, though the lint it attracts means keeping a brush handy. For daily use, microfiber outlasts vinyl on feel; for occasional party seating where guests come and go fast, vinyl wins on cleanup speed.
Sunbrella costs more upfront but holds color against window light and shrugs off both bleach and brunch. Leather sits in the middle, easy to wipe, decent on bare skin, yet it fades and scratches over time. My own call for a stool that sees eggs and email every morning: Sunbrella if the seat gets sun, microfiber if it does not. Velvet came up as a wildcard in one project, pale blue that held a year before needing a Clorox wipe, but that is a splurge fabric, not a workhorse.
Foam and Padding
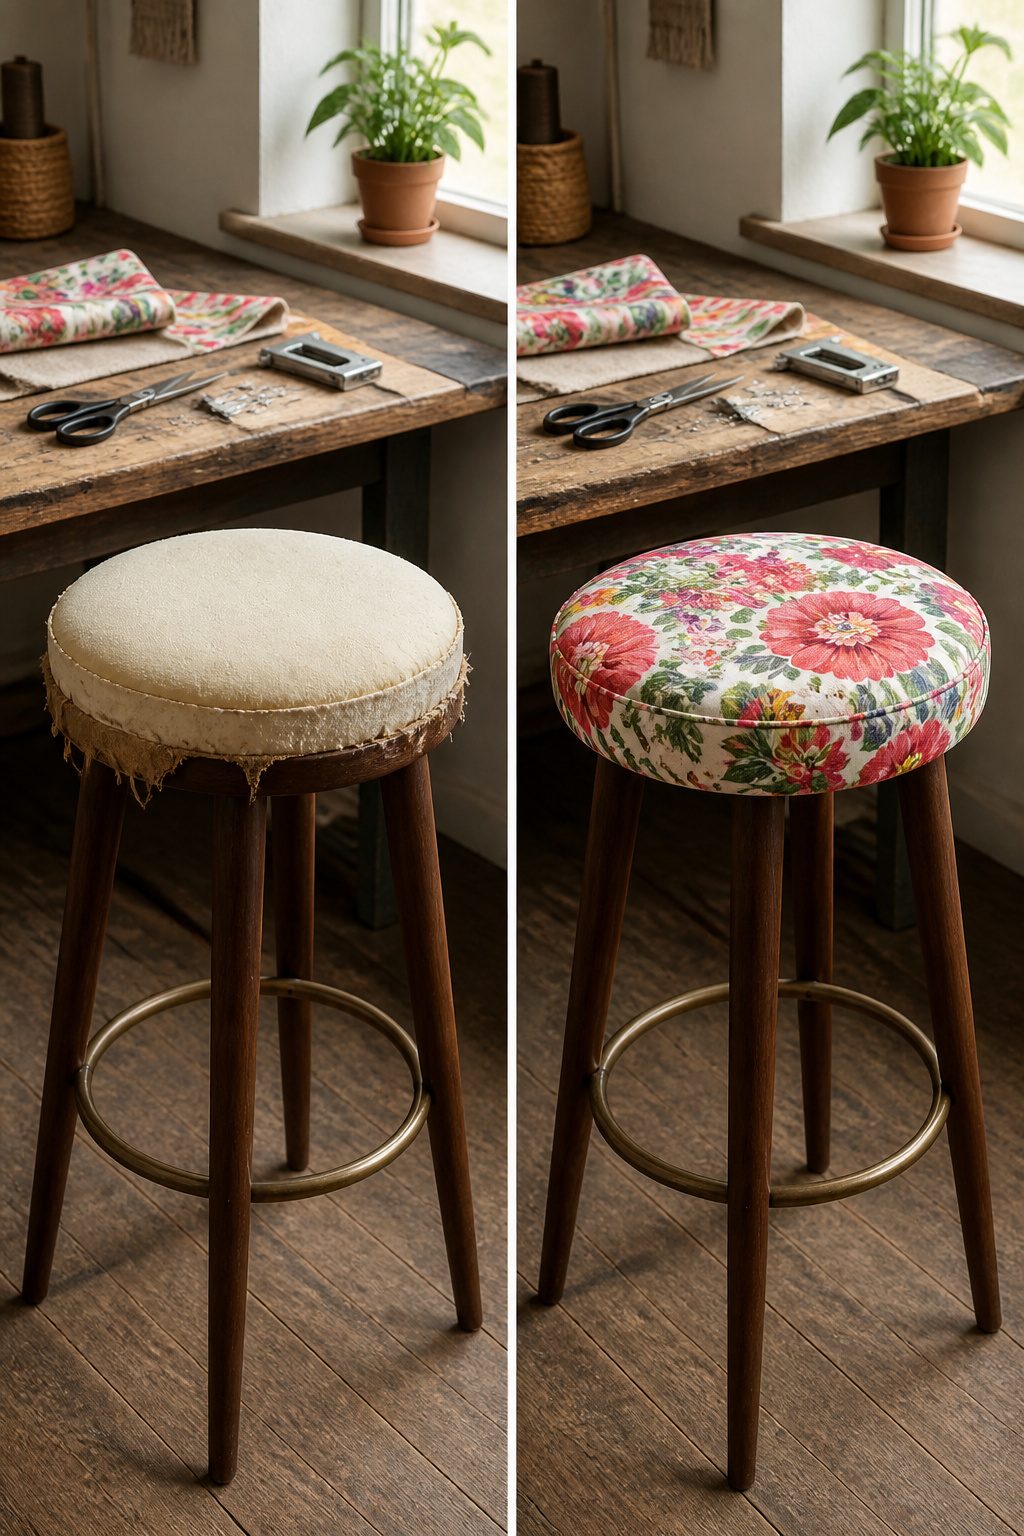
High-density foam lasts longer than standard polyurethane because it rebounds after thousands of compressions instead of collapsing into a permanent butt-print. I learned that distinction the hard way on a kitchen stool I recovered with the cheap stuff; within six months the center had packed down to half its thickness and the edge dug into the back of my legs. Two inches is the practical minimum for comfort on a bar stool, and high-density foam at that thickness still gives real support after a year of daily breakfasts.
Memory foam makes sense only for short sits. It feels luxurious for the first twenty minutes, then you sink through the support layer and your tailbone finds the plywood underneath. Guest stools, the ones that see a Thanksgiving cocktail and not a Sunday crossword, are where that material belongs.
Polyester fiberfill can revive a slightly thin cushion without full replacement. If the old foam has lost height but still springs back, a layer of fiberfill stapled over the top adds loft for a few dollars and twenty minutes of work. It will flatten faster than new foam, so treat it as a bridge fix, not a permanent solution.
Keeping It Clean
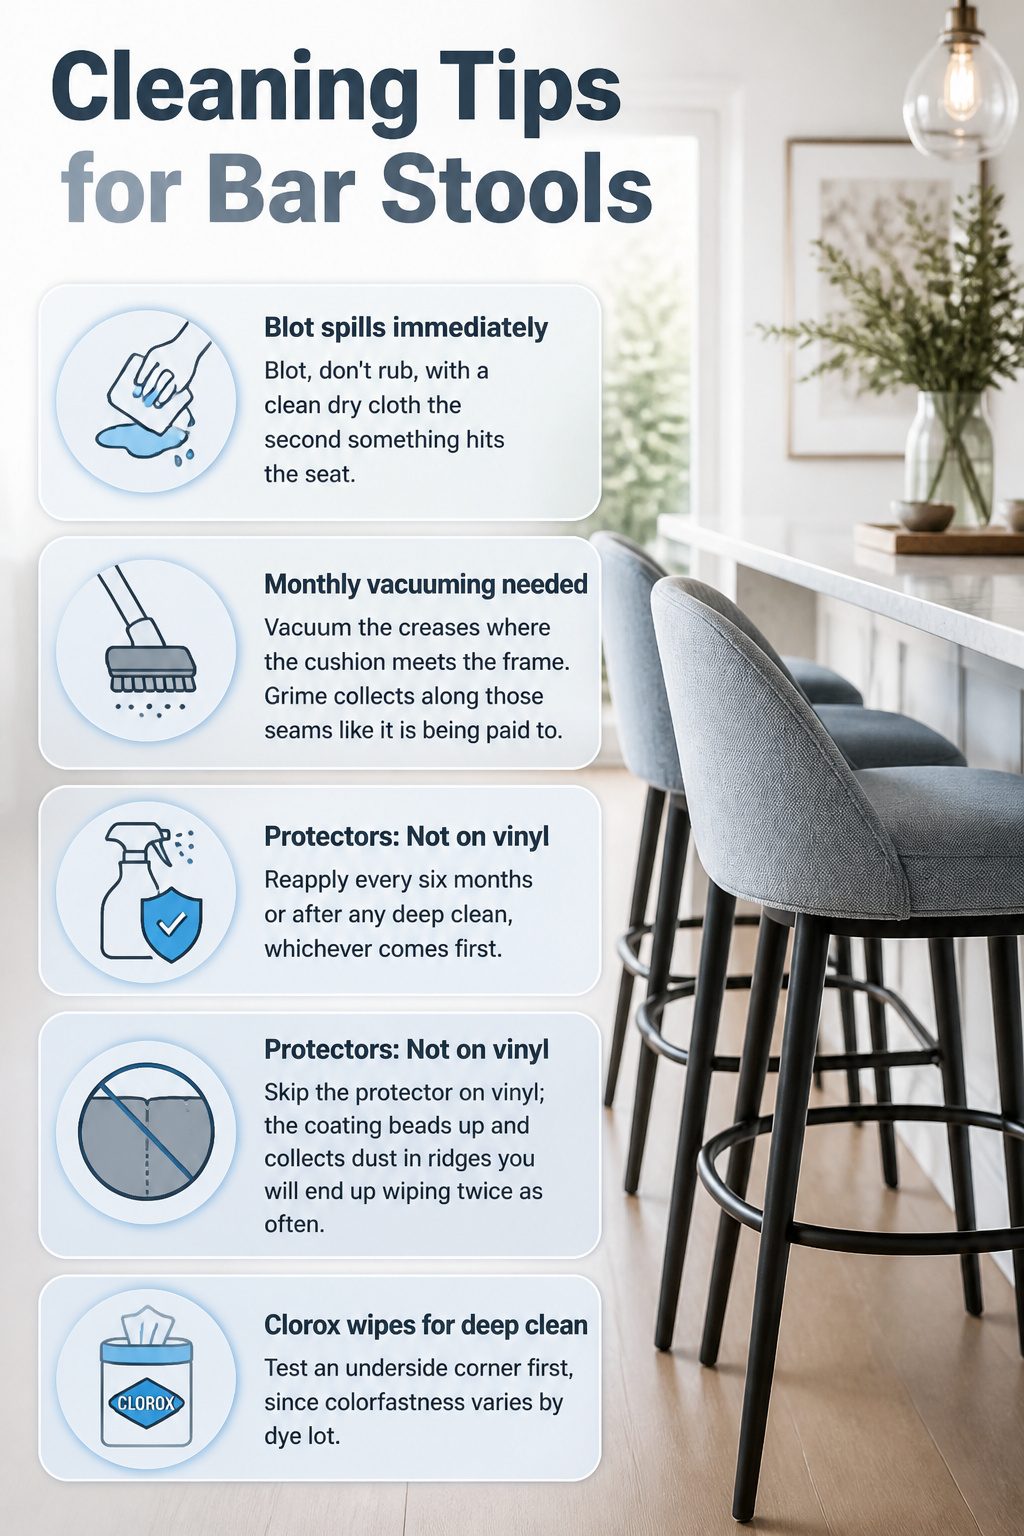
Stain-resistant fabric still stains if you let a spill sit, so the first move is always the same: blot, don’t rub, with a clean dry cloth the second something hits the seat. Microfiber holds up well against food and drink, which is why it turns up so often on bar stools, but "resistant" and "proof" are two different words for a reason.
Once a month, vacuum the creases where the cushion meets the frame. Grime collects along those seams like it is being paid to, and by the time you notice the shadow, the dirt has worked into the weave. A brush attachment lifts most of it out before it sets.
If your fabric is not vinyl, a fabric protector spray buys you a few extra seconds when the wine tips. Reapply every six months or after any deep clean, whichever comes first. Skip the protector on vinyl; the coating beads up and collects dust in ridges you will end up wiping twice as often.
For a deeper refresh, a Clorox wipe handles most surface marks on tougher fabrics like velvet or Sunbrella. Test an underside corner first, since colorfastness varies by dye lot, but I have seen pale blue velvet survive a year of regular use with nothing more aggressive than that.
Frequently Asked Questions
How do you recover a bar stool?
Remove the seat from the frame, strip off the old upholstery and staples, check whether the foam still bounces back, then cut new fabric with three to four inches of overhang on each side. Staple the centers of opposite sides first, work toward the corners, fold each corner into a neat triangle pleat, trim the bulk, and bolt the seat back on.
How much fabric do I need to cover a barstool?
Plan on 1 to 1.5 yards per stool. Buy the full 1.5 yards if the pattern has a large repeat, the seat is wider than 16 inches, or you want leftover material for future repairs.
What kind of fabric should I use to reupholster bar stools?
Vinyl wipes clean fast but can crack and stick to bare skin in heat. Microfiber feels softer and resists stains well for daily kitchen use. Sunbrella shrugs off bleach and sun fading if the stool sits near a window. Leather sits in between, easy to wipe but prone to scratches over time.