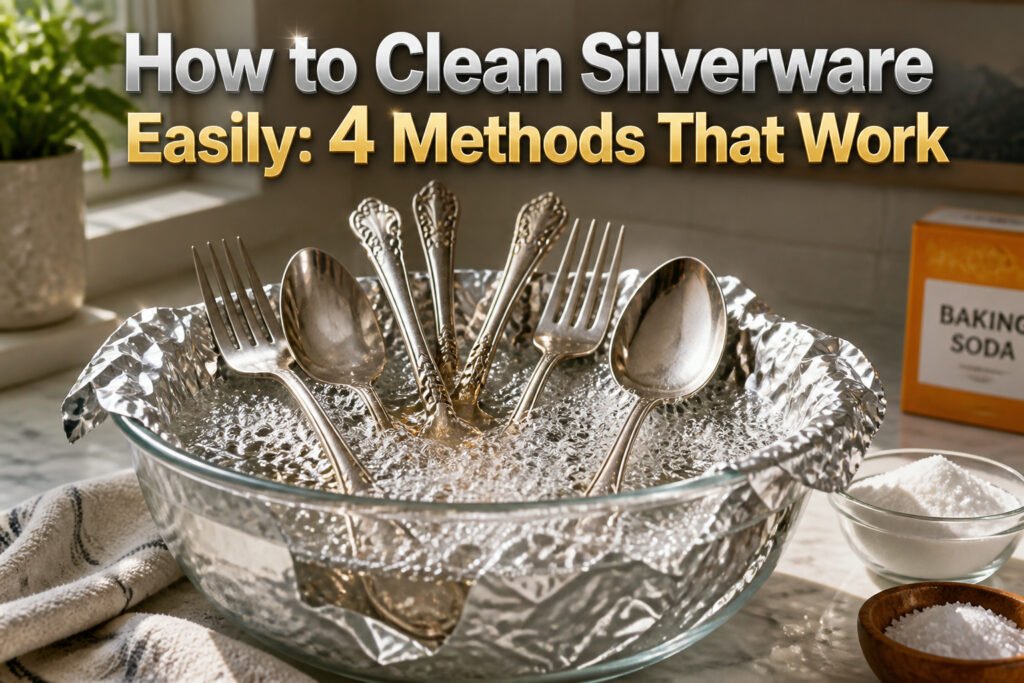
Bright silverware in under five minutes costs nothing more than foil, baking soda, and salt boiled together, but that speed only holds if the aluminum stays intact. Tear the lining and every exposed patch comes out with a dark spot the chemistry never reached. Wright’s Silver Cream runs about $5 per tub and shines heavier tarnish faster, yet each piece still needs individual handling where the bath cleans a whole handful at once. The mistake most people make is treating the aluminum-foil method as set-and-forget: lay the silver flat and keep every piece touching the foil, or the tarnish stays right where the metal pressed against metal instead.
1. Prepare the Cleaning Solution
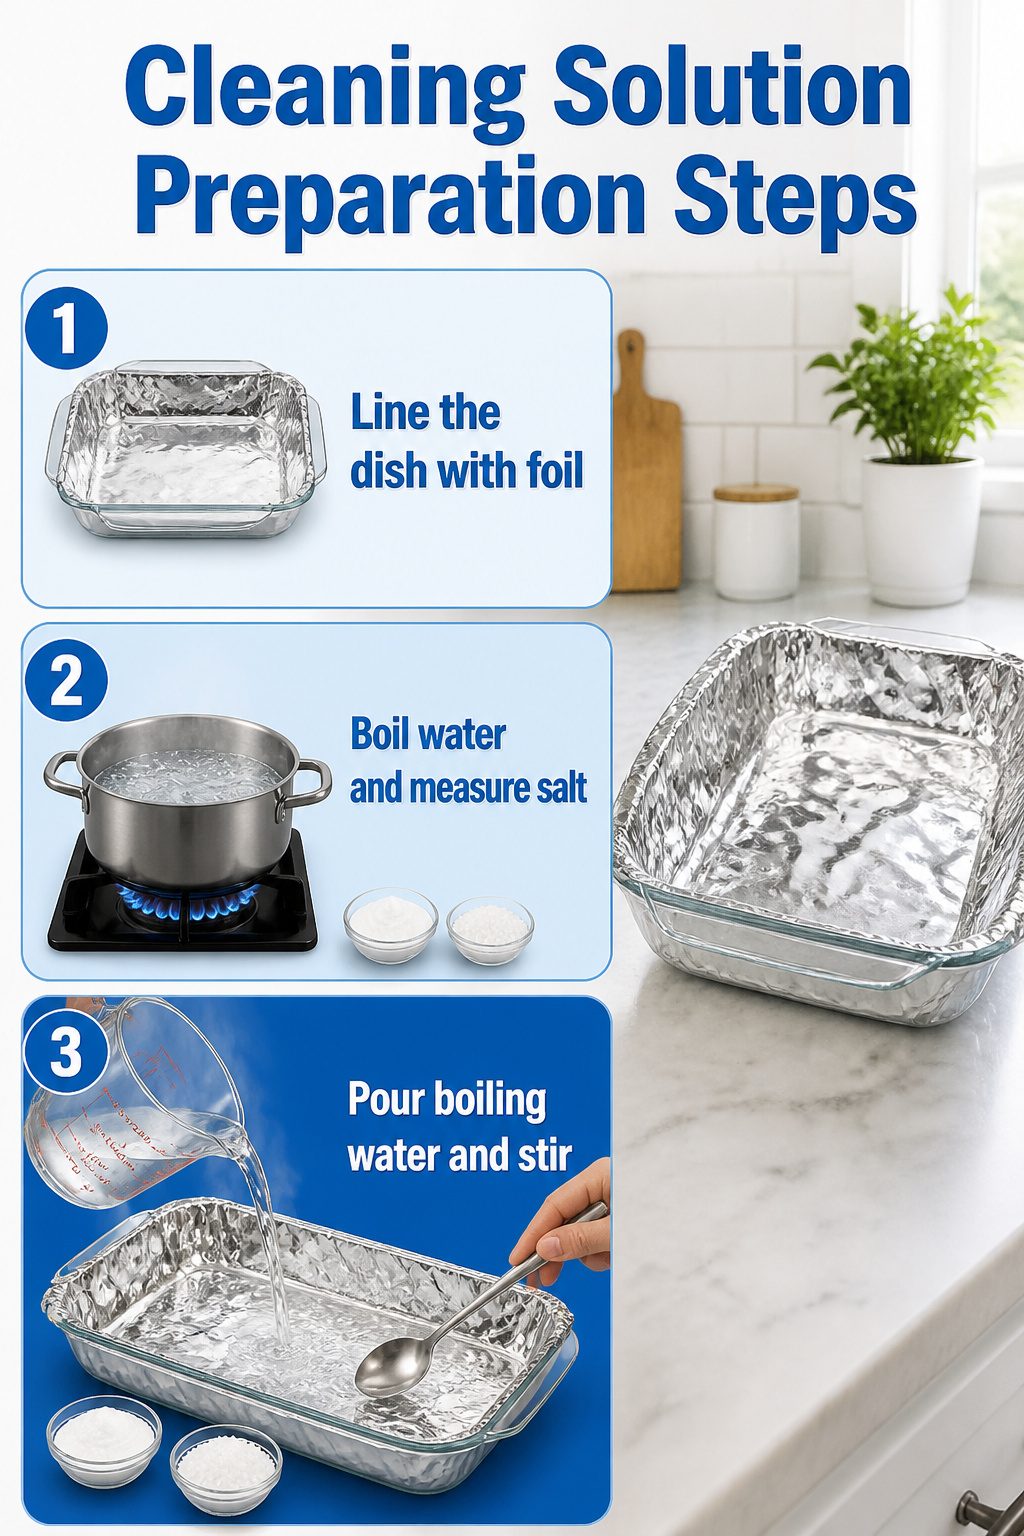
- Line a glass baking dish, aluminum baking pan, or your kitchen sink with aluminum foil, shiny side up. The foil is what drives the reaction, so wrinkles are fine, but tears that let silver touch the container itself will leave dark spots where the chemistry can’t reach.
- Bring water to a boil. For every 2 cups, measure 2 tablespoons baking soda and 2 tablespoons salt. Table salt, sea salt, or kosher salt all work; the source recipes don’t distinguish because the chemistry doesn’t either.
- Pour the boiling water into the foil-lined container, then stir in the baking soda and salt until dissolved. The water will fizz slightly. That fizzing tells you the reaction is already starting in the solution itself, which is what you want.
2. Submerge and Soak the Silverware
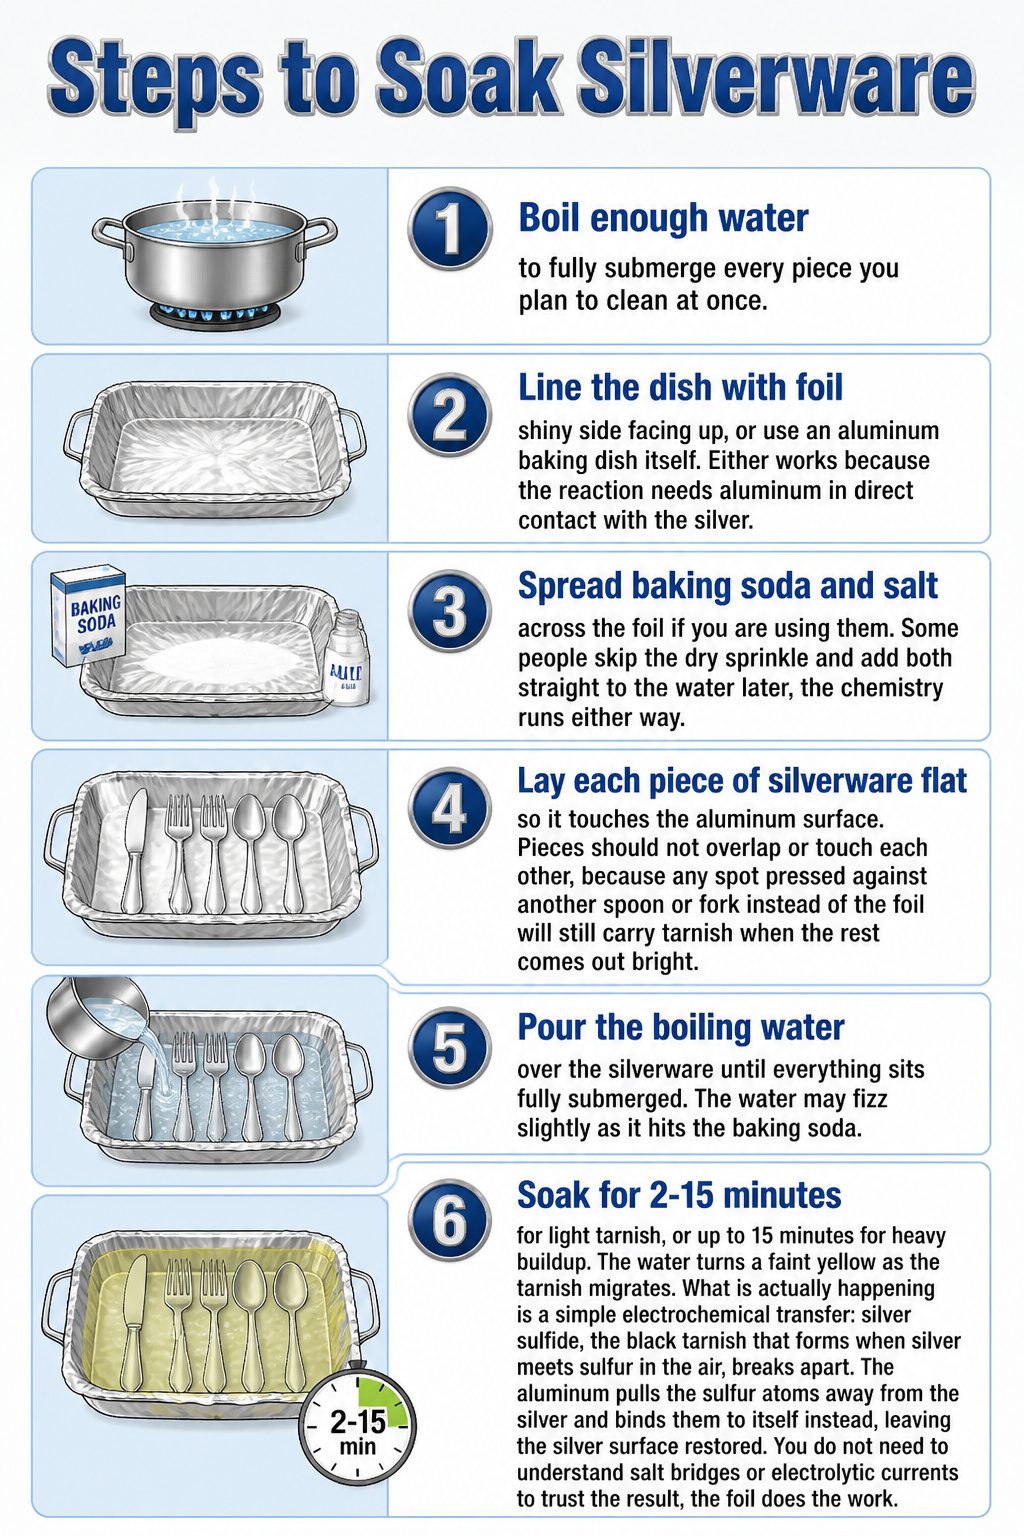
- Boil enough water to fully submerge every piece you plan to clean at once.
- Line the bottom of a glass baking dish with aluminum foil, shiny side facing up, or use an aluminum baking dish itself. Either works because the reaction needs aluminum in direct contact with the silver.
- Spread baking soda and salt across the foil if you are using them. Some people skip the dry sprinkle and add both straight to the water later; the chemistry runs either way.
- Lay each piece of silverware flat so it touches the aluminum surface. Pieces should not overlap or touch each other, because any spot pressed against another spoon or fork instead of the foil will still carry tarnish when the rest comes out bright.
- Pour the boiling water over the silverware until everything sits fully submerged. The water may fizz slightly as it hits the baking soda.
- Let the silverware soak for 2 to 3 minutes for light tarnish, or up to 15 minutes for heavy buildup. The water turns a faint yellow as the tarnish migrates. What is actually happening is a simple electrochemical transfer: silver sulfide, the black tarnish that forms when silver meets sulfur in the air, breaks apart. The aluminum pulls the sulfur atoms away from the silver and binds them to itself instead, leaving the silver surface restored. You do not need to understand salt bridges or electrolytic currents to trust the result; the foil does the work.
- Remove each piece with tongs, since the water stays hot. Rinse under warm water, wash with mild soap if you want, dry thoroughly, and buff with a soft cloth.
3. Rinse, Dry and Inspect
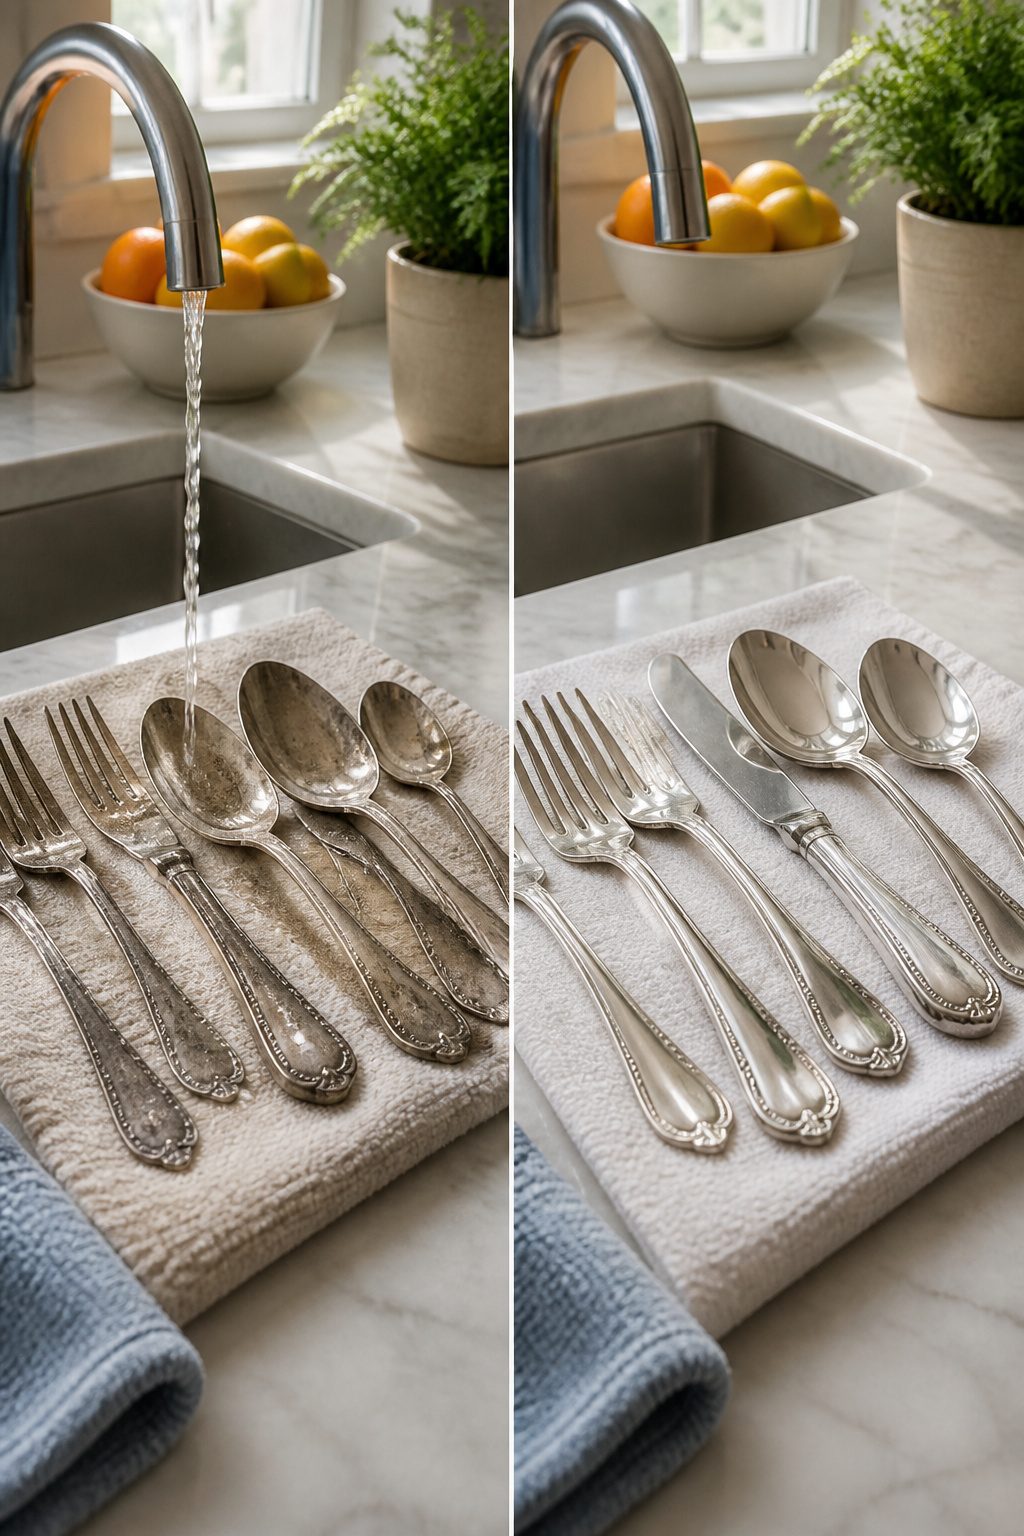
Tongs pull the silverware out of hot water easier than fingertips, but the steam still bites. I set pieces on a folded towel and let them sit until the metal no longer carries that soaked-in heat, then run each one under cool water for a full minute. Rinse until the water sheets off clean with no sudsy film; baking soda left in crevices will dry white and streaky.
A soft cloth, not paper towel, does the drying. Microfiber works, old cotton flannel works better. Buff in the direction of any visible grain rather than swirling, which catches lint in etched patterns.
Hold each piece to the light. Tarnish that looked erased underwater sometimes reappears as a dull haze once dry, especially on the backs of spoons and the shoulders of fork tines where the solution sat still. Heavily tarnished pieces, the kind that sat in a drawer for decades, almost always need a second round with fresh foil and fresh soda-salt water. The first pass lifts the worst of it; the second pass gets the silver actually bright.
Dry again. Inspect again. Two rounds is usually the ceiling for anything that still qualifies as silverware and not archaeological find.
4. Commercial Silver Polish
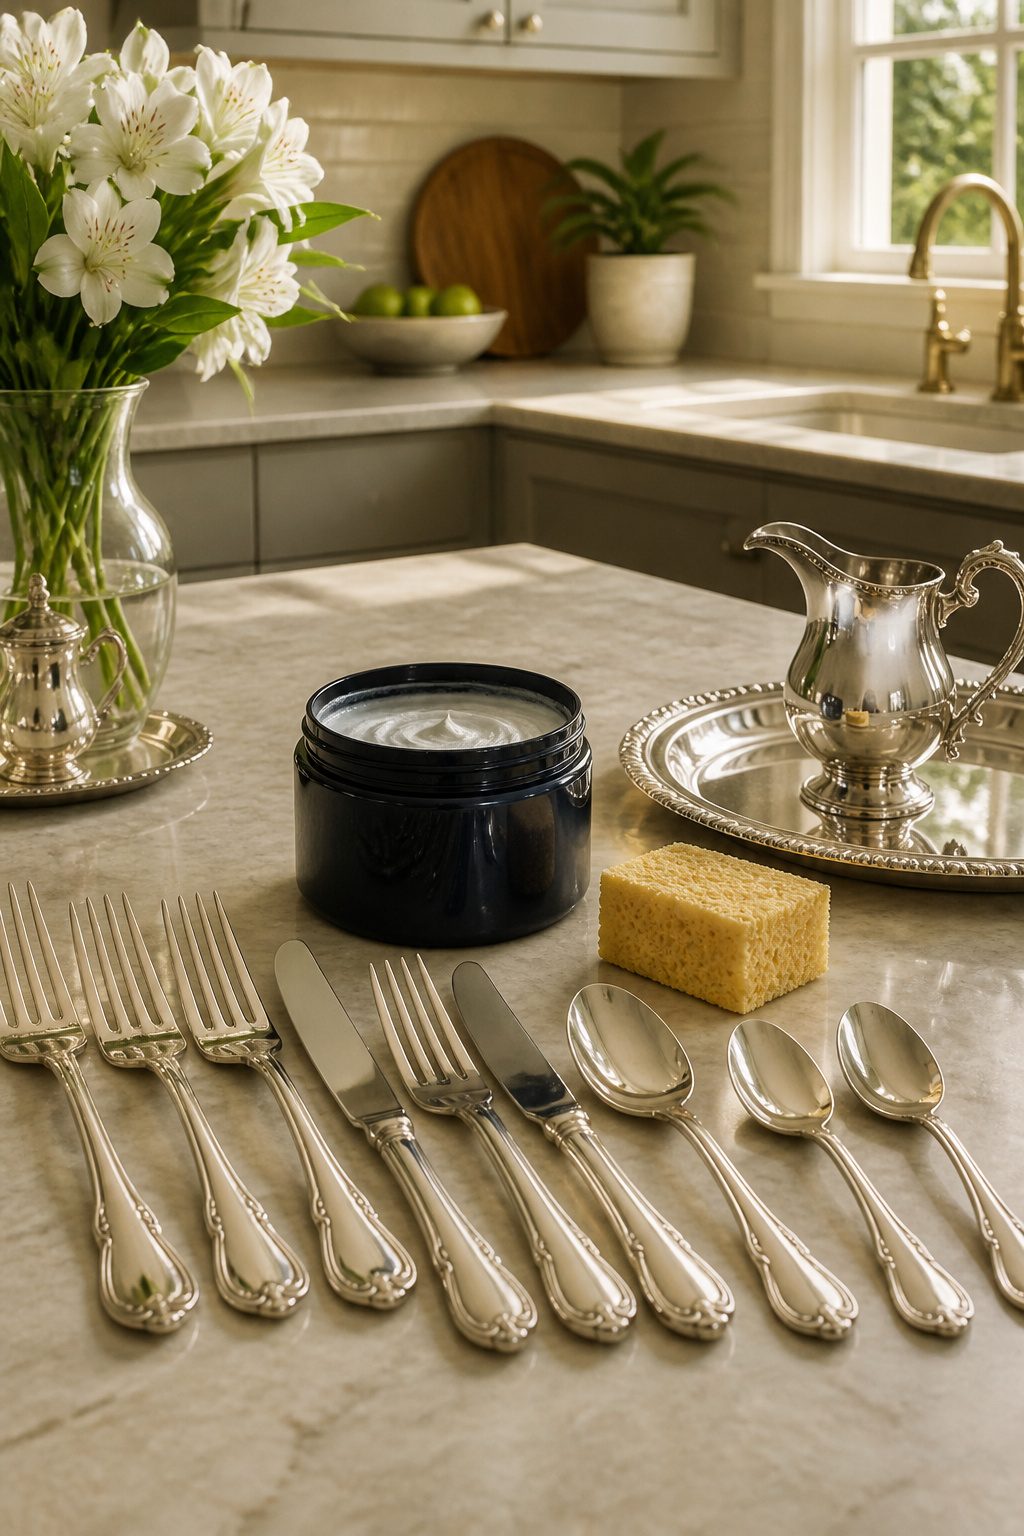
Wright’s Silver Cream runs about $5 for an 8-ounce tub and lasts longer than you’d expect, since a thin layer is all each piece needs. The sponge included in the package works fine for coating the utensil, then a microfiber cloth buffs the residue away. What convinced me, reading through a dozen of these comparisons, is that nothing else melts dark tarnish off with so little scrubbing; the shine comes up bright enough that you skip a separate polishing step, though you still need to wash and dry thoroughly after.
Hagerty’s silver polishing gloves fill a similar niche for lighter tarnish, letting you work through a drawer without the paste-and-rag routine. Either product leaves a protective film that slows future tarnish, which the baking soda method simply does not do.
Choose the commercial route when time matters more than pantry purity. The tradeoff sits right there: you spend the $5 and you polish each piece individually, where the aluminum-foil bath handles a whole handful at once for pennies. For a full set inherited from a grandmother or bought at an estate sale, the chemical polish wins on speed and final gleam. For a single butter knife with a faint yellow cast, the pantry methods are probably enough.
5. Toothpaste Method
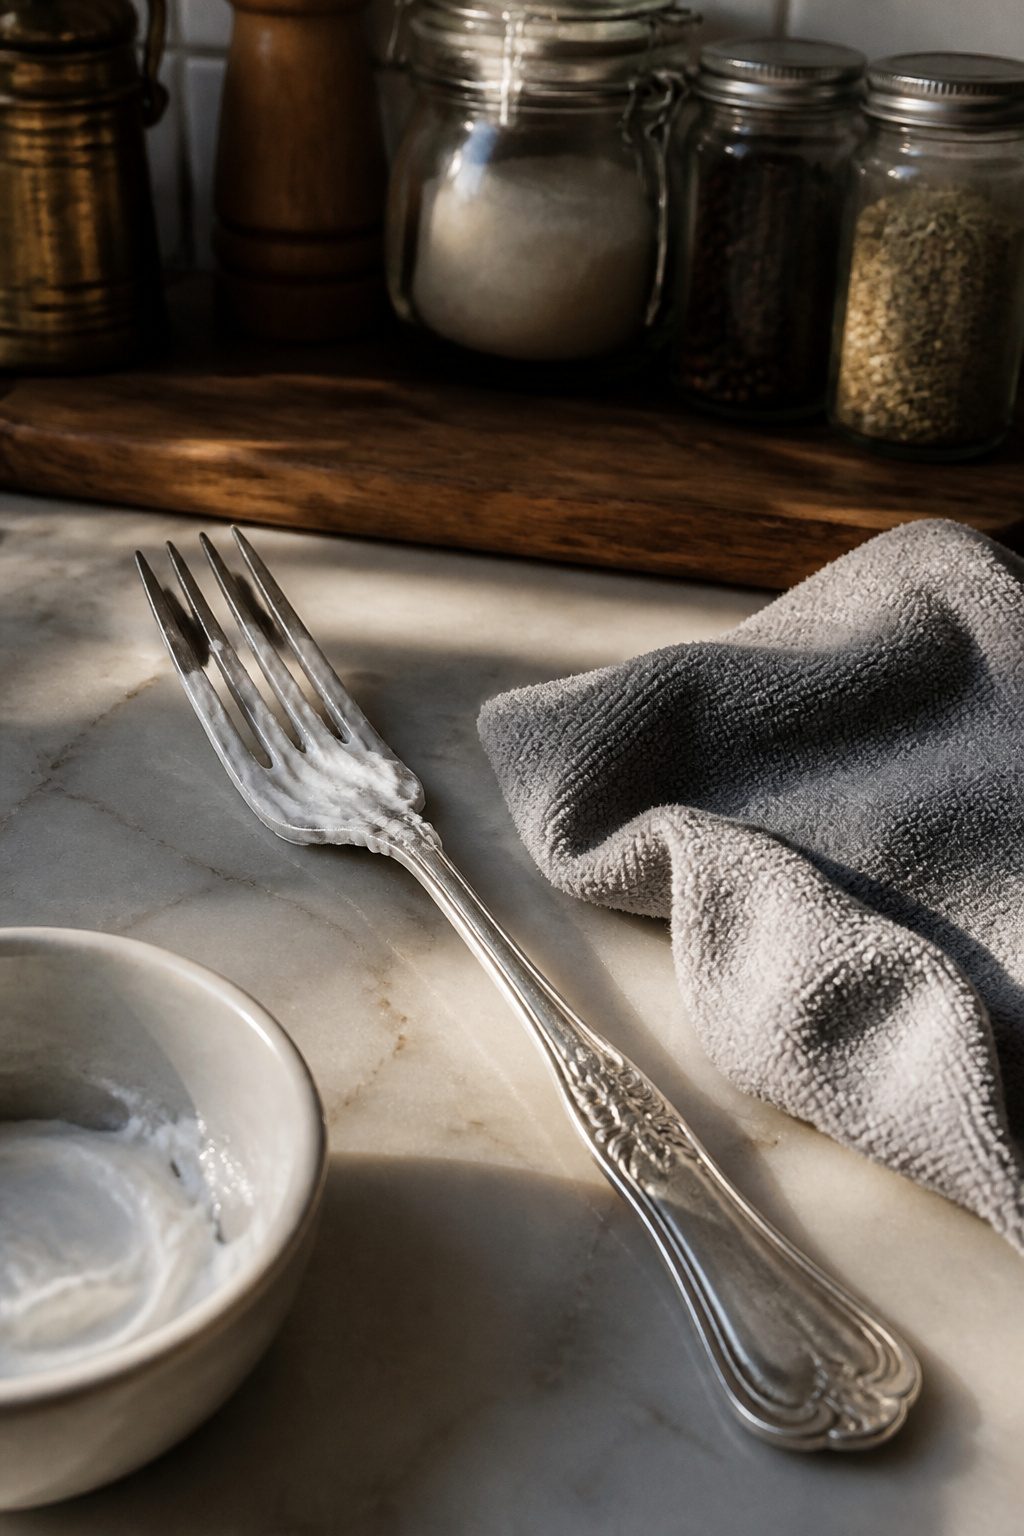
White toothpaste, the plain kind without gel, works as a mild abrasive for surface tarnish when nothing else is within reach. The method is simple enough: coat the silver, wait a moment, then buff with a soft cloth until the paste lifts away. What the sources agree on is that this takes real effort. The stickiness is the first problem, and on heavily tarnished pieces the scrubbing becomes genuine work, not a quick wipe. One test rated it 3.5 out of 5 and noted the surprise was that it worked at all, not that it worked easily.
The better use is as a spot treatment, not a whole-set strategy. After a baking soda soak leaves streaks or dark patches behind, a dab of toothpaste on a cloth can finish those stubborn areas without starting over. For an entire drawer of tarnished silver, the elbow grease adds up fast, and the paste residue lingers in crevices if rinsing is careless. Skip this for large jobs or pieces with intricate patterns where sticky residue hides. Keep it for travel, for single pieces, or for that one fork that still shows a shadow after the main cleaning is done.
6. Vinegar and Baking Soda Paste
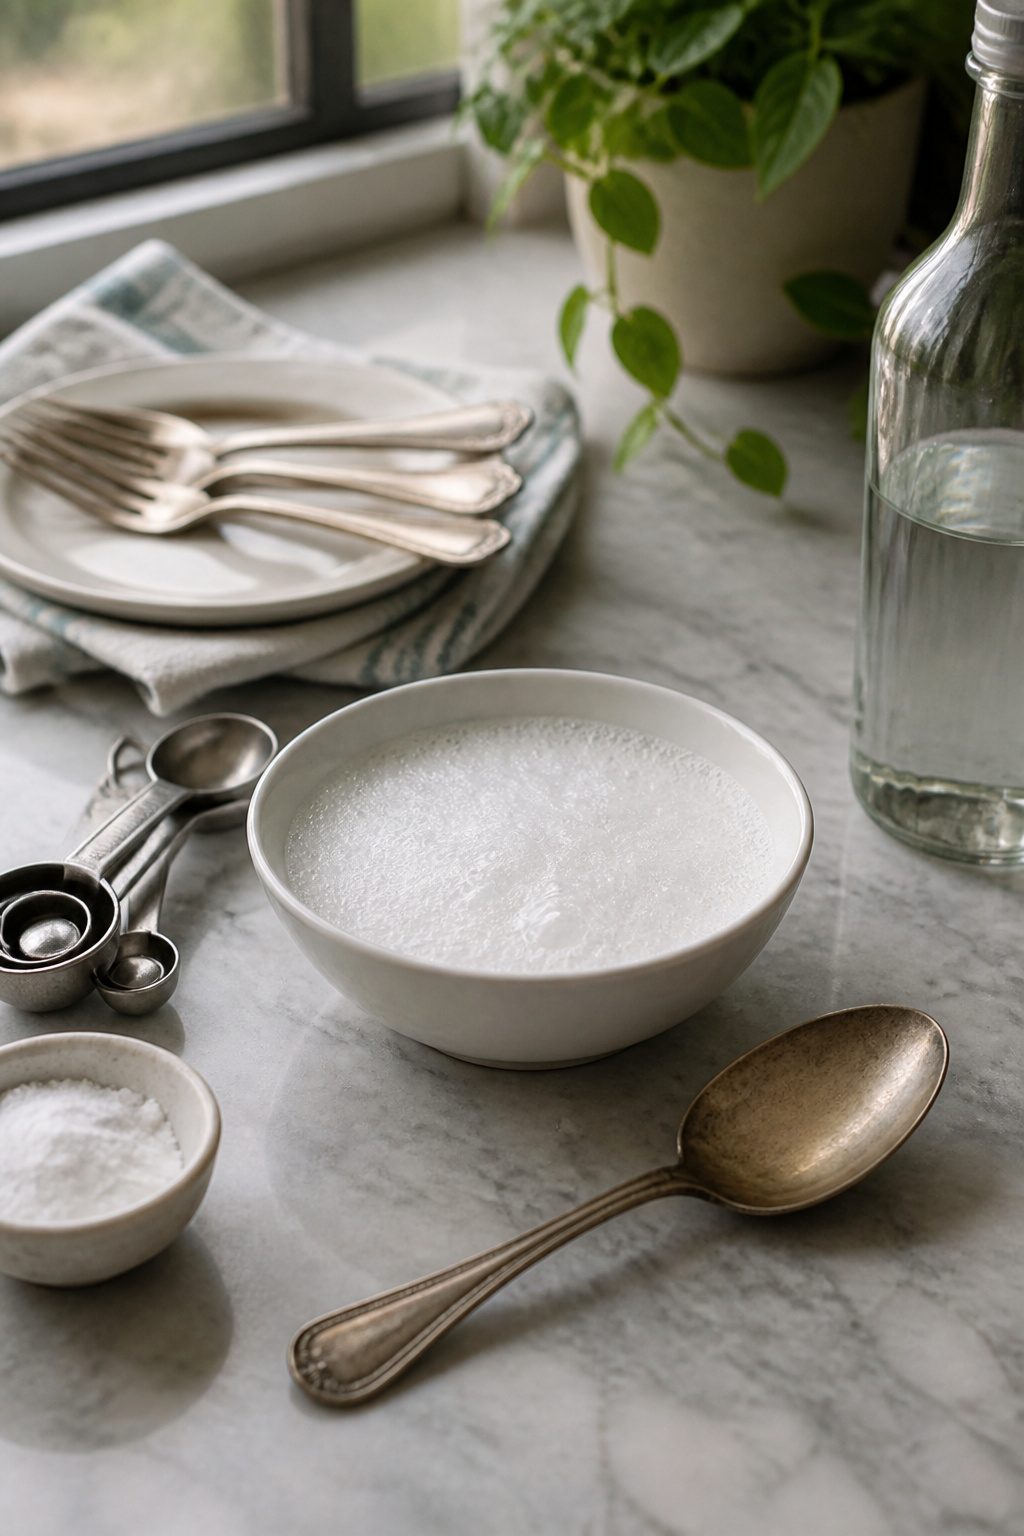
A paste of white vinegar and baking soda sits in an odd spot: it works, but it barely touched the tarnish on a heavily blackened Italian silver champagne bucket after five minutes of rubbing. The chemistry is sound. The foaming reaction lifts some oxidation, and a soft cloth carries the paste into crevices that a bath might miss. For light tarnish on a spoon or butter knife, that gentle abrasion can be enough. Against deep tarnish, the method asks for more patience than most weekend projects allow.
The aluminum foil bath wins on speed and scale. One tablespoon each of baking soda and salt, half a cup of vinegar, and a cup of boiling water in a foil-lined dish will handle a whole place setting at once. The sulfur smell means the reaction is working, and five minutes of soaking does what ten minutes of paste-rubbing struggles to match. You still buff each piece afterward, about a minute per utensil, but the heavy lifting happens without your elbow in it.
Keep the paste in reserve for pieces that cannot submerge, or for spot touch-ups between deep cleans. For a full drawer of tarnished silver, the bath is the easier route.
Why Silver Tarnishes
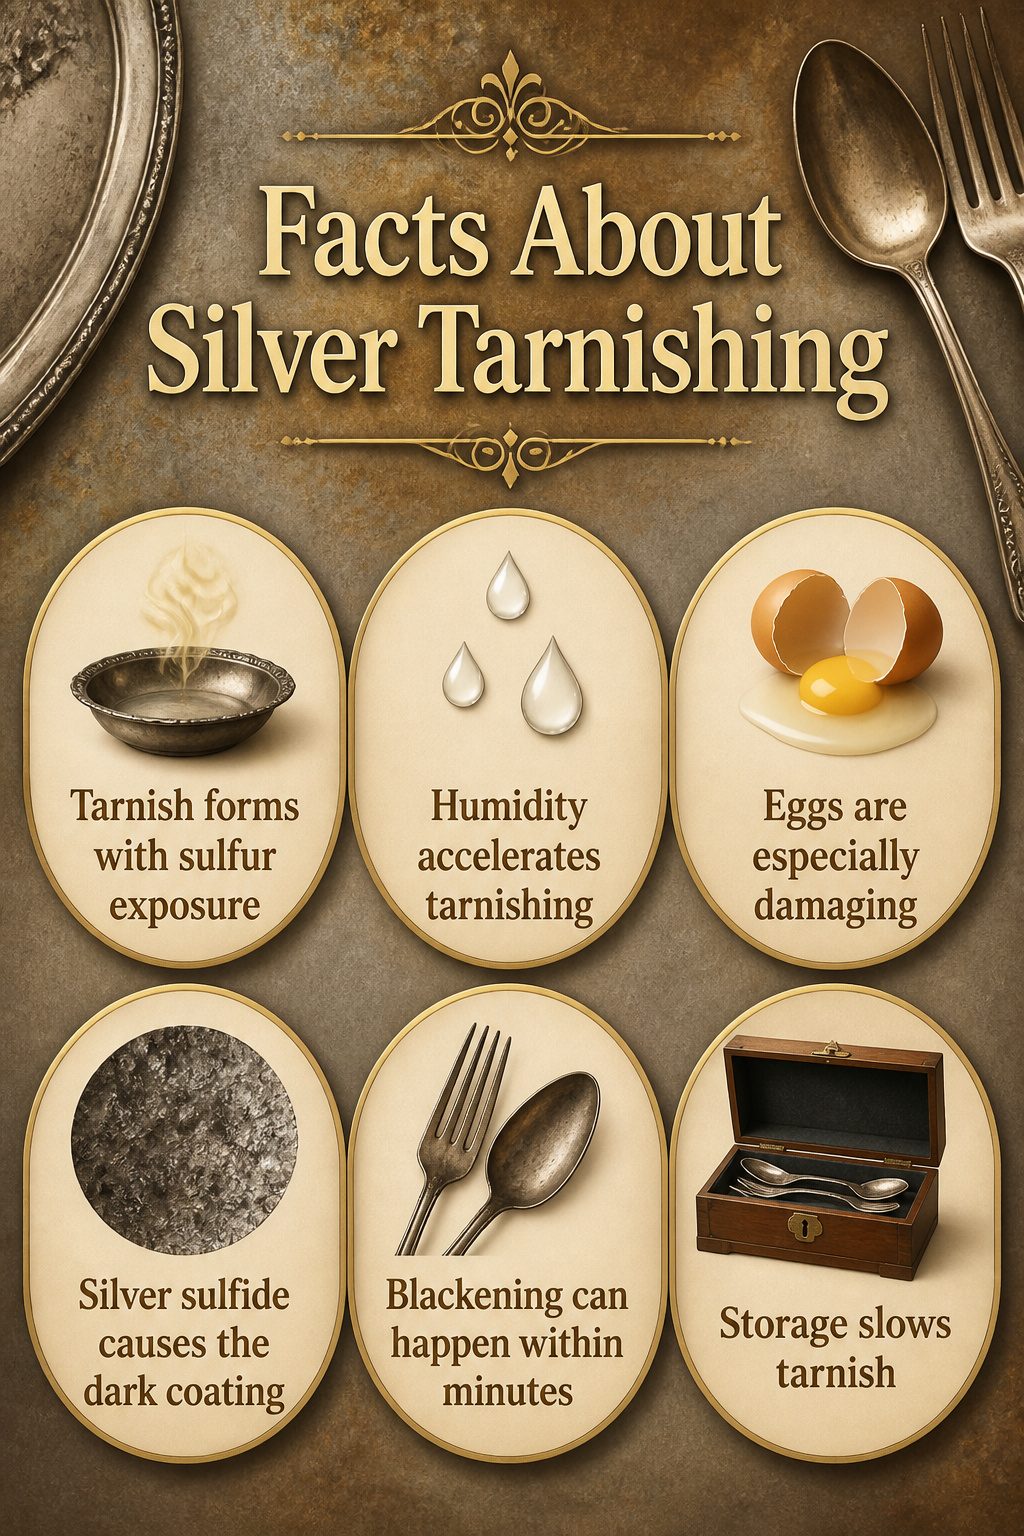
Tarnish starts the moment silver meets sulfur in the air. The sulfur compounds, hydrogen sulfide or sulfur dioxide, react with the metal’s surface and form silver sulfide, the dark coating that dulls your forks and spoons. Humidity speeds this up, and some foods make it worse. Eggs are especially aggressive; the sulfur in egg whites can blacken silver within minutes if the metal sits against them. That is why a felt-lined chest slows tarnish so well. It limits both air circulation and contact with sulfur sources, buying you weeks or months before the next polish.
How Often to Clean
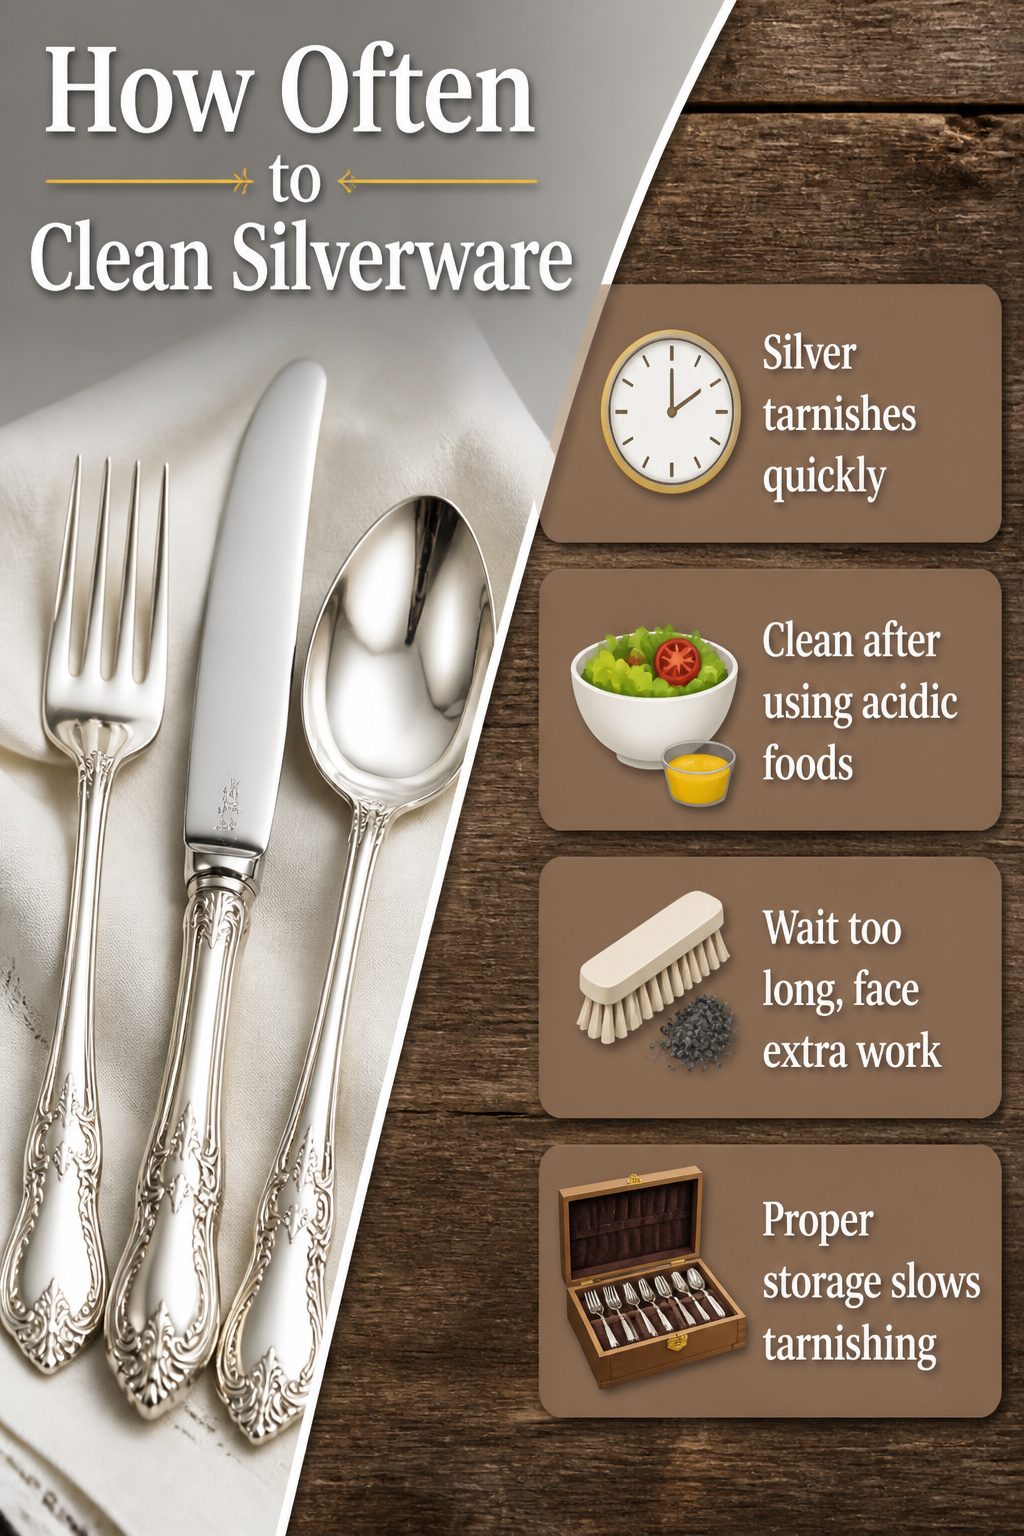
Silver tarnishes faster than most people expect, and waiting until the pieces are black costs you real time later. Humidity in the air and sulfur compounds from eggs, onions, or even beauty products left on fingertips start the reaction within hours. The sources I read split hard on frequency. Some writers clean after every use, especially if the silver touched anything acidic like salad dressing or mustard. Others handle it a few times a year and call that enough.
My own read is that the gap between those schedules matters more than either endpoint. Let tarnish build for months and you are scrubbing instead of wiping. The aluminum-foil-and-baking-soda method that works in five minutes on light tarnish needs rounds of repeating once the sulfide layer gets thick. A quick rinse and dry after a meal with acidic food takes maybe two minutes and saves the twenty-minute soak later. The felt-lined chest one writer mentioned matters here too: proper storage stretches the interval, but it does not replace it.
Storing Silver Right
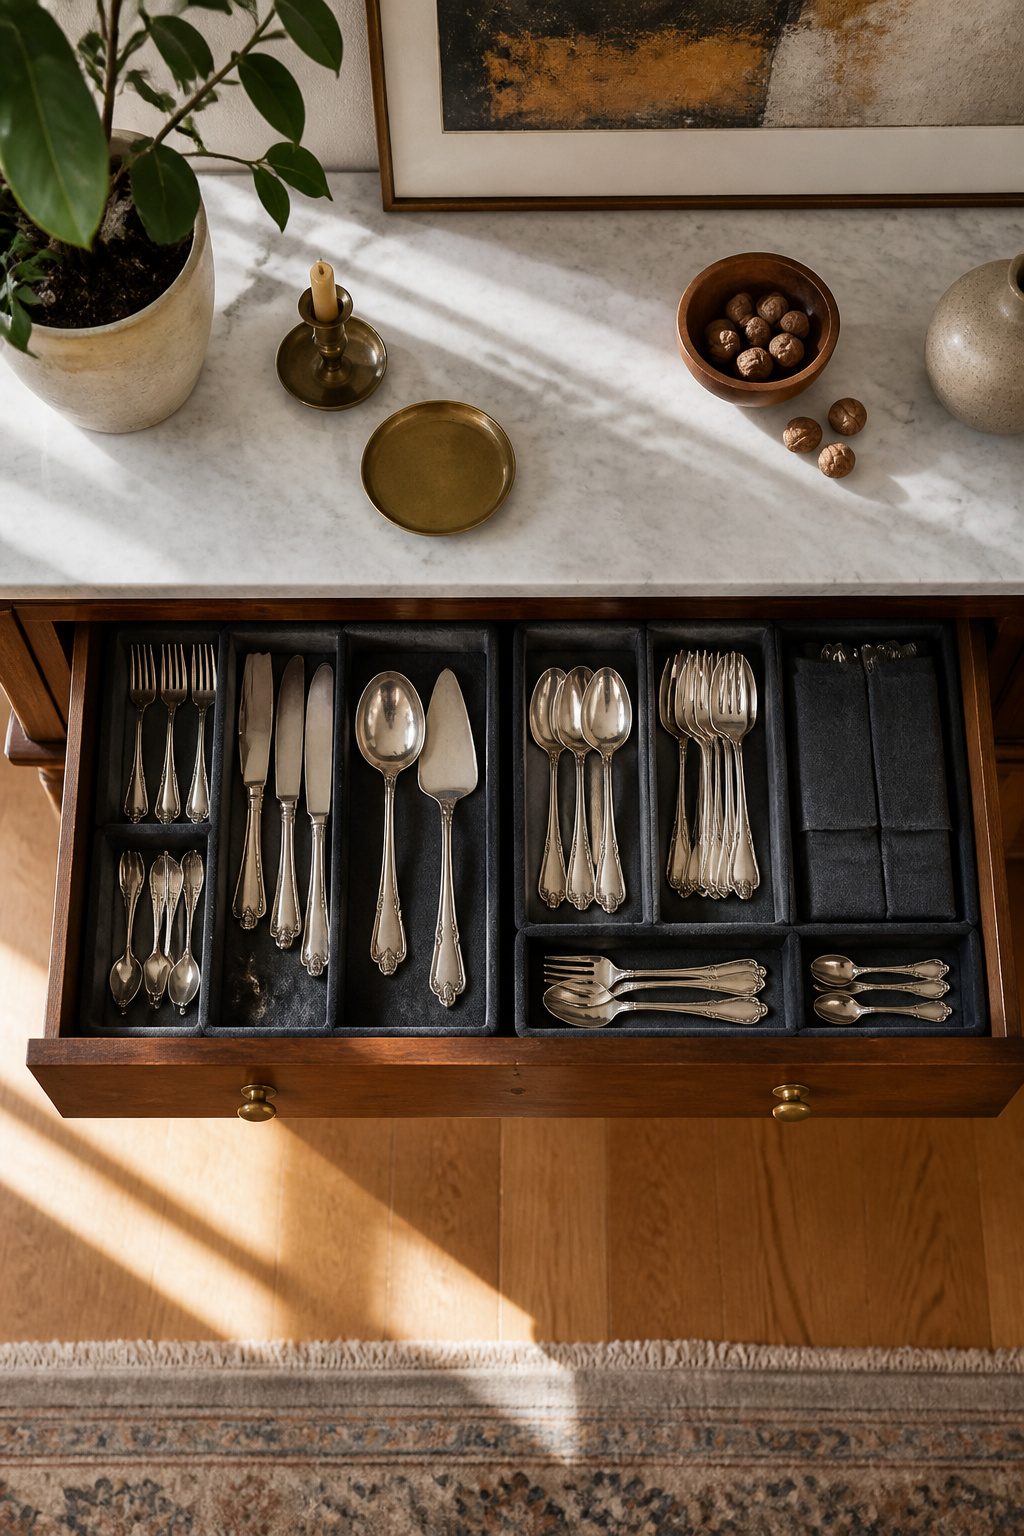
Storing silver right matters more than any polish. Humidity triggers tarnish faster than use ever does, so a kitchen drawer near the dishwasher or sink stays the wrong place. Mine lives in a sideboard on the dining room wall, the driest spot I could find on the main floor.
- Line drawers or storage boxes with anti-tarnish cloth; the treated fabric pulls sulfur from the air before it reaches the metal. Plain felt or cotton won’t do the same work.
- Slip individual pieces into anti-tarnish bags if drawer space runs tight; they stack without scratching and the barrier buys months between polishes.
- Skip the decorative caddy on the countertop. Open air, cooking grease, and morning coffee steam all speed dullness.
- Add a packet of silica gel or a piece of plain chalk in the storage space if summer humidity climbs; both pull moisture, and chalk costs next to nothing to replace each season.
- Wear cotton gloves when you put clean silver away. Finger oils start the tarnish cycle again before the drawer even closes.
Frequently Asked Questions
How do you clean tarnish off of your silverware?
Line a container with aluminum foil shiny side up, add boiling water mixed with two tablespoons each of baking soda and salt per two cups of water, then lay the silverware flat so each piece touches the foil. Let it soak for 2 to 3 minutes for light tarnish or up to 15 minutes for heavy buildup. The tarnish transfers from the silver to the aluminum through an electrochemical reaction, so no scrubbing is needed.
What is the best way to clean silver?
The aluminum foil and boiling water method is the most effective for most jobs because it handles multiple pieces at once with minimal effort. For a full set of heavily tarnished silver, commercial polish like Wright’s Silver Cream works faster and leaves a protective film that slows future tarnish. Choose based on whether you value speed and shine or low cost and pantry ingredients.
Can you use toothpaste to clean silver?
Plain white toothpaste works as a mild abrasive for light surface tarnish or spot treatments on stubborn patches left after soaking. It takes real effort on heavily tarnished pieces, the stickiness is frustrating, and residue hides in crevices if rinsing is careless. Keep it for travel, single pieces, or finishing touches after the main cleaning method.